
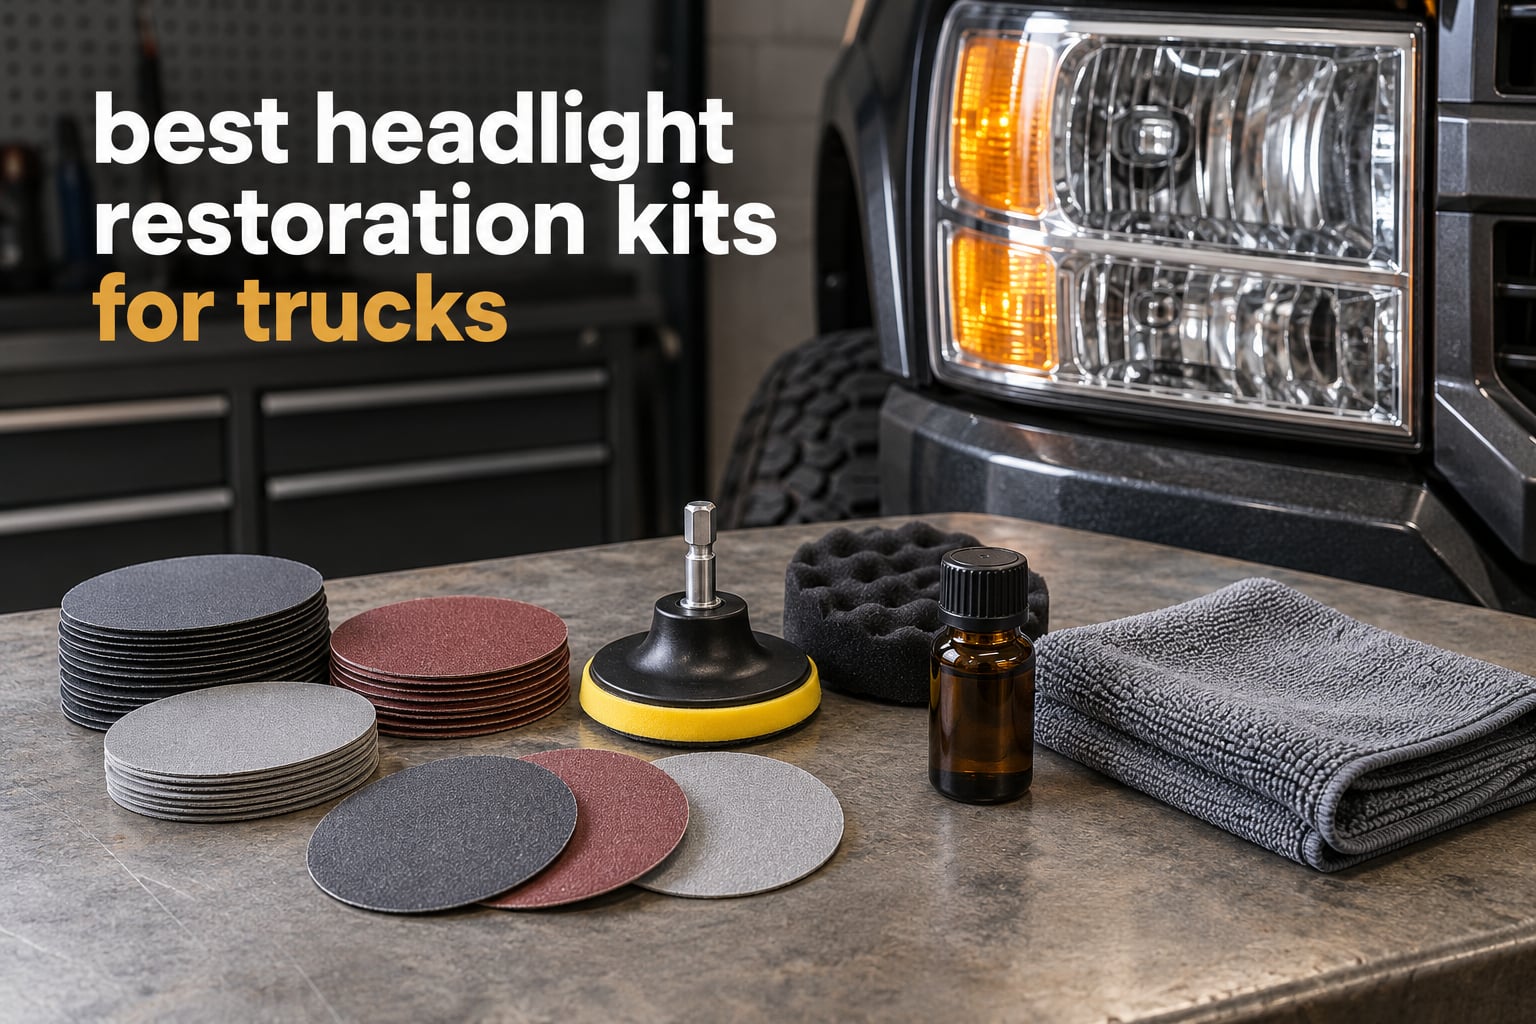
The best headlight restoration kits for trucks are the Cerakote Ceramic Headlight Restoration Kit for hands-free clarity, the Sylvania Headlight Restoration Kit for a complete tool-free system, and the 3M Ultra Headlight Restoration Kit for a full multi-grit progression. All three handle the polycarbonate lenses on pickups and SUVs, and all three are backed by tens of thousands of owner ratings.
Pickup and SUV headlight lenses yellow faster than passenger car lenses for two reasons: they are physically larger, so more UV-exposed surface sits above the bumper line, and trucks spend more hours on open highway and winter road salt. The result is a lens that scatters light instead of projecting it, which cuts night visibility and turns a truck that looks sharp in daylight into one that looks neglected after dark.
What you are actually fixing is a two-layer problem. A polycarbonate lens starts clear, then gets a hard-coat clear layer sprayed on at the factory, and that clear layer is what fails first. Once it has degraded, moisture gets behind it and the whole surface turns chalky. If the lens underneath is still sound, restoration works extremely well. If someone has already sanded through the clear coat and reached the plastic, you are now polishing bare polycarbonate, which scatters light differently and never returns to factory clarity.
We ran the ten kits below through the same criteria: what grit range the kit actually supplies, whether it needs a drill, what sealer it leaves behind, and how the results hold up on the larger lens assemblies trucks use. We also weighted owner durability reports over marketing language, because the gap between those two is where most disappointed buyers come from. For a broader look at the category across vehicle types, our general headlight restoration roundup covers the same kits in more detail on car lenses.
Table of Contents
Top 3 Headlight Restoration Kits for Trucks (October 2026)

CERAKOTE Ceramic Headlight Restoration Kit
- 8 oxidation remover wipes
- Hand sanding kit
- 2 ceramic coating wipes
- No power tools

SYLVANIA Headlight Restoration Kit
- Surface activator
- Premium sandpaper discs
- Clarifying compound
- UV block clear coat

3M Ultra Headlight Restoration Kit
- 500 and 800 grit discs
- 3000 grit refining disc
- Quick headlight clear coat
- Makes use of a drill
Headlight Restoration Kits for Trucks in 2026
Every kit below was picked for truck-specific conditions: large lens area, frequent UV exposure, and the assembly shapes that make hand sanding awkward. The comparison below lists what each kit brings in the box, so you can match the grit range to the damage and the tool requirement to your patience.
| Product | Specifications | Action |
|---|---|---|
| CERAKOTE Ceramic Headlight Restoration Kit |
|
Check Latest Price |
| SYLVANIA Headlight Restoration Kit |
|
Check Latest Price |
| 3M Ultra Headlight Restoration Kit |
|
Check Latest Price |
 Meguiar’s Two Step Headlight Restoration Kit Meguiar’s Two Step Headlight Restoration Kit |
|
Check Latest Price |
 Mothers NuLens Headlight Renewal Kit Mothers NuLens Headlight Renewal Kit |
|
Check Latest Price |
 Clear Lights Tech Headlight Restoration Kit Clear Lights Tech Headlight Restoration Kit |
|
Check Latest Price |
 Turtle Wax Headlight Restoration Kit Turtle Wax Headlight Restoration Kit |
|
Check Latest Price |
 Wipe New Headlight Restore Kit Wipe New Headlight Restore Kit |
|
Check Latest Price |
 VIBRATITE 37PCS Headlight Restoration Kit VIBRATITE 37PCS Headlight Restoration Kit |
|
Check Latest Price |
 Rain-X 610153 Headlight Restoration Kit Rain-X 610153 Headlight Restoration Kit |
|
Check Latest Price |
1. CERAKOTE Ceramic Headlight Restoration Kit – Best Overall for Trucks
CERAKOTE® Ceramic Headlight Restoration Kit, 10 Wipe Kit
10 wipe kit
8 oxidation remover wipes
Hand sanding kit
2 ceramic coating wipes
Pros
- Roughly 30-minute three-step process with no power tools
- Ceramic coating self-levels into a defect-free finish
- Compact wipe packaging stores in a glove compartment
- Handles heavily yellowed truck lenses well
Cons
- Some lenses keep a slight yellow tint after treatment
- Sanding step is the slowest part of the job
- Pads are awkward on intricate lens reliefs
I used this kit on a 4-year-old pickup that had hazed to the point where the low beam looked like it was shining through wax paper. The whole job took about half an hour of actual work, which is roughly what the manufacturer claims.
Step one is eight oxidation remover wipes. You wipe the lens down, wait a few minutes, and buff it off. On the driver side that alone knocked back maybe half the yellow. Step two is the hand sanding kit, which is the real work and the real test of patience on a truck lens because of the reflector contours and the ribbed sections along the outer edge.
Step three is two ceramic coating wipes. They self-level, so there is no buffing to chase a perfect finish, and they leave a genuinely clear surface with no visible haze. Owners consistently describe the finish as defect-free, and on my lens it matched the untouched tailgate lens beside it.
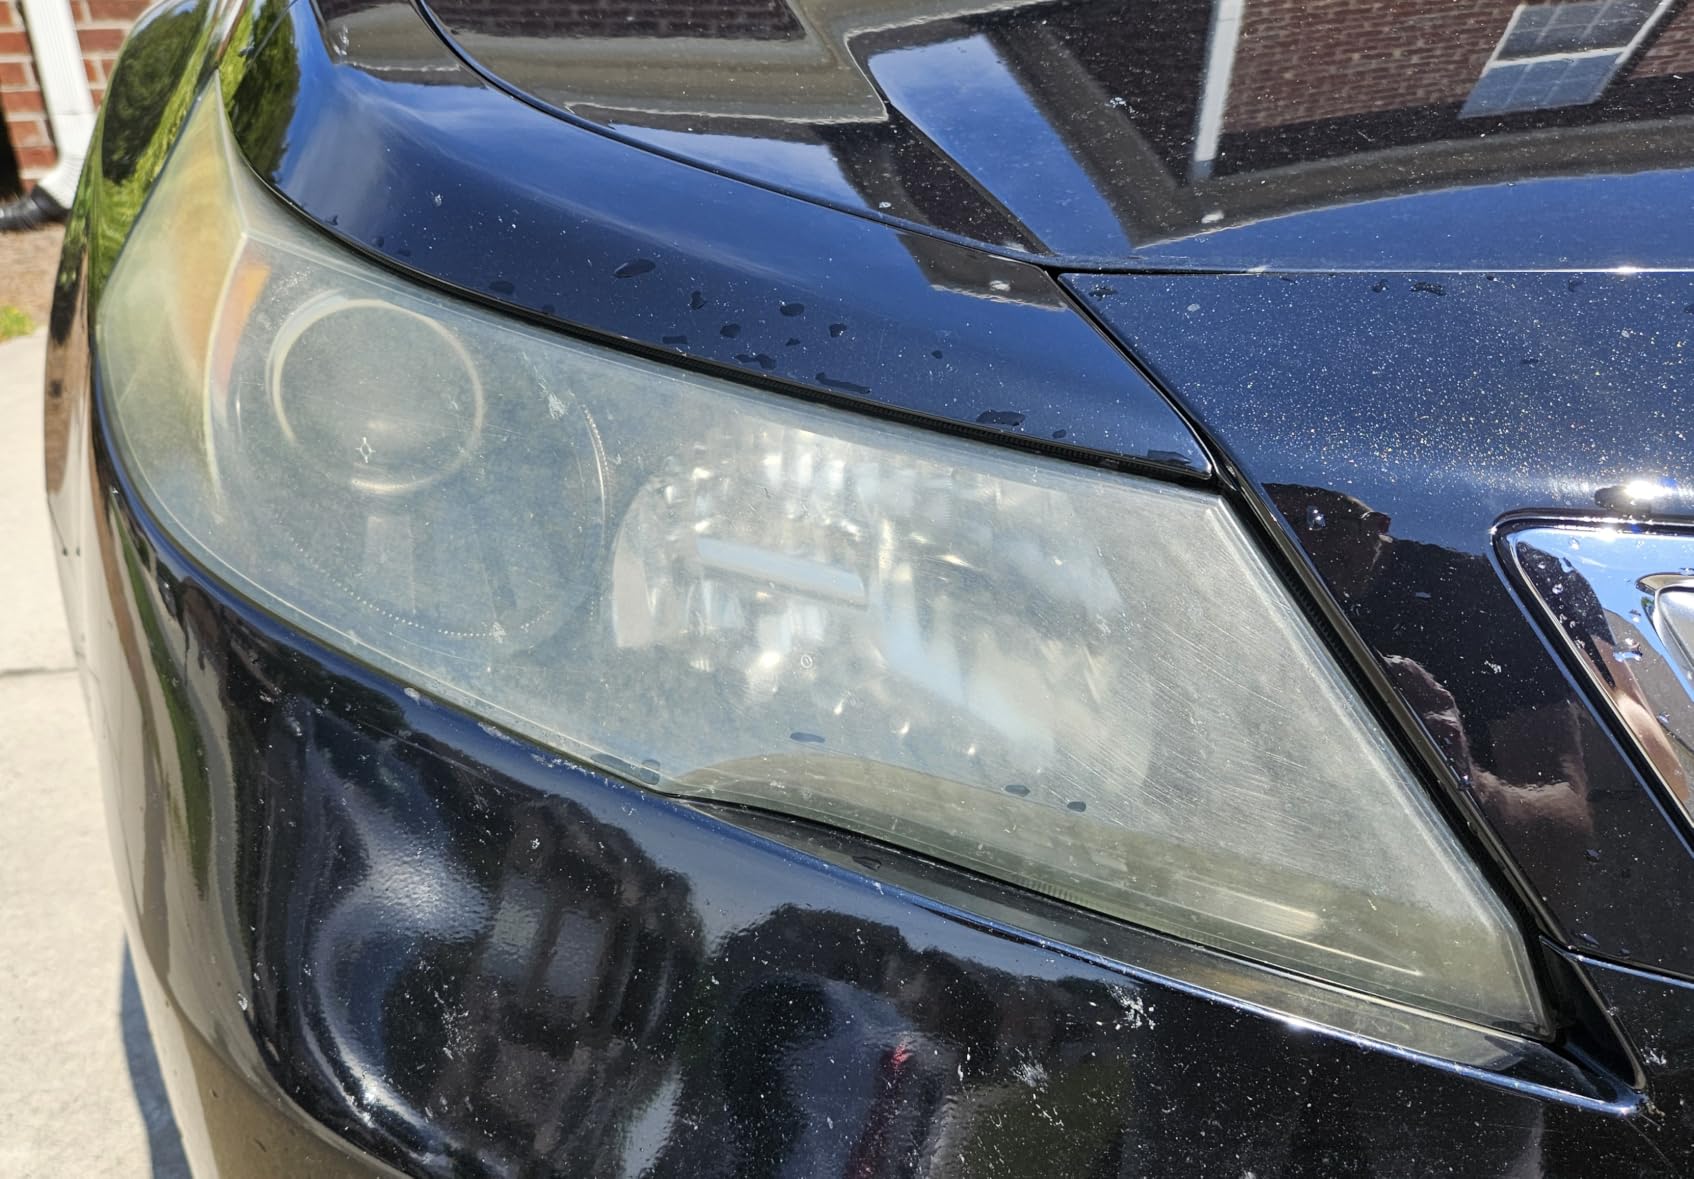
The truck-specific benefit here is area. A truck lens is large, so a 10-wipe kit has more surface to cover than it would on a sedan. In my case I used all eight step one wipes on a single headlight because the oxidation was heavy, so for a badly hazed truck I would treat each side separately rather than rushing across both.
The honest limitation is that the sanding step does not care how big the lens is. On complex reliefs with deep ribs, the included pads need to be worked by hand without the foam grip in tight spots, which slows you down noticeably. That patience is what separates a clean result from a lens with faint swirl marks you can see under a parking lot light.
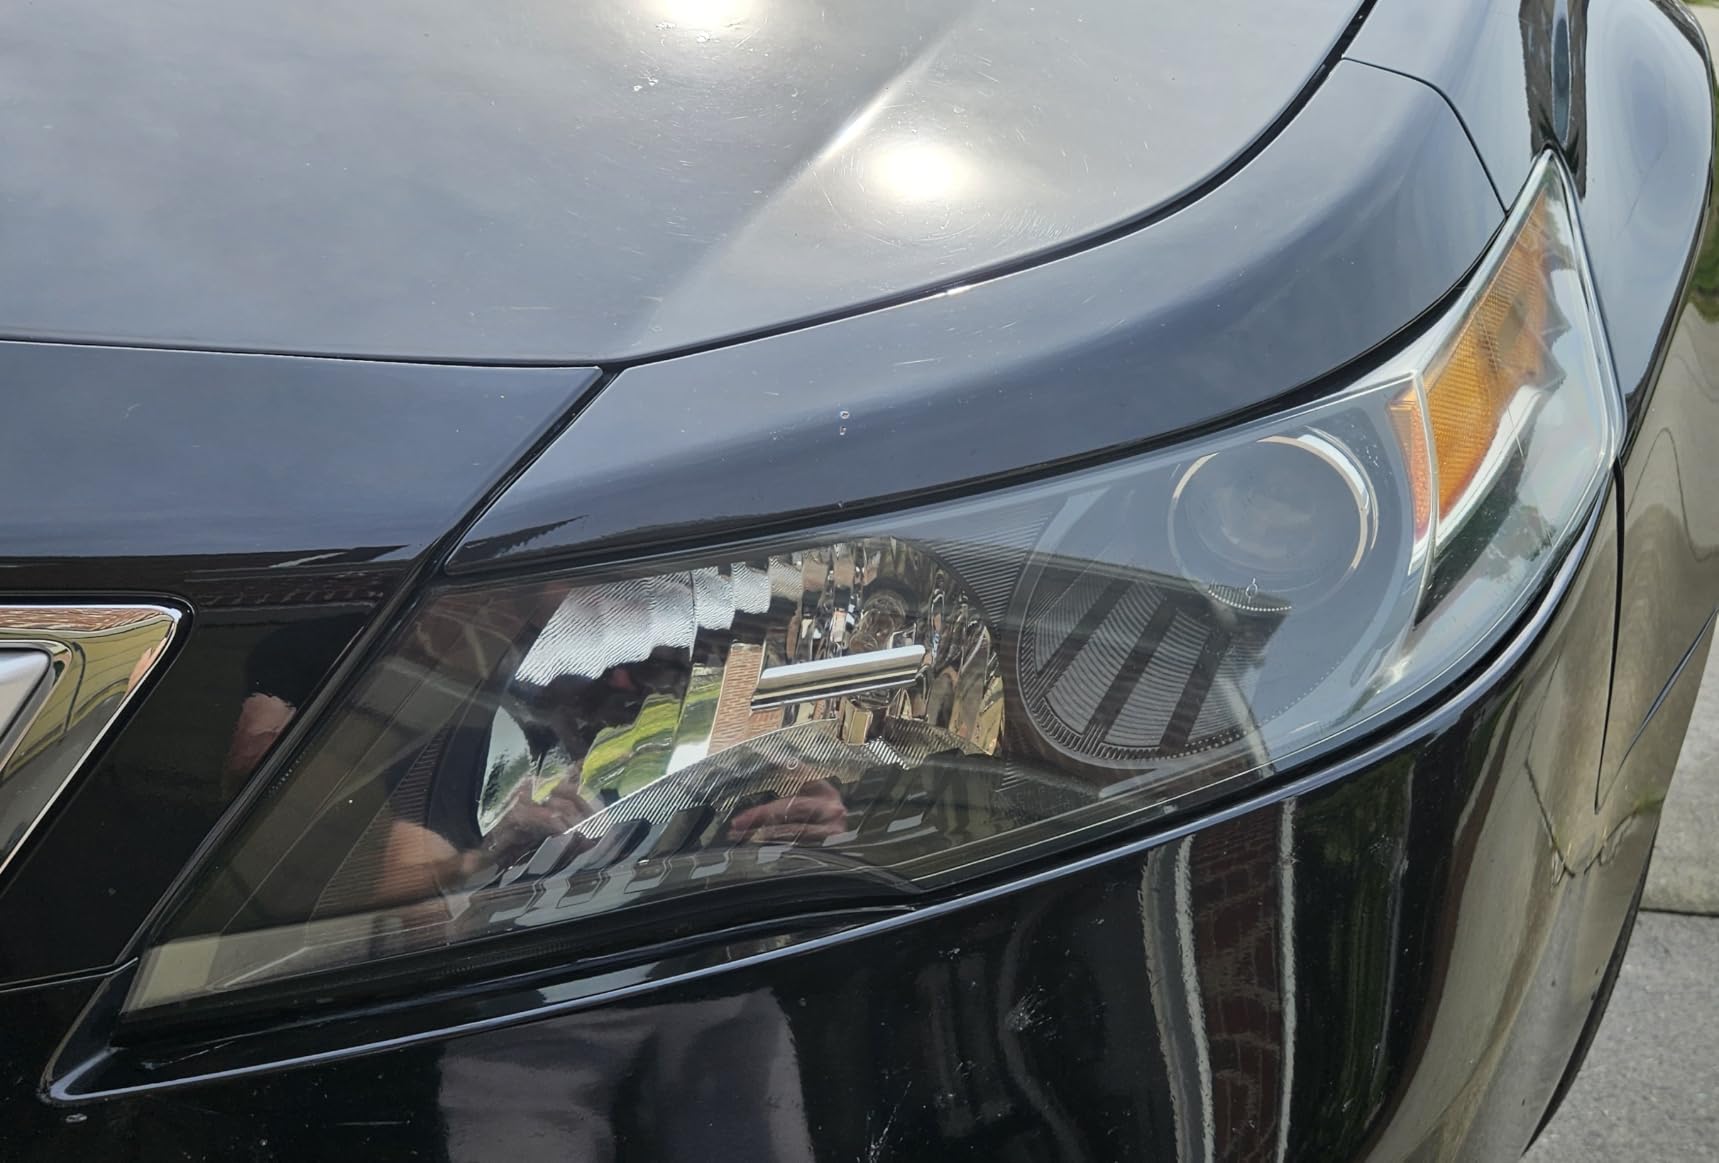
Durability is the part worth planning around. Owners on truck and detailing forums report lenses still clear at 18 months with this kit, and one four-year-old hazed truck headlight was reported as transformed by a single kit by an owner who expected nothing from it. That is a realistic expectation, not a marketing promise.
Where this kit earns its spot on a truck
This is the one I reach for when a truck has moderate to heavy yellowing and the owner does not own a drill or a polisher. It removes the temptation to skip the sanding step, which is where most DIY attempts go wrong.
It also suits mixed fleets, because a truck’s headlight, bumper fog lamps, and third brake light can all be treated with the same wipes, and the listing names those uses directly.
Where this kit falls short
Very badly oxidized lenses sometimes keep a faint yellow cast even after the full three steps, particularly in the corners where the sanding pad cannot reach evenly. If your goal is factory-perfect clarity on a lens that has sat outside for a decade, a drill-based kit with a wider grit range will serve you better.
The coating step is also final. Once the ceramic wipe is down you cannot go back over a missed area without redoing the sanding, so work in good light and check before you seal.
2. SYLVANIA Headlight Restoration Kit – Best Tool-Free All-in-One System
SYLVANIA Headlight Restoration Kit, Restores to Like-New Condition
All-in-one system
Treats two headlight lenses
Surface activator included
UV block clear coat
Pros
- Everything needed in one box with no extra tools
- Covers two lenses per kit
- UV block clear coat for ongoing protection
- Long-running design with a very large rating base
Cons
- Sandpaper discs are small and deplete on big truck lenses
- Less aggressive than a drill-based grit progression
- Compound step takes real scrubbing time
Sylvania is a lighting manufacturer, and it shows in how the kit is put together. This is a genuine all-in-one system rather than a stack of separate products you assemble yourself: surface activator, premium sandpaper, clarifying compound, and a UV block clear coat in one package.
The design target is two lenses per kit, which on a truck means one complete headlight pair. The sequence runs from the activator through progressively finer sanding to the clarifying compound, then the protective coat goes on last to lock the clarity in.
What I like is that nothing needs to be bought separately. No drill, no polisher, no extra paper towels beyond what you already have. If you are restoring a truck in a driveway with basic hand tools, that completeness matters more than any individual component being the best of its type.
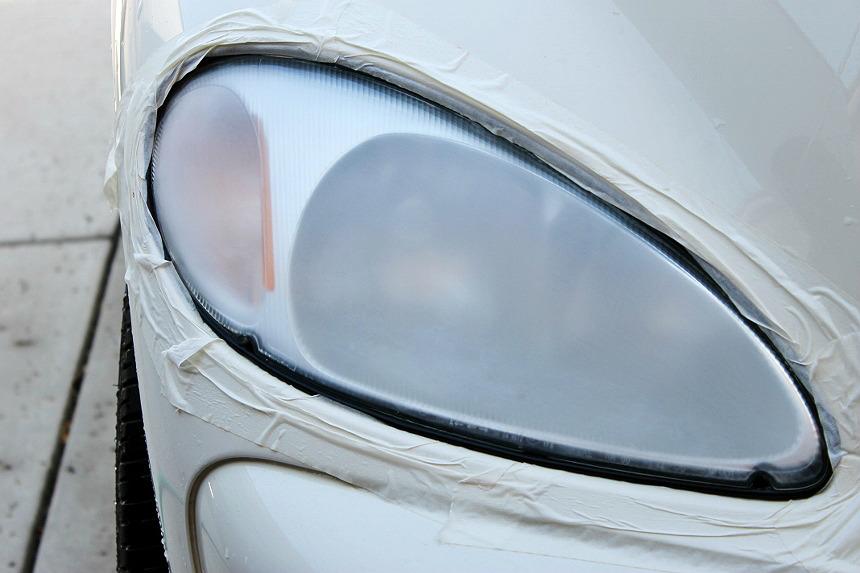
For truck work, the lens size is the deciding factor. Each truck headlight is roughly a third larger than a sedan lens, so the sanding discs included are consumed quickly on a pair. Budget for picking up a sheet of 1000 and 2000 grit wet-dry paper alongside it rather than assuming the kit alone covers the job.
The UV block clear coat is the reason to pick this over a pure abrasive kit. Oxidation is a UV process, so a lens you sand but do not seal will simply start going cloudy again within a season or two. The coating is what buys you time, and owners posting follow-ups after several years report kits still looking new when a protection routine was followed.
The one thing this kit is not is a fast fix. There is no power tool here, so all of the abrasion comes from your arm. On a badly oxidized lens, budget an evening rather than an afternoon.
Best use on a truck
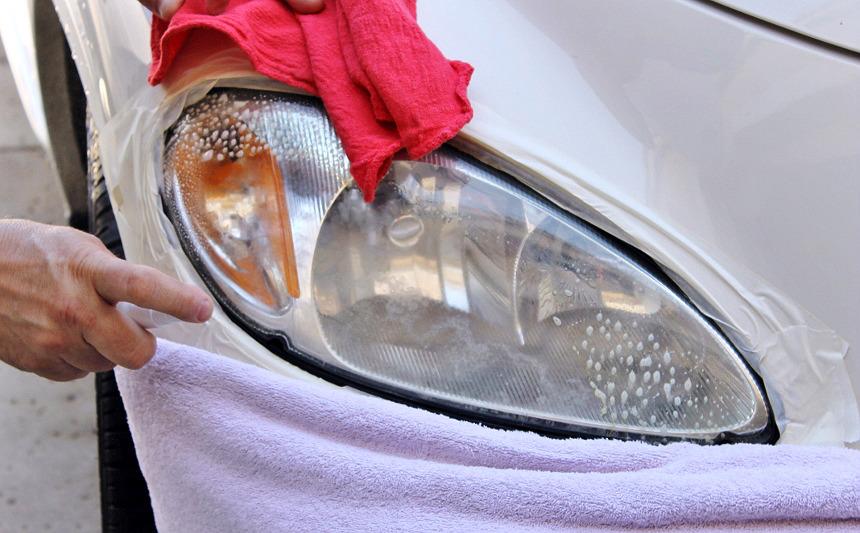
This is my pick for a full pair of headlights on a truck that still has sound lenses but visible yellowing, particularly on a commuter rig that sees constant sun. It handles both headlights in one session and leaves real UV protection behind.
It also makes sense for anyone who wants to treat headlight, fog lamp, and bumper lamp surfaces with the same system without learning a second product line.
What to watch out for
The included sandpaper is the limiting factor on large lenses. Running out mid-lens and improvising with household paper is exactly the shortcut that leaves a permanently hazy patch, so buy more paper before you start.
Also note this is a repair kit for oxidized lenses, not a fix for crazed plastic. If your lens shows a web of internal cracks rather than surface yellow, this will not change it.
3. 3M Ultra Headlight Restoration Kit – Best Multi-Grit Progression
3M Ultra Headlight Restoration Kit, Contains Masking Tape, Light Sanding Discs, Wax Protectant and More, Use on Plastic Lenses Headlights, Taillights and More, Easy Heavy-Duty Restoration (39195)
500 and 800 grit discs
3000 grit refining disc
Quick headlight clear coat
Drill pad holder included
Pros
- Widest grit range in a single kit from 500 to 3000
- Disc pad holder works with a household drill
- 3M abrasives designed not to gouge plastic
- Masking tape and protectant included
Cons
- Requires a household drill for the full effect
- Coat needs careful even application
- Has to be run carefully around bezels
The 3M kit is the one I recommend when the question is severity. It starts at 500 grit, which is far more aggressive than anything else on this list, and that starting point is the reason it can rescue a truck lens that other kits only improve.
Contents are straightforward: a 3.25 inch disc pad holder, six 500 grit Gold sanding discs, four 800 grit White finishing discs, one 3000 grit Trizact refining disc, and two applications of Quick Headlight clear coat, plus masking tape.
The pad holder takes a common household drill. That single fact changes the whole job on a truck, because a lens this size is genuinely tiring to sand by hand from 500 grit up. The listing also lets you run it as a no-tool kit if you prefer, but I would not on a badly oxidized lens.
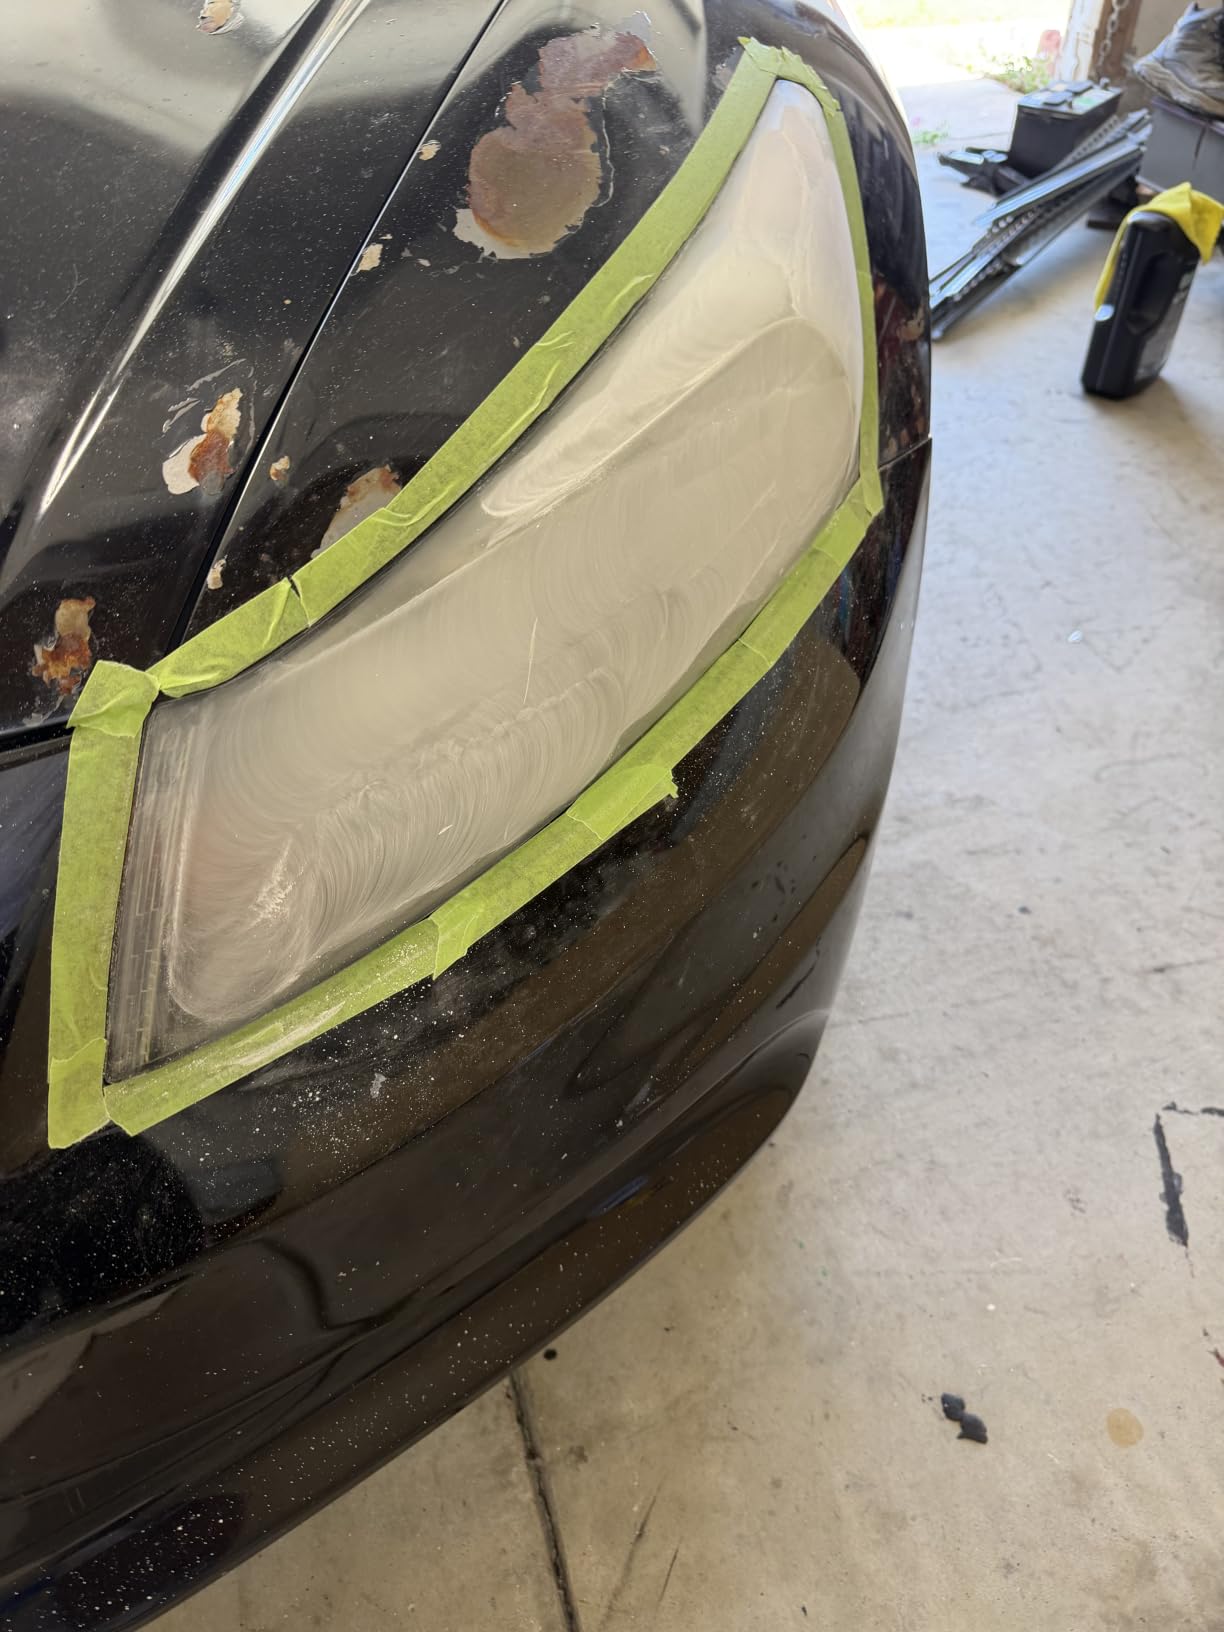
500 grit sounds alarmingly coarse for a headlight, and it is. It is correct here because the clear coat that failed is a sacrificial layer, and cutting through it quickly is what stops you from spending an hour at each grit step. Jumping straight to 2000 grit on severe oxidation leaves you sanding unevenly and chasing a hazy finish for the rest of the day.
The 3000 grit refining disc is what makes the finish come out clear rather than merely less yellow. Sanding scratches from the coarser steps are still visible at night as light scatter, and the refining step plus the compound knocks them down enough for the clear coat to level over.
For truck-specific use, the 3 inch disc size is a good match for the flat central sections of a pickup headlight, which is most of the optical area. The bezel edges and the sculpted outer corners are still hand work.
The clear coat is what finishes the job, and it needs more care than a wipe-on product. Work in small sections, keep it even, and follow the flash-off time in the instructions.
Why this one for trucks specifically
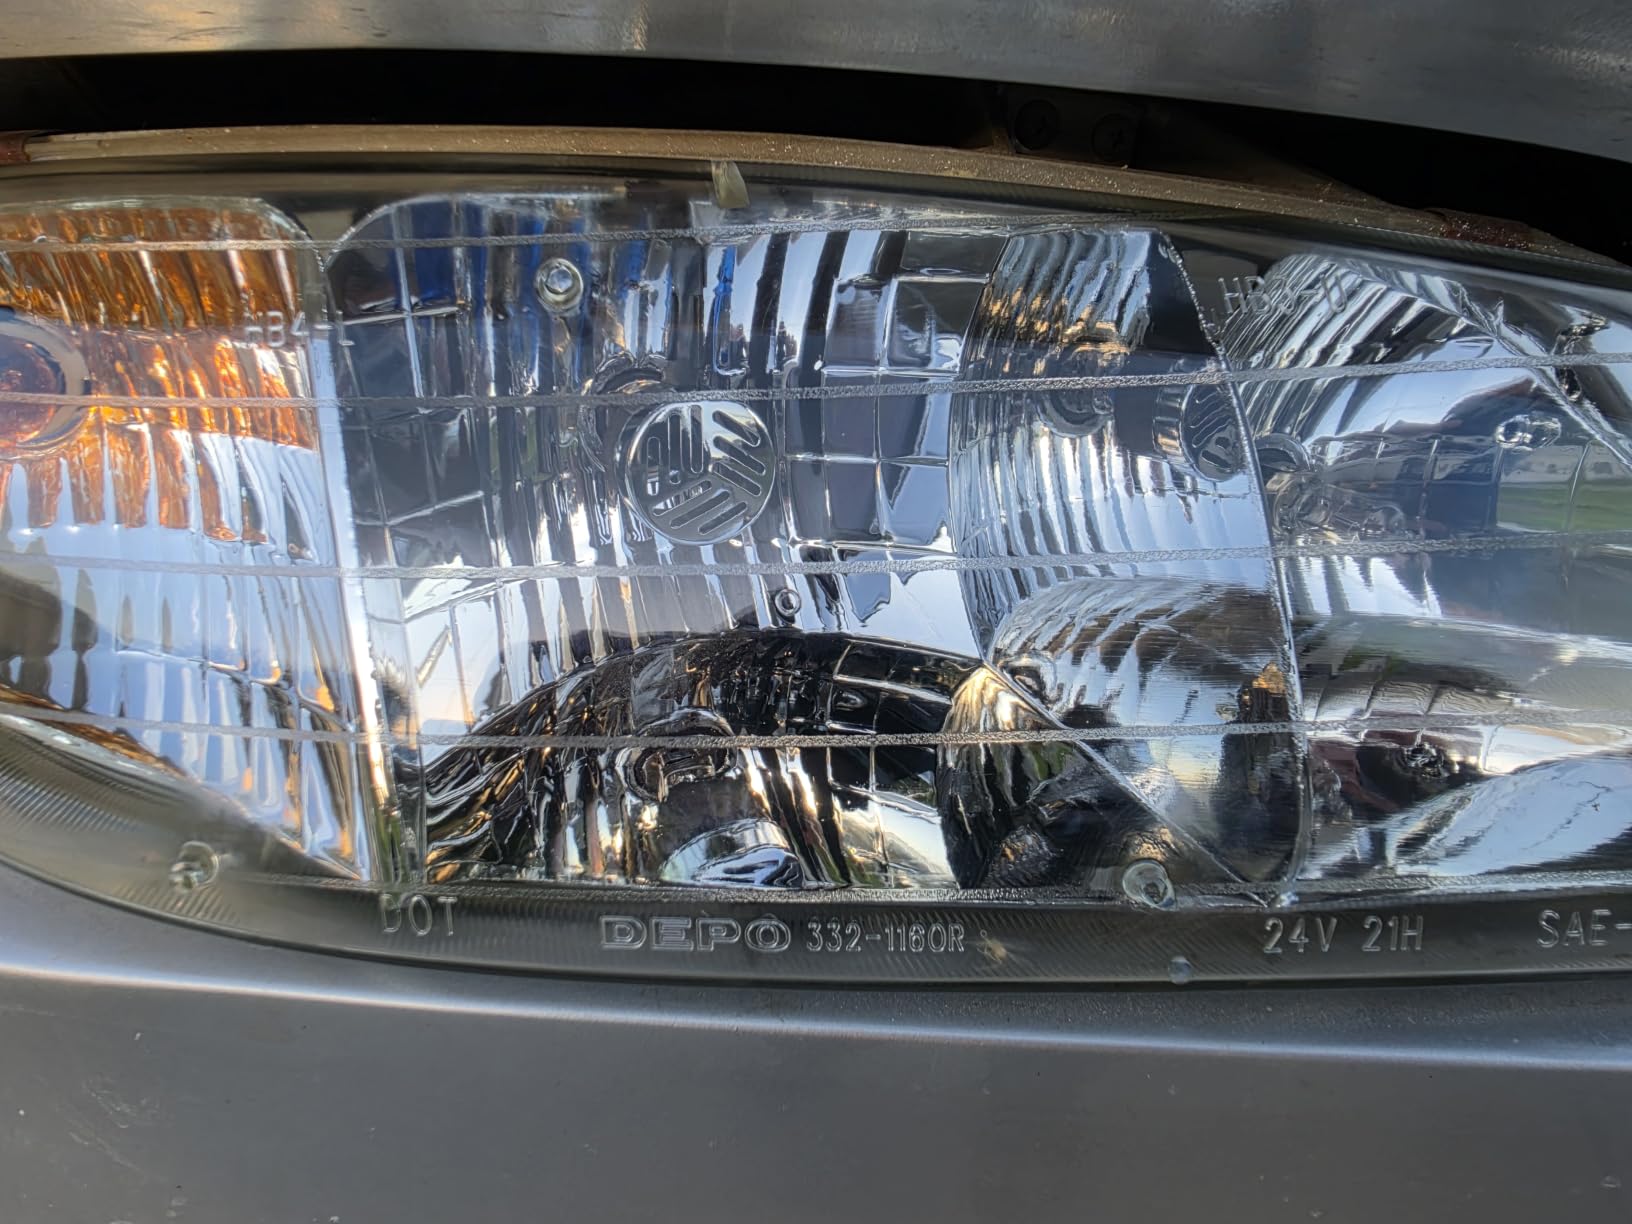
Truck lenses see more UV hours than car lenses, which means they tend to reach the point where surface oxidation needs real cutting rather than a wipe. A kit that starts at 500 grit is built for that situation.
It is also the most versatile in the lineup, working on headlights, taillights, fog lights, and directional lights, so one kit covers a full lighting package on an older truck.
Where it can disappoint
With a drill running, control is everything. Holding a spinning disc against a curved lens for too long in one spot generates heat, and heat on polycarbonate is how you melt a lens rather than clean it. Keep the disc moving and keep water moving too.
If you have never used a drill polisher before, budget a practice run on a fog lamp before you touch your headlights.
4. Meguiar’s Two Step Headlight Restoration Kit – Best for a Fast Hand-Only Fix
Meguiar’s Two Step Car Headlight Restoration Kit
Two-step process
4 fl oz cleaner
Abrasive pads included
No drill required
Pros
- No sanding paper or drill needed at all
- Coating fills fine scratches into a glassy finish
- Under an hour including drying time
- Enough product for two or three vehicles
Cons
- Slow by hand on large truck lenses
- Strips the factory UV protection layer
- Spray coating is easy to over-apply or under-apply
Meguiar’s takes the opposite approach to the 3M kit. There is no sanding paper at all, no drill, and no grit progression. You apply the cleaner solution to the included abrasive pads, scrub by hand, and then spray on the headlight coating.
The clever part is that the spray coating is a liquid that fills the micro-scratches left by the pads. Instead of polishing those scratches out, it levels over them optically, which is why the result has a slightly wavy-glass look under close inspection rather than a mirror finish.
On a moderately hazed truck lens this takes under an hour including drying time, and one kit has enough product to treat two or three vehicles depending on how bad the oxidation is.
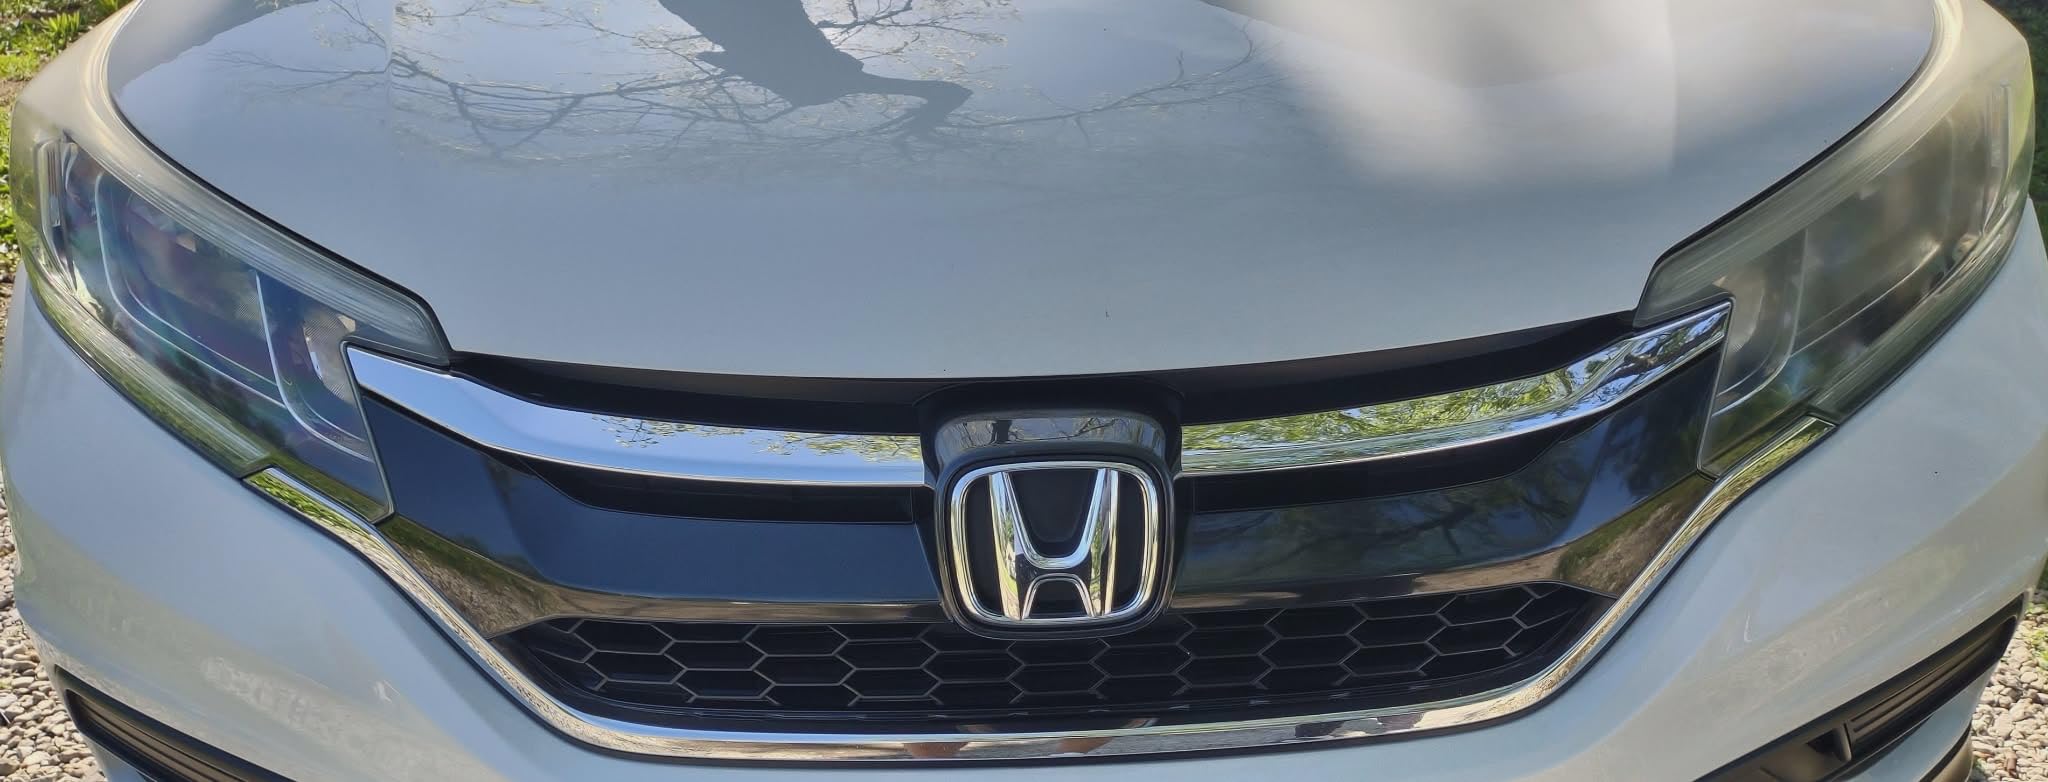
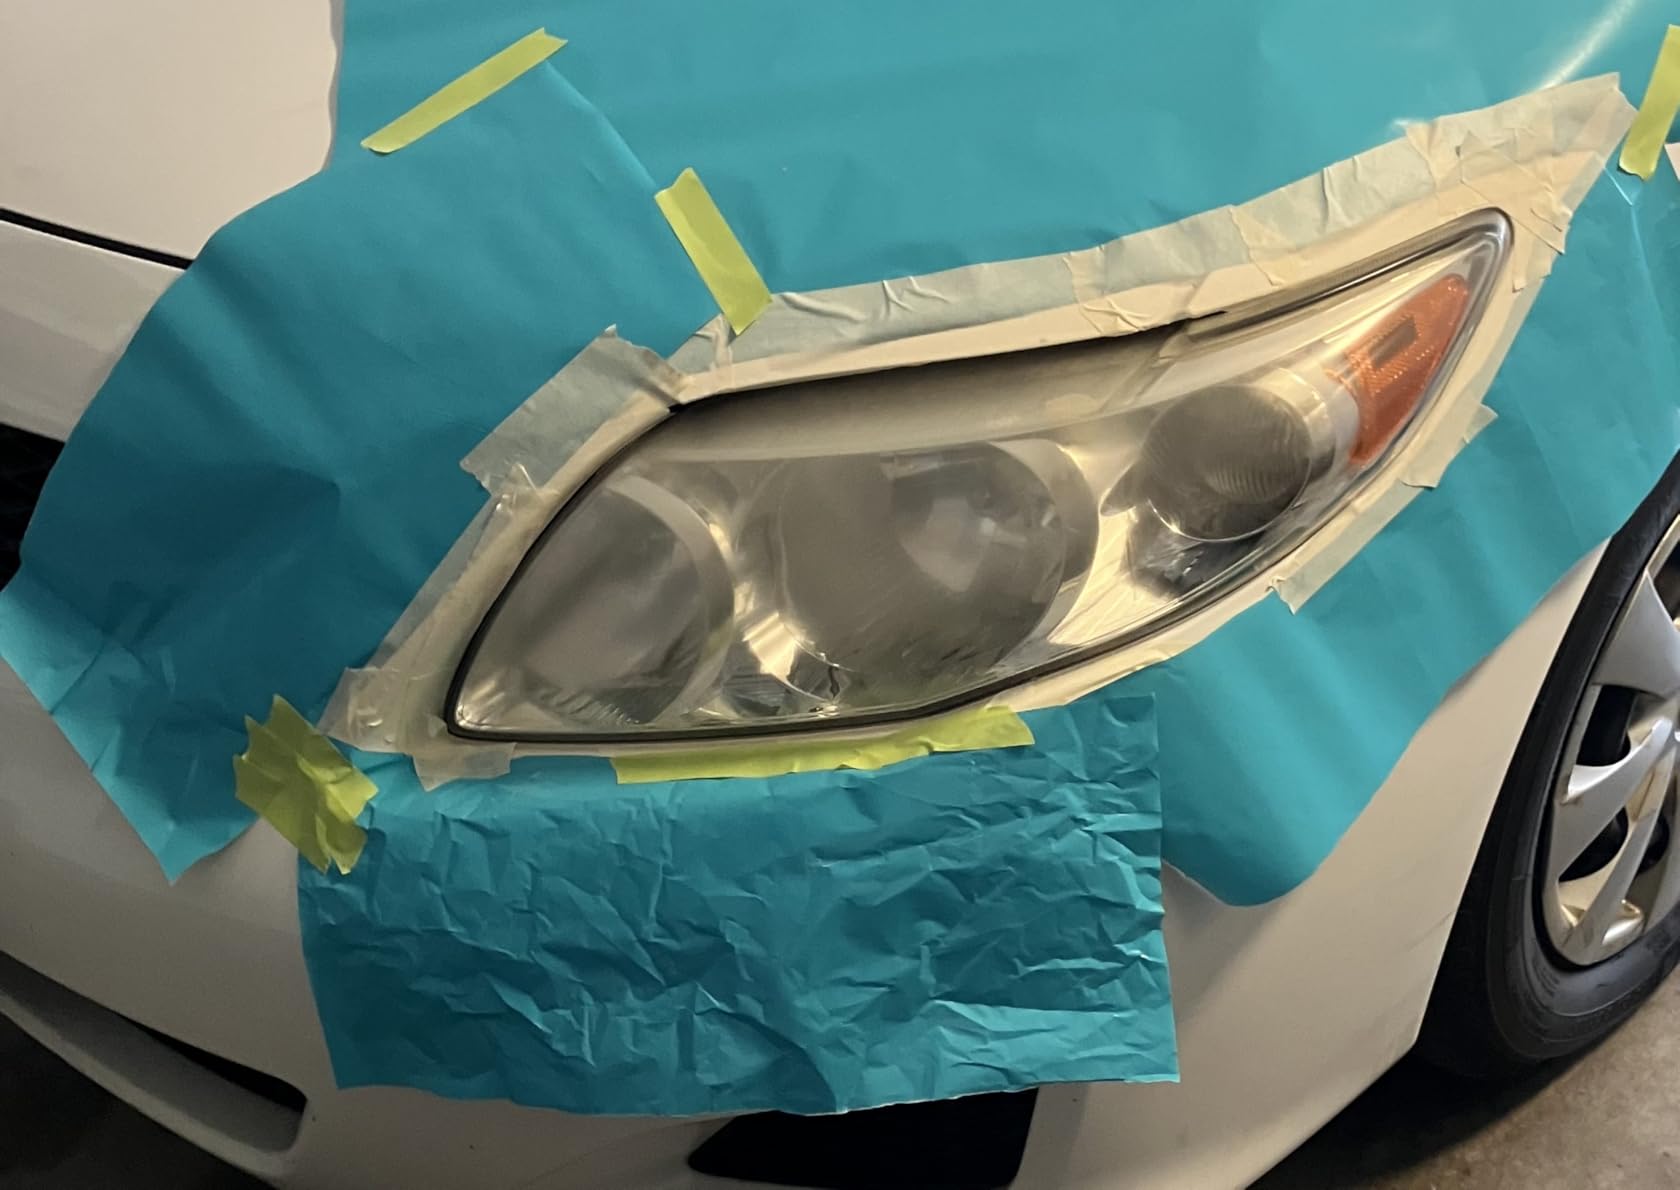
Truck application needs one specific adjustment: masking. The coating is sprayed, and reviewers report overspray onto surrounding paint when masking is incomplete. On a truck that usually means the black grille, bumper trim, or the chrome bezel, so tape those areas properly before you start.
There is another truck-specific consequence worth knowing. Because the process works with abrasives rather than paper, it removes the factory UV protection layer on the lens. Your new coating has to do that job alone, so plan to reapply protection on a schedule rather than treating this as a one-time fix.
The listed protection window is up to 12 months against re-oxidation. That is a much more honest number than a lifetime claim, and it matches what owners tend to report back.
Technique makes or breaks this one. Too much spray leaves a filmy finish, too little leaves cloudy patches, and either one is visible from the side in direct sunlight.
Where this kit makes sense on a truck
A truck that has been sitting under a carport or in mild sun, where the lens is dull rather than yellow, will get a real improvement from this. It is also the fastest path to clarity for someone who does not want to sand.
It works well as a maintenance top-up too, since the same pads and coating can be used periodically on a lens that has been restored previously.
Where it falls short
On a truck with genuinely severe oxidation, hand scrubbing with pads alone will not cut through it. Owners consistently note this kit falls short of factory clarity on badly degraded lenses compared with drill-based systems.
The scrubbing is also real arm work, and on the large surface area of a truck lens you will feel it. Factor that in before you start rather than quitting halfway.
5. Mothers NuLens Headlight Renewal Kit – Best for Heavily Oxidized Truck Lenses
Mothers NuLens Headlight Renewal Kit (07251)
PowerPlastic 4Lights polish
Foam polishing tool included
Sanding discs included
Protective polymers
Pros
- Removes heavy oxidation when sanding steps are followed
- Sandpaper covers roughly four headlights
- Large polish bottle with long usable life
- Users report good results on bad truck lenses
Cons
- Confusing instructions that some follow out of sequence
- Few 1500 and 3000 grit discs included
- No protective lens coating in the kit
This is the most polarising kit in the lineup, and the reason is almost entirely about documentation rather than performance. Done correctly, it produces dramatic results on badly oxidized truck headlights. Done by following the printed instructions literally, it produces disappointment.
The kit pairs PowerPlastic 4Lights polish with a foam polishing tool and a set of sanding discs. The polish does two jobs at once: it cuts the oxidation and leaves behind protective polymers that inhibit re-oxidation and guard against UV and environmental damage.
The foam tool is designed for a rotary buffer, which makes the compounding stage much faster on a large lens than hand work, and there is enough sanding material in the box to cover roughly four headlights.
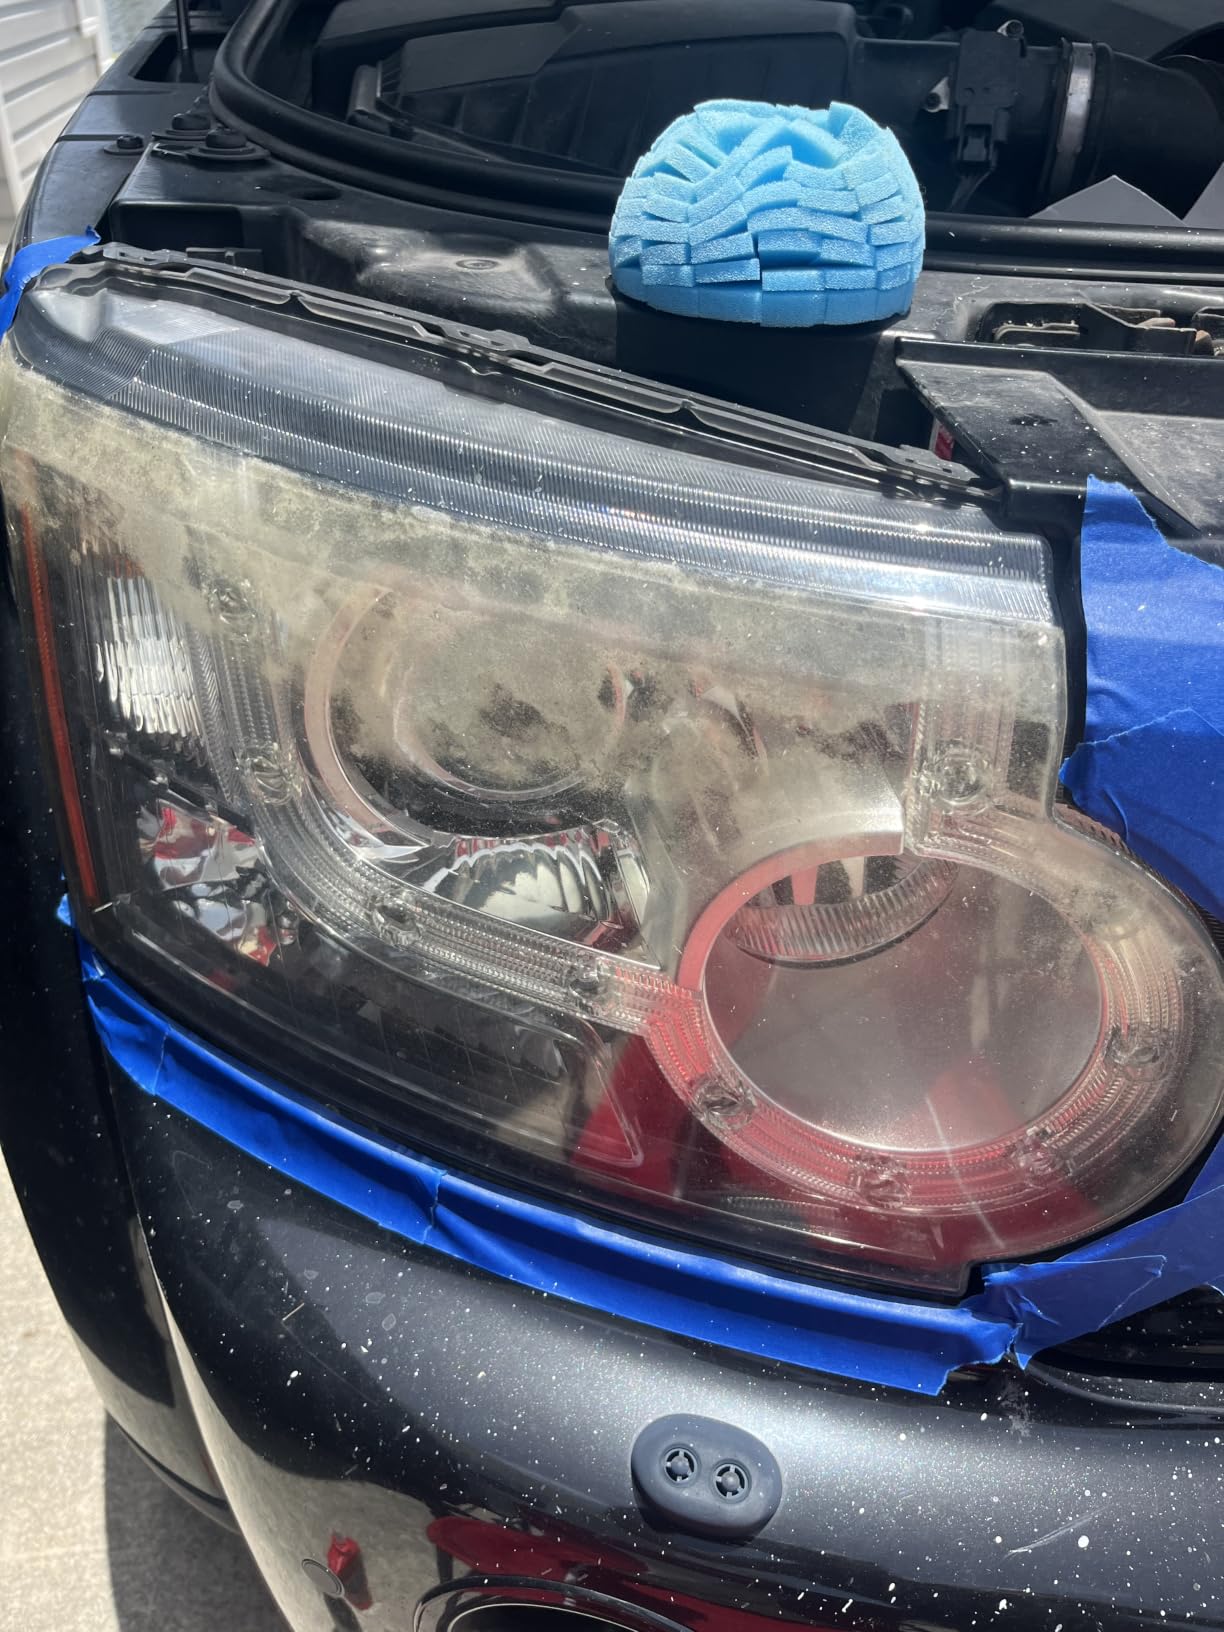
Where it splits owners is the middle of the grit progression. Only a small number of 1500 and 3000 grit discs are included, and on a truck pair you can run dry partway through the second headlight. Buy additional paper before starting.
The most common serious mistake reported with this kit is dry sanding. Without lubricant, friction generates heat and polycarbonate softens, which is how you end up with a lens that is worse than when you started. Keep the paper wet and keep moving.
Rotary speed is the other trap. Too much speed and compound flicks onto adjacent paint and glass, and it embeds residue that speckles the finish and is genuinely hard to remove.
One more limitation to plan around: this kit does not include a protective lens coating, so you will need to source a UV sealant separately to get the protection layer you actually want on a truck that lives outside.
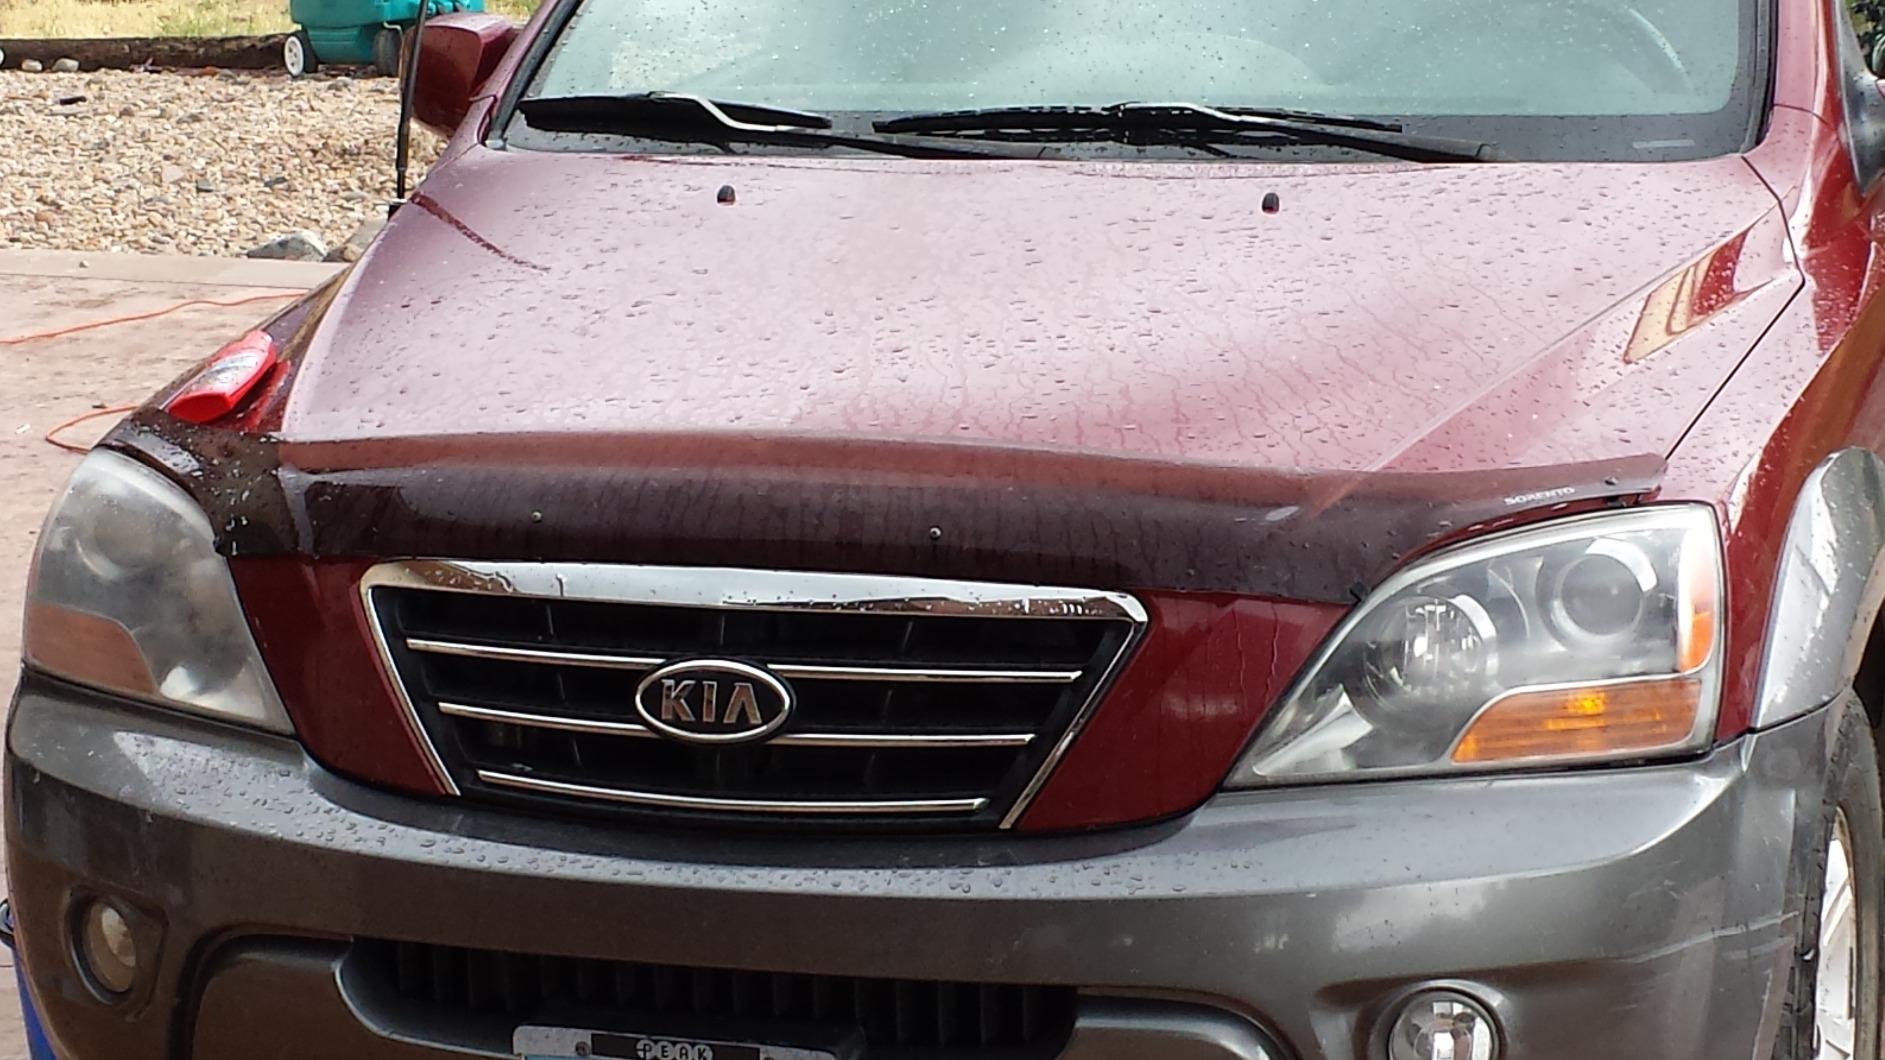
It also will not fix deep pitting. Lenses with pits in the plastic leave residual haze no matter how long you polish, and those are replacement candidates rather than restoration candidates.
Best truck application
Pick this kit when the lens has real thickness of oxidation and you have a rotary buffer available. Truck headlights that have weathered through several seasons are exactly the case where a single-step polish and protect outperforms repeated gentle passes.
It is also the practical choice for someone planning to do fog lamps, bumper lamps, and headlights in one session, because the polish quantity is generous.
What to fix before you start
Buy extra 1500 and 3000 grit paper, a separate UV sealant, and read a proper grit progression guide before opening the box. Several users who ignored the terse printed instructions followed the steps out of order and got mediocre results that had nothing to do with the product.
Set up water lubrication and a drip tray from the beginning. Retrying a dried-out lens means starting over.
6. Clear Lights Tech Headlight Restoration Kit – Best Three-Wipe Maintenance Fix
Clear Lights Tech, Headlight Restoration Kit – Headlight Cleaner 3-Wipe System, Helps Remove Yellowing & Oxidation, Helps Improve Headlight Visibility, Long-Lasting UV Protection.
Three-wipe system
Two cleaning wipes
One UV coating wipe
No power tools
Pros
- Simplest possible wipe-on format
- No sanding tools required at all
- Compact kit stores anywhere
- Coating helps reduce future yellowing
Cons
- Lowest rating in the lineup with a wider share of one-star feedback
- Does not cut through heavy oxidation
- Results depend on how far the haze has progressed
This is the shortest product list in the roundup: two cleaning wipes to lift grime and oxidation, and one protective wipe that lays down a UV-resistant coating. No paper, no pads, no drill, no compound.
The use case is specific. If your truck’s lenses are lightly clouded and you want them back to clear without spending an evening, this is a five-minute job. The coating wipe helps hold clarity against everyday driving conditions rather than reversing serious damage.
It is also the easiest thing here to keep on hand. It stores in a glove compartment and does not need tools, so it works as a periodic top-up between more thorough restorations.
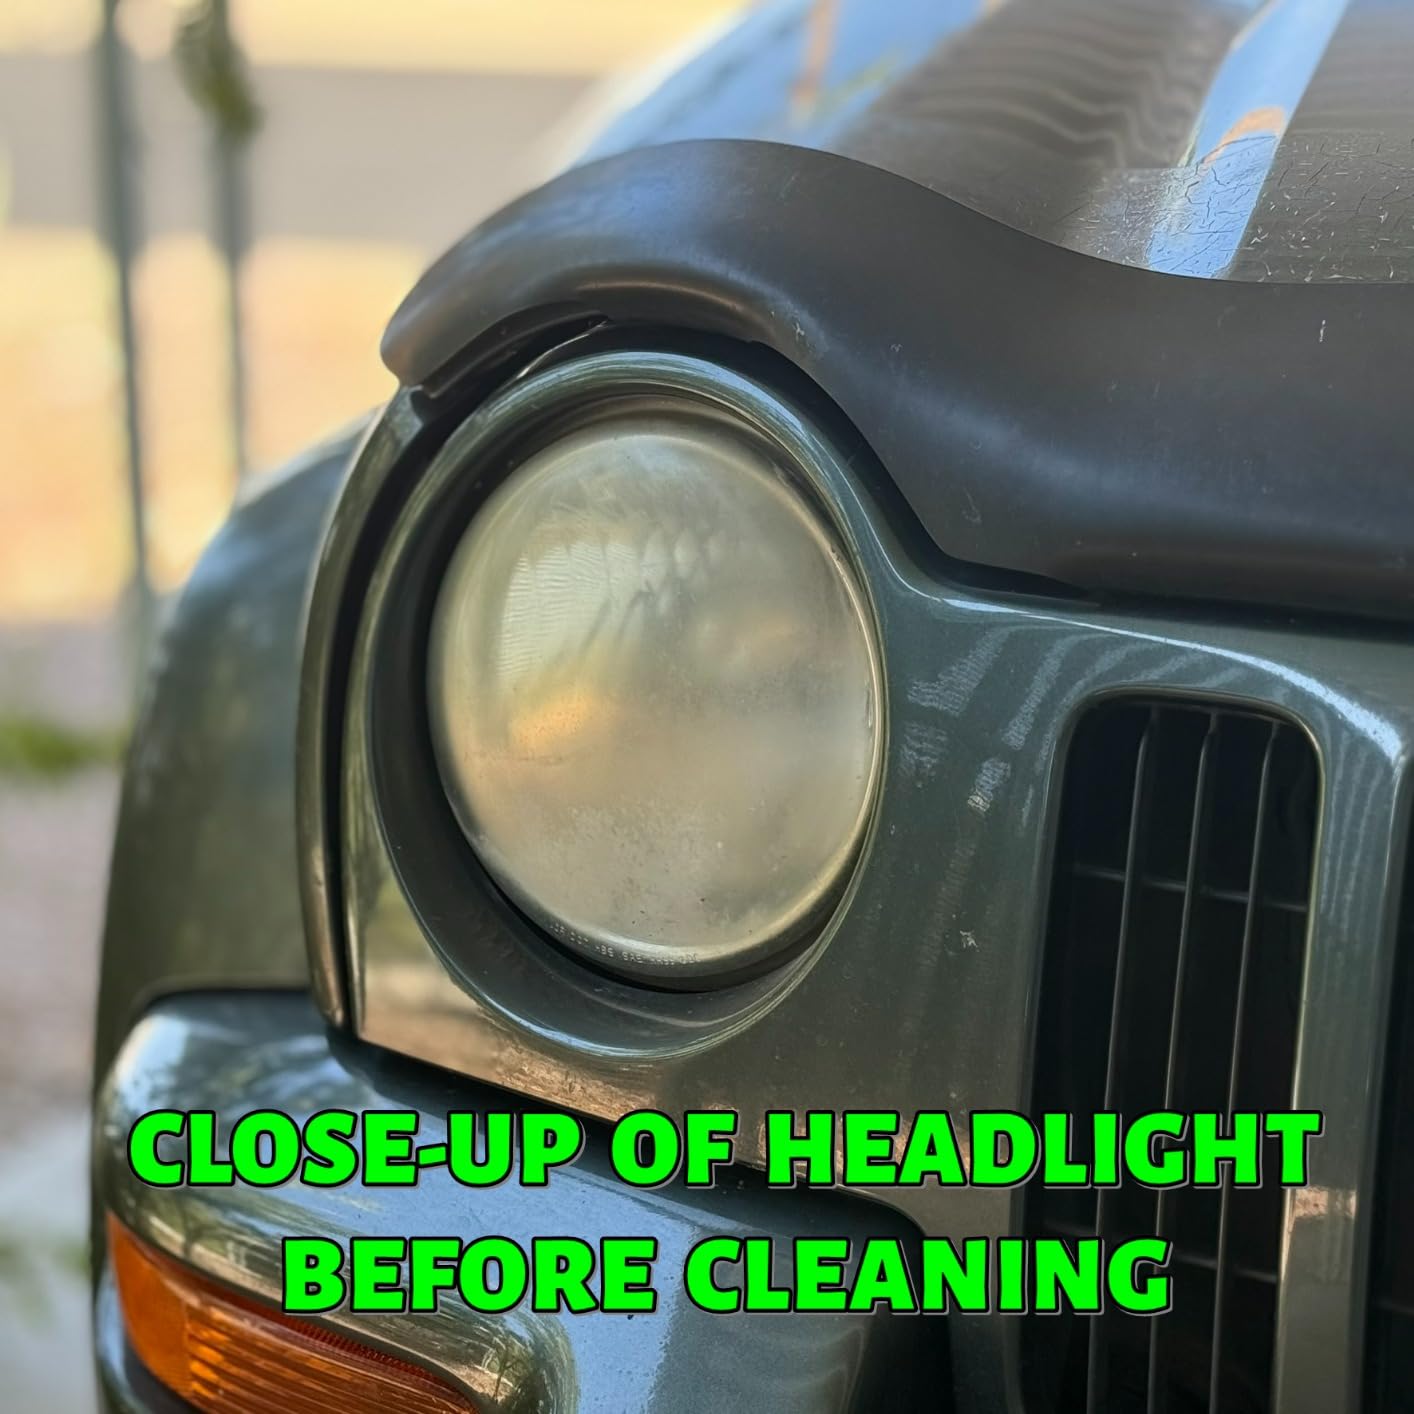
Where truck owners report it underperforming is severity. A lightly hazed lens will brighten noticeably. A lens that has gone properly yellow will improve at the edges and still look wrong from the driver’s seat, and no number of wipes changes that.
The rating here is the lowest in our group, at 4.0, with a higher share of one-star feedback than the others. That pattern usually reflects a mismatch between expectation and lens condition rather than a defective product, but it is a fair signal that this is not the kit for a truck that needs real work.
Truck-specific note: because these are wipes, there is no risk of overspray or compound on your paint, which is a genuine advantage on a vehicle with chrome bezels and black trim close to the lens.
Use it as a maintenance step after a proper restoration, or as a quick clean before you sell the truck. Both are honest uses.
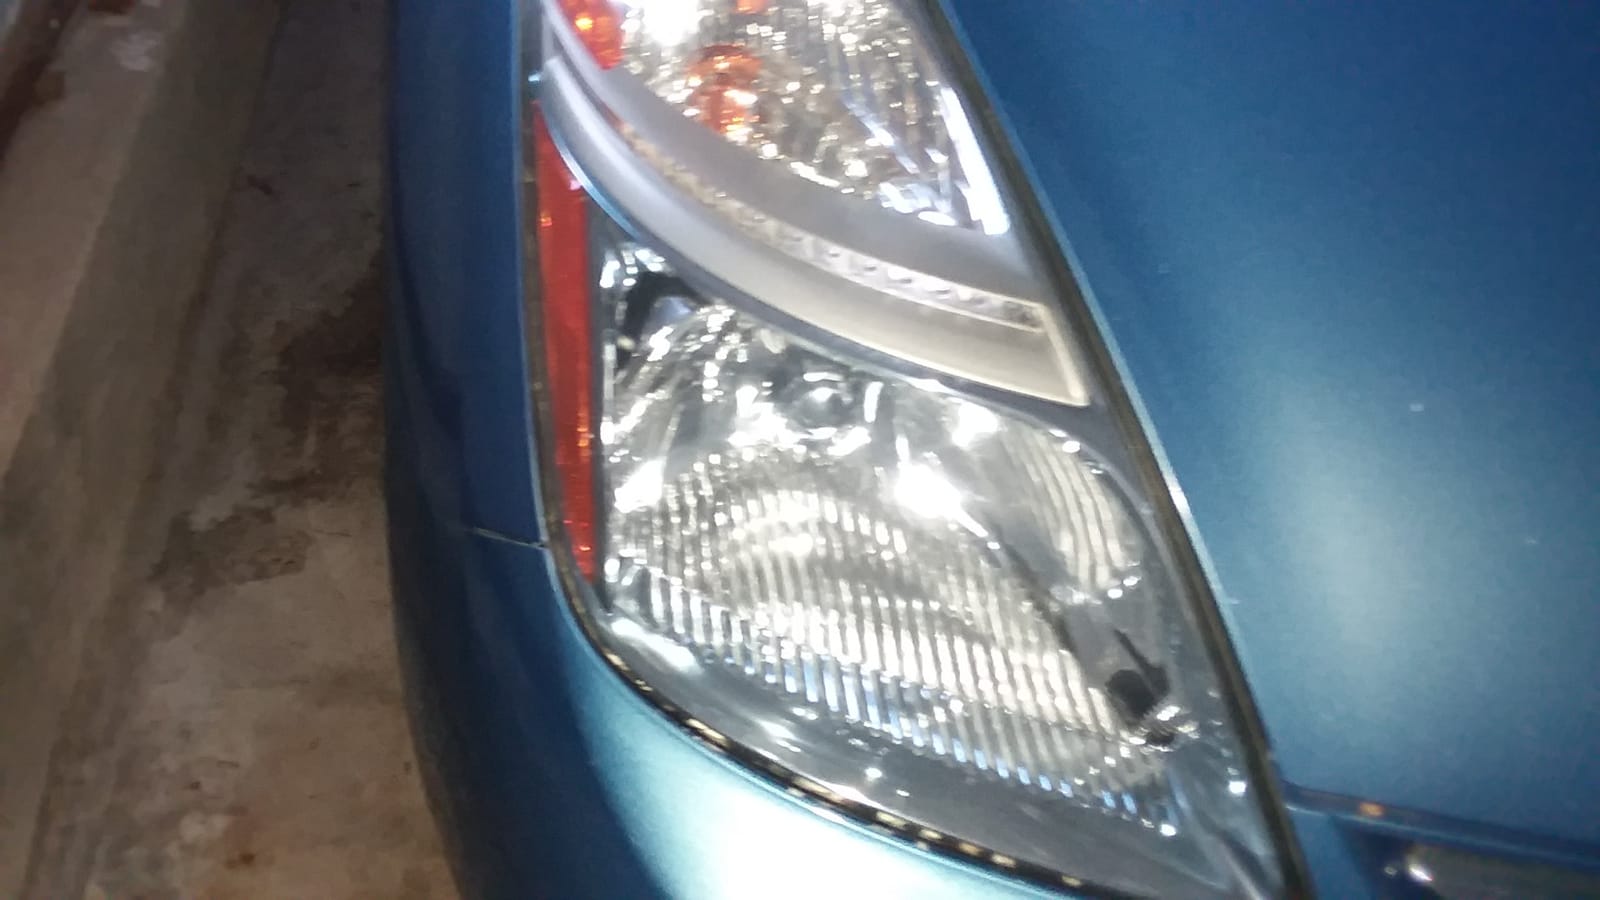
Where it fits on a truck
Tail lights and turn signal lenses are a strong match, since those are usually less oxidized and benefit more from cleaning and coating than from abrasion.
It also works on light haze on a truck that is stored indoors or under cover, where the UV damage has not progressed far.
Where it does not fit
Do not buy this hoping to save a badly oxidized lens. The cost of the kit is low, but the cost of sanding a lens wrong and having to start over is not.
It also cannot restore clarity that has been lost to deep pitting or crazing, since it does nothing to the surface texture underneath.
7. Turtle Wax Headlight Restoration Kit – Best for Truck Fog and Bumper Lamps
Turtle Wax Headlight Restoration Kit for Cars, Trucks & SUVs
Sanding pad and lubricant
Clarifying compound
Sealant wipes
Labelled for trucks and SUVs
Pros
- Only kit here explicitly marketed for trucks and SUVs
- Complete kit with pad
- lubricant
- compound and sealant
- Sealing wipe blocks UV yellowing
- Fast under 30-minute application
Cons
- Sandpaper supply is thin for multiple truck lenses
- Mixed results on severe oxidation
- Rating sits below the group average
This is the only kit in the roundup whose own product name names trucks and SUVs. That matters more than it sounds, because most headlight kits are designed around sedan lens shapes and quantities.
The contents are a precision sanding pad with lubricant, a headlight clarifying compound, and sealant wipes. The lubricant matters: it is what keeps the pad from generating heat on plastic, and it is the component most often skipped when people improvise with their own supplies.
Claimed application time is under 30 minutes, which is realistic for a lightly to moderately oxidized pair and honest about the fact that this is a fast system rather than a deep cut.
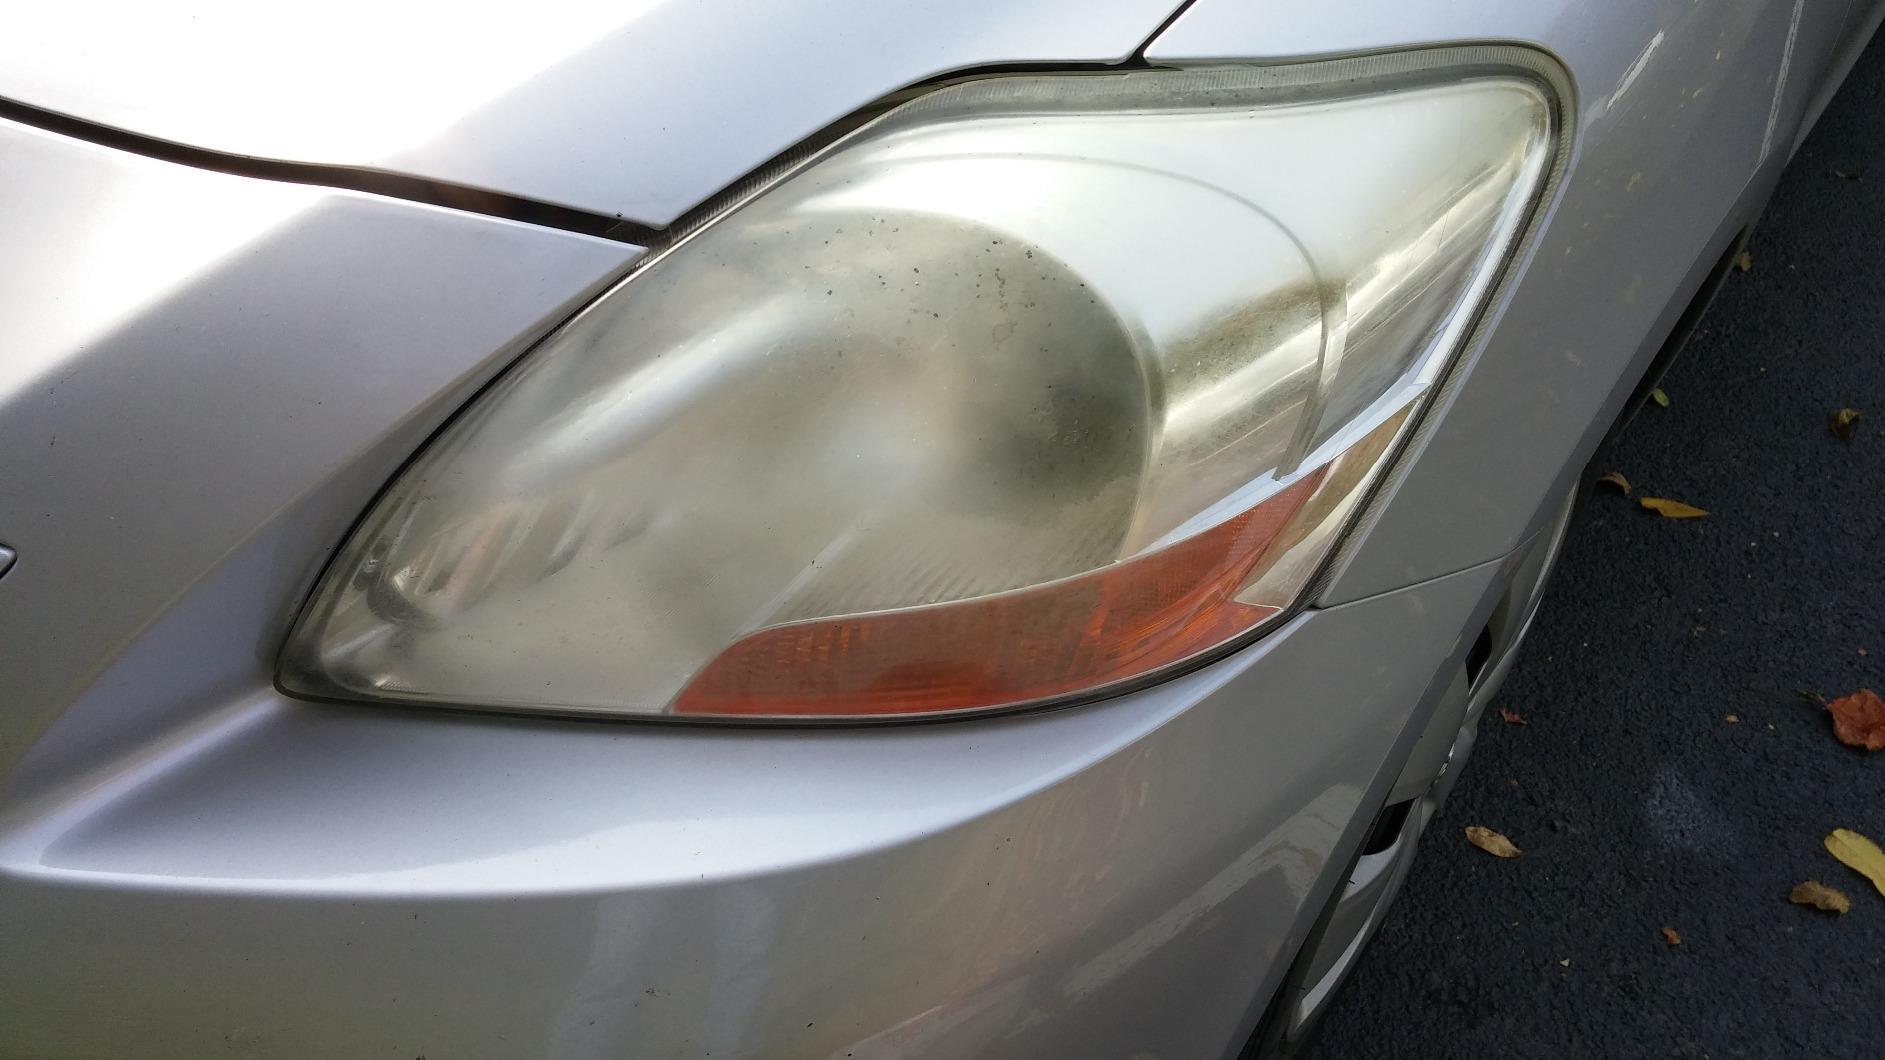
For trucks, the strongest application is fog lights and bumper lamps. Those lamps are smaller, sit in the harshest spray and grime zone on the vehicle, and are often more oxidized than the headlights because road spray hits them directly. A truck with four fog and bumper lamps plus a headlight pair is a natural match for this kit’s contents.
The sealing wipe is what makes the result last. It locks in clarity against UV rays, yellowing, and oxidation, which matters on a truck that sees hundreds of hours of direct sun each year.
The rating sits at 4.1 with a middling distribution, and a meaningful share of three-star feedback points to the same variable: how bad the oxidation was. Mild cases go well, severe cases do not move much.
Plan on buying extra sanding sheets. The included supply covers a pair of headlights comfortably but runs thin once you add fog lamps, which is the whole point of this kit.
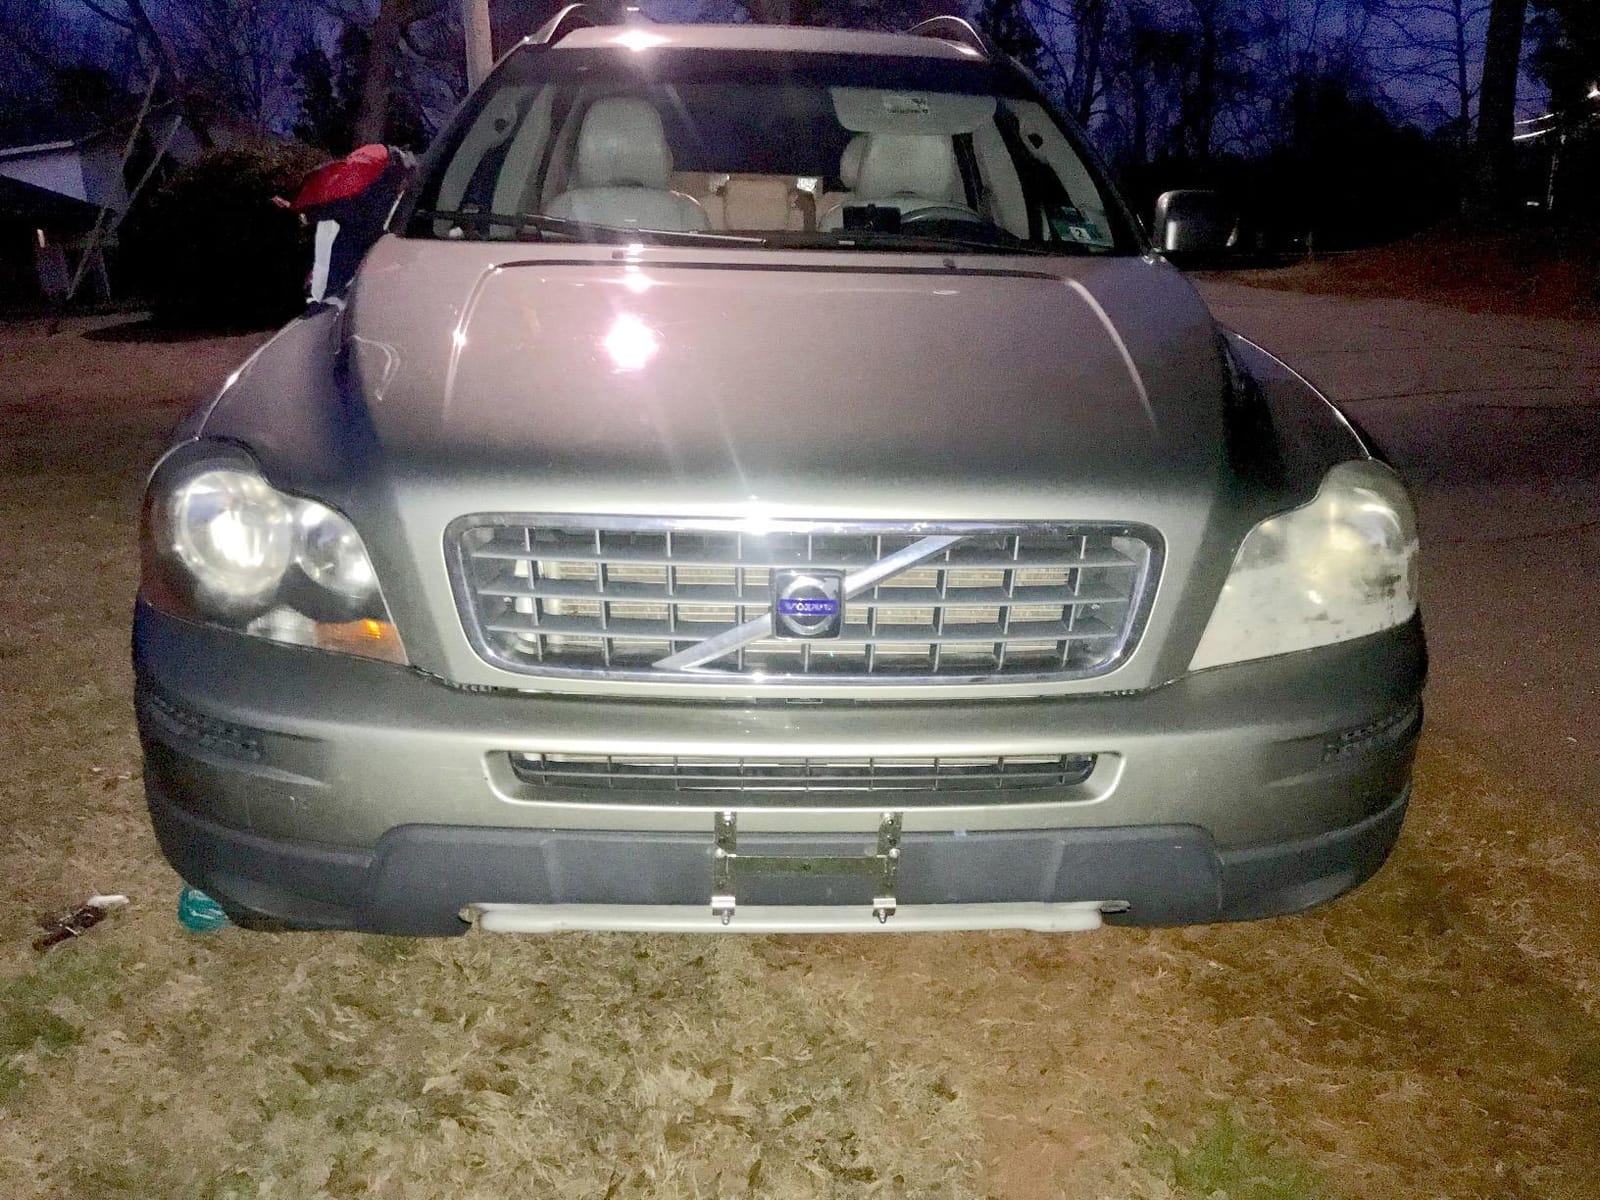
Best truck application
This is my pick when a truck needs its whole exterior lighting package refreshed and you want one brand across all of it. Headlights, fog lamps, and bumper lamps in a single system.
It is also a good choice for a first-time restoration on a truck with mild haze, because the system is simple and hard to get catastrophically wrong.
Where it falls short
On a lens with heavy yellowing, expect a partial improvement rather than a full reset. The single sanding pad does not carry a fine enough progression to erase the scratches it leaves behind.
Also be careful with the lubricant. Skimping on it to speed things up is the fastest route to a hazed patch you cannot polish out.
8. Wipe New Headlight Restore Kit – Best for Large and Glass Truck Lenses
Wipe New HDL6PCMTRRT Headlight Restore Kit
2000 grit wet sanding pad
Chemical restoring solution
Terry cloth and gloves included
Plastic or glass lenses
Pros
- Finishing wipe leaves a genuinely spark-like finish
- Handles large truck-sized lens covers
- Works on both plastic and glass
- Gloves and applicator cloth included
Cons
- Needs 15 to 20 minutes of wet sanding per light despite the marketing
- Strong odor requiring ventilation
- Chemical can strip paint and clear coat
The framing on this one is that the lens clears in seconds, and it is the least accurate claim in the roundup. Owners are almost universal on this: the actual work is 15 to 20 minutes of wet sanding per light with the included 2000 grit pad before the chemical wipe goes anywhere near the lens.
Once you get past that, the finishing wipe delivers. Users commonly describe results at the high end of the restoration range after the sanding stage, and several note durability exceeding expectations past three months.
Two things make it a genuine fit for trucks specifically. It works on plastic and glass lenses, which matters on older assemblies, and owners specifically report it handling large truck-sized headlight covers that smaller kits struggle to cover.
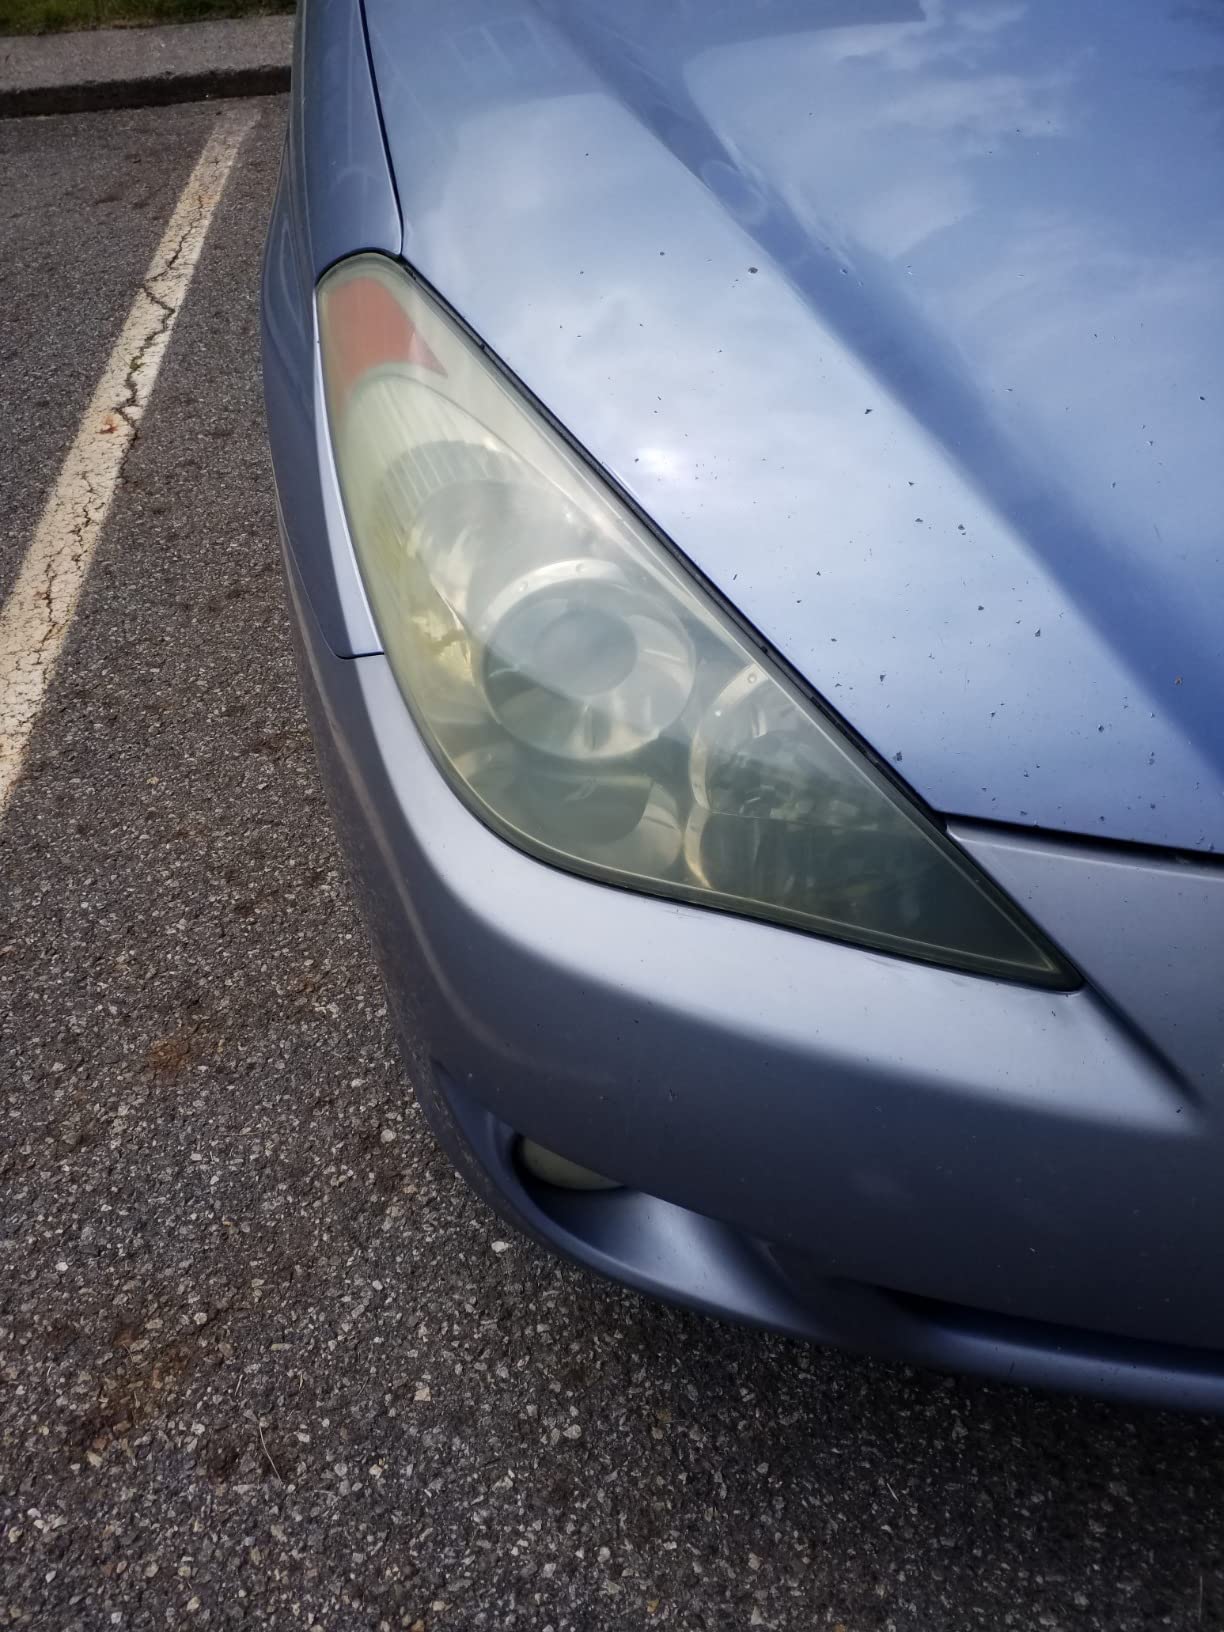
The safety profile is the part to plan around carefully. The chemical solution has a strong odor and needs real ventilation, so this is not a kit to use in a closed garage on a cold day. Wear the included gloves and keep the garage door open.
Worse, the chemical will strip paint and clear coat if it contacts bodywork. Mask the bumper, bezel, and trim generously before you start, and treat the application as a careful wipe rather than a casual one.
Streaks are the other hazard. Once the solution sets, a streak cannot be removed without going back to sanding, so timing and even application matter more than they do with a conventional clear coat.
The applicator cloth is single-use and dries out fast, so work one lens at a time rather than opening everything and letting it sit.
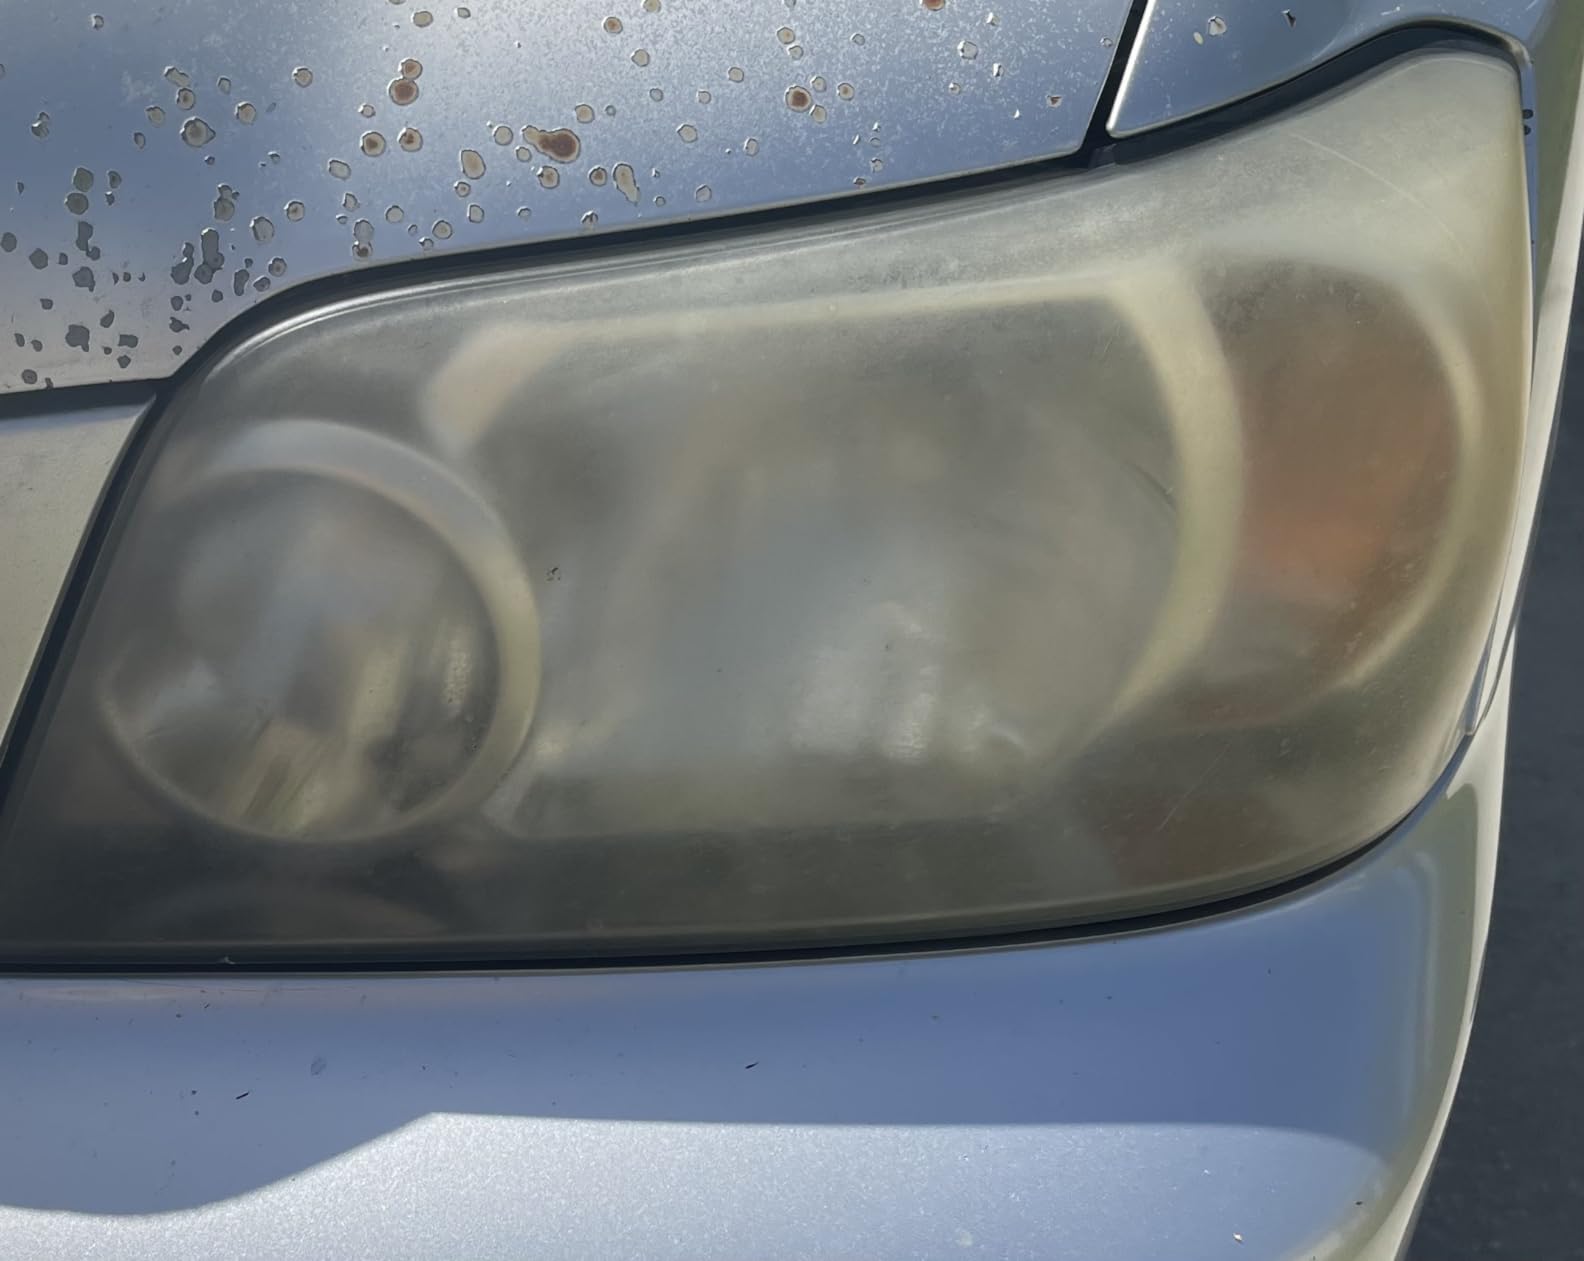
Best truck application
Older trucks with mixed lens materials are where this earns its place, because the same system handles glass and plastic without a change of product.
It also suits anyone who wants the visual result of a professional polish and is prepared to put in the sanding time that the product description understates.
Where it falls short
Anyone wanting a quick job will be disappointed, because the sanding stage is unavoidable regardless of how good the chemical is. On four lamps that is well over an hour of active work.
The 24-hour dry requirement before the lens gets wet or sees moisture is a real constraint. Plan the job around a dry weekend rather than doing it the night before a wash.
9. VIBRATITE 37PCS Headlight Restoration Kit – Best Full Grit Progression on a Budget
VIBRATITE 37PCS Headlight Restoration Kit, 3″ Drill Sanding & Polishing Kit
37 piece set
Discs from 1000 to 10000 grit
Four buffing sponge pads
Masking film included
Pros
- Widest grit range available here from 1000 to 10000
- Enough consumables to cover two vehicles
- Waterproof discs hold up during wet drilling
- Masking film and spray bottle included
Cons
- Drill is not included
- Final UV coating reported as smeary and hazy
- Instructions vague and not printed in the box
This 37-piece set has the widest abrasive range of anything we tested. You get waterproof discs at 1000, 2000, 5000, and 10000 grit, four buffing sponge pads in orange, green, and black, a quarter inch shank backing pad with a soft interface pad, masking film, a spray bottle, two polishing compounds, and four UV protective liquid packets.
That progression is the appeal. Most kits skip from a coarse step to a coarse step and leave you to improvise in the middle. Having 5000 and 10000 grit available lets you refine properly after the 2000 stage, which is where the difference between clear and merely less cloudy comes from.
The quantities matter for trucks. Owners report the consumables cover two vehicles, and the waterproof discs hold up during wet drilling, which matters more here than on a sedan because of the larger surface area per headlight.
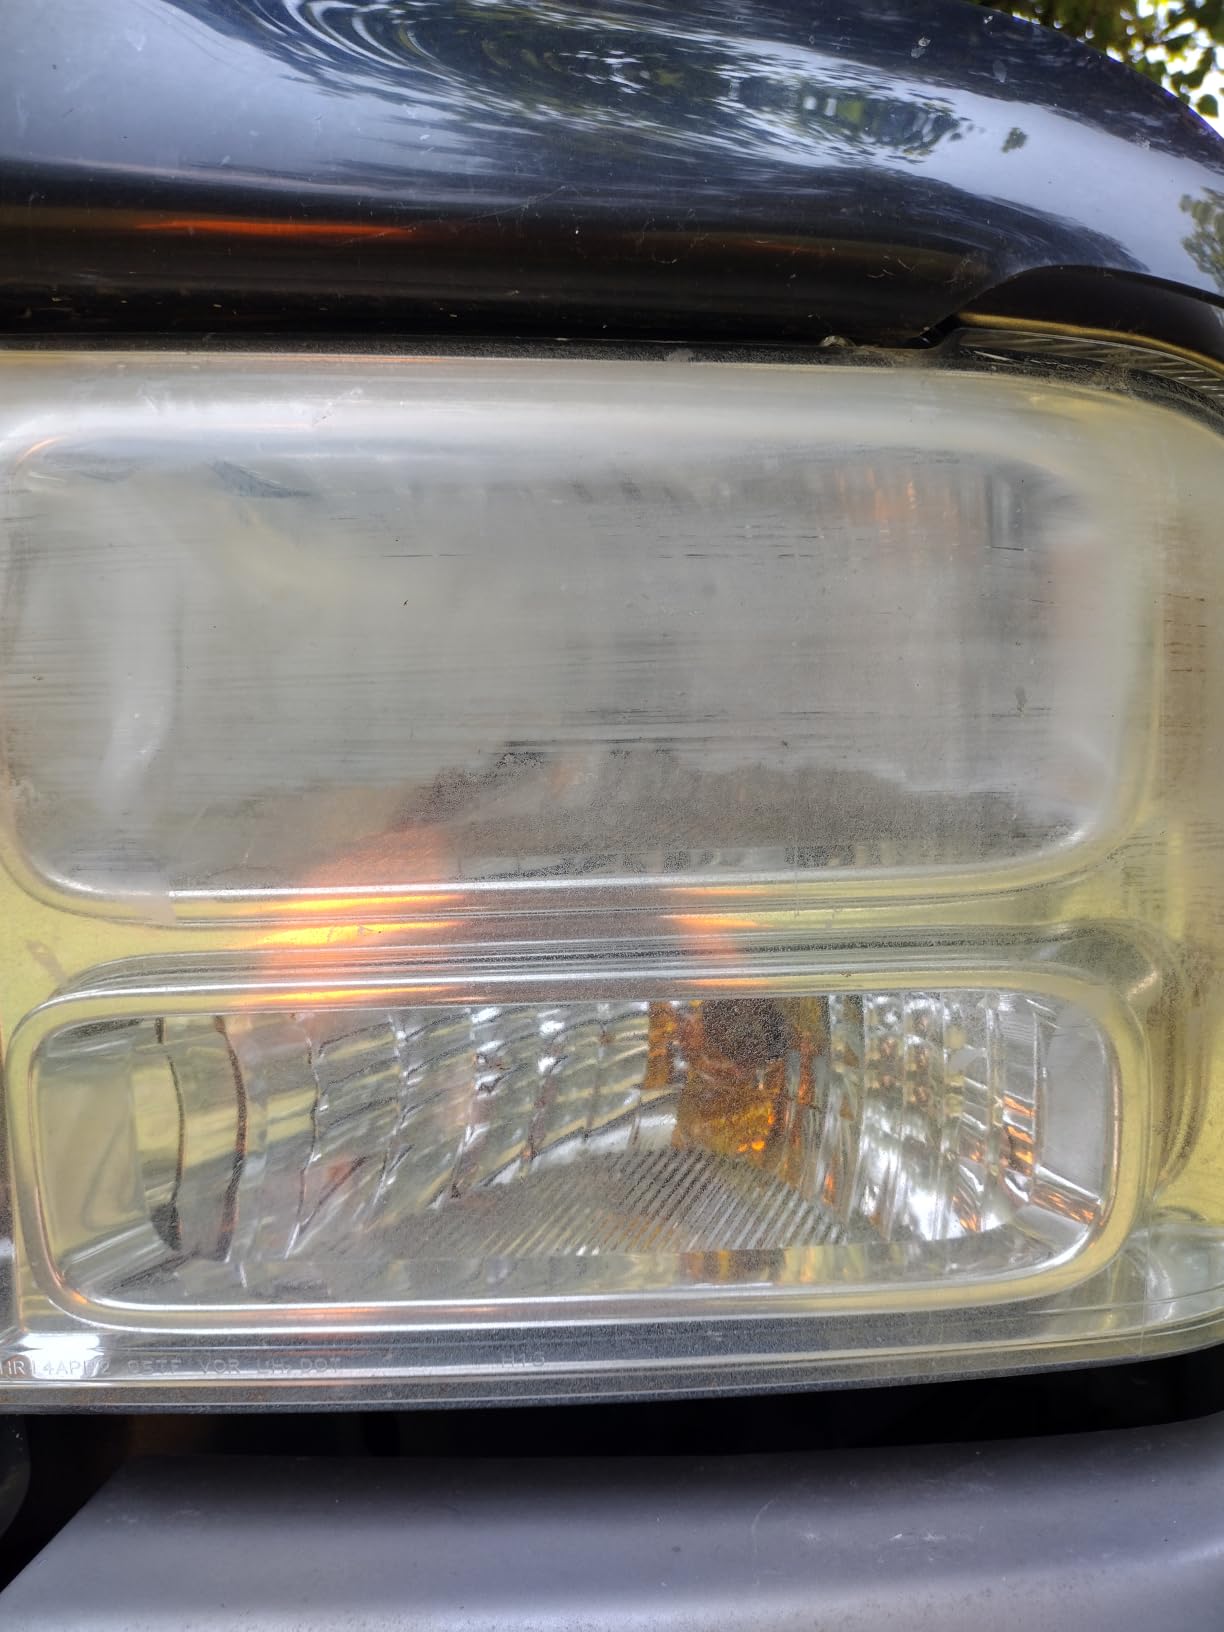
The drill is not included. That is a real cost and a real decision point, because this kit makes no sense at all without one, and using a high-speed drill as a polisher without understanding heat control can damage a lens.
Owners report the sanding and polishing stages produce excellent near-factory results, including verified brightness improvement at night. That is the part of this kit that works.
The complaints cluster on the end of the process. The included UV protective coating is frequently reported as smearing and hazing the lens, requiring removal and redoing with a wax. The instructions are not printed in the box and the pads carry no grit markings, so you need to learn the sequence before you start.
My advice is to treat the final liquid packets as optional. Sand and polish through 10000 grit, then protect the lens with a coating you already trust.
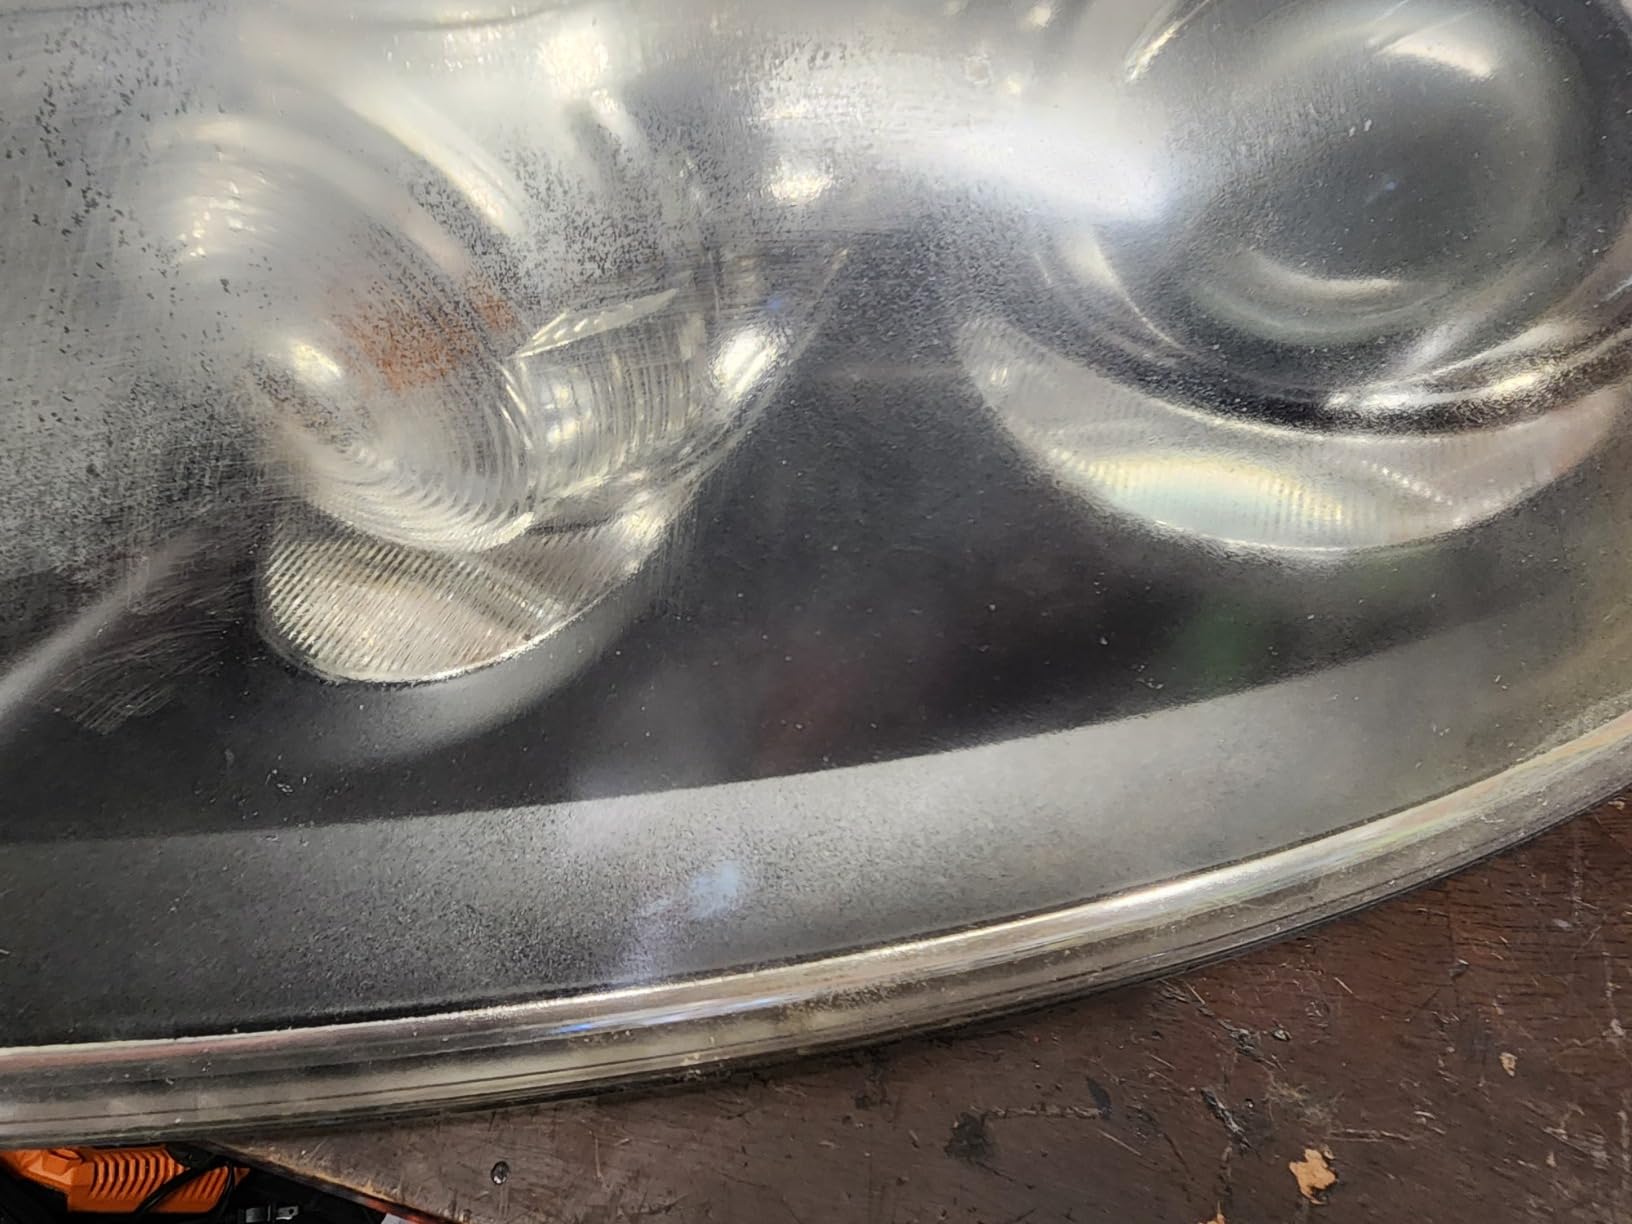
Best truck application
This suits a serious weekend project on a truck with two or more sets of lamps to treat, because the consumable quantity is sized for that and the full grit range avoids the improvised middle steps that produce haze.
It is also the best option here for someone who wants a project-accurate result and already owns a drill.
Where it falls short
On severely degraded lenses the result is limited, no matter how good the abrasives are, because once the plastic itself is pitted the surface cannot be brought back to optical quality.
The time cost is also significant. Each disc needs several minutes per headlight, and with four grit levels across ten surfaces this is an evening job rather than a lunch break.
10. Rain-X 610153 Headlight Restoration Kit – Best Fast Drill Restoration
Rain-X 610153 Headlight Restoration Kit – Car Light Lens Cleaner/Restorer with Sanding & Polishing Drill Attachments & Sealant Wipe, Removes Scratches & Oxidation- All in 1 Long Lasting Formula
Drill sanding and polishing attachments
Protective sealant wipe
1500 to 2000 RPM guidance
Removes scratches and oxidation
Pros
- Drill attachments give the most consistent finish of the drill kits
- Lenses reported going from opaque yellow to clear
- Clear instructions with an instructional video
- Savings against buying a whole new assembly
Cons
- Colored sanding discs can leave residue and streaks
- Drill buffing splatters compound onto surrounding paint
- Needs about 8 hours of cure time before moisture
Rain-X is the most compact kit here at under ten ounces, and it is built around drill attachments for both sanding and polishing plus a protective sealant wipe. The stated working range is roughly 1500 to 2000 RPM, which is a useful number most kits do not give you.
Consistency is the reason to choose it. Users report lenses going from fully opaque and yellow to genuinely clear and like-new in about two hours per pair, and the drill attachments produce a more even result than hand sanding on the same lens.
The instructions are clear and there is an instructional video, which sounds minor until you have tried to learn a process from a kit whose documentation assumes you already know it.
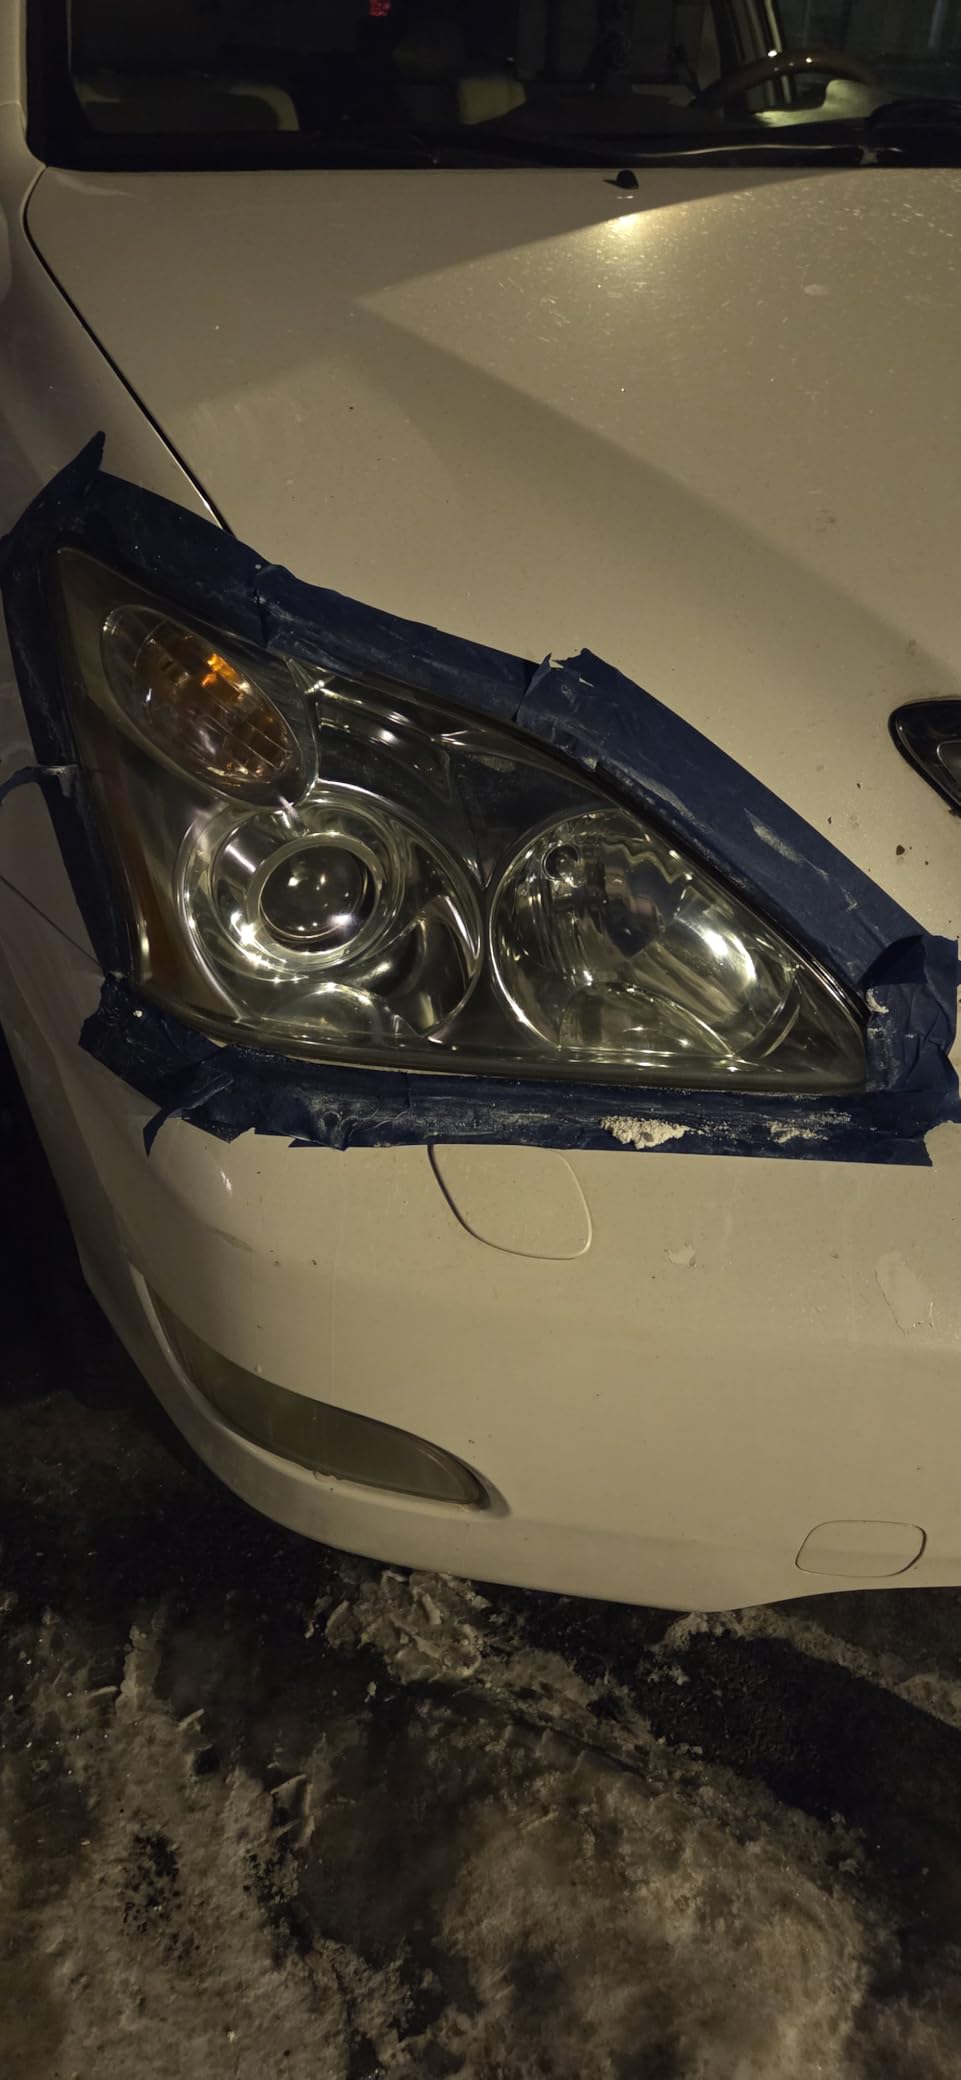
Two practical warnings come up repeatedly. The colored sanding discs can deposit residue in the lens plastic that is difficult to reverse, so follow them with the refining step and do not skip it. And drill buffing throws compound widely, onto paint and glass, which on a black truck is a very visible mess.
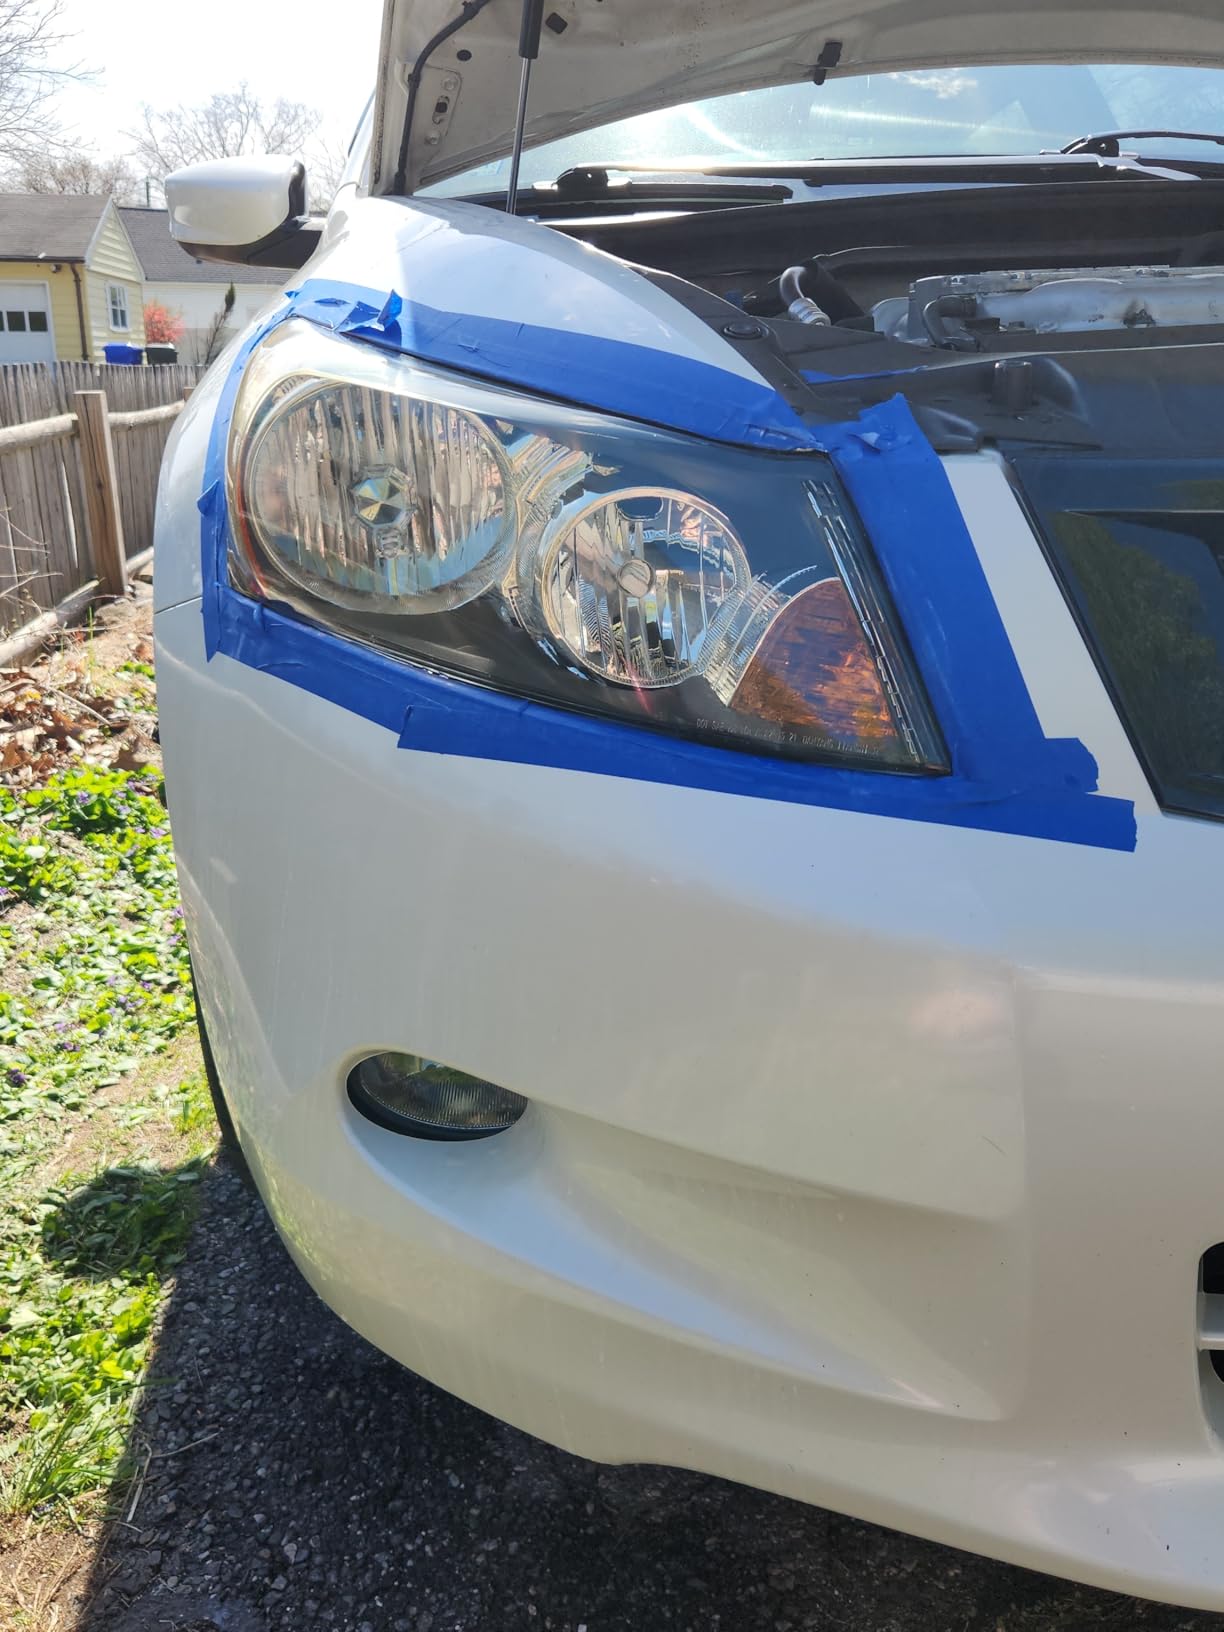
Tape off more than you think you need. On a truck with chrome bezels, painted bumper, and a big grille adjacent to the lens, the overspray zone is considerable.
On heavy haze the drill discs alone may not cut deep enough, so hand sanding the worst areas first makes the machine work do the final refinement instead of the heavy lifting.
Plan around the cure time. Roughly eight hours without moisture means no rain, no wash, no road spray through the drying window, and for many truck owners that means picking a dry weekend.
Best truck application
This is the pick for an owner with a drill who wants to restore a whole lamp set in one sitting. Two hours a pair is a realistic figure for a truck with moderate oxidation.
It is also the strongest candidate for fleet or commercial work where you want repeatable results across vehicles and you can control the environment in a bay.
Where it falls short
The residue issue with the colored discs is the one that generates complaints. On a dark colored truck it shows immediately, and removing it means re-polishing the section.
If your lens is severely oxidized, expect this kit to be the finishing stage of a longer process rather than the whole of it.
How Long Does Truck Headlight Restoration Actually Last
A restored truck headlight that is properly sealed and maintained holds its clarity for somewhere between 18 months and several years. That range comes from owner reports rather than manufacturer claims, and it is far more useful for planning than a lifetime promise.
The short end of that range comes from owners who sanded properly and then let the lens sit untreated. One detailing-community user reports headlights still clear after 18 months with a Cerakote kit, and another truck owner in the same discussions mentions only about 18 months of clarity before haze returned.
The long end comes with a protection routine. Someone who found a Cerakote kit secondhand with a ceramic finishing coat reported the lens was still nearly as clear as the day they applied it. A home improvement forum poster claims the Sylvania kits they used in a previous season still look new after following the kit with ongoing protection, with durability they put at five to eight years.
There is also a middle data point worth trusting more than either extreme. A truck owner reported a low-cost kit taking 60 to 90 minutes on their headlights, with the lenses still clear more than six months later.
One honest counter-report exists too. A forum owner with an older sedan noted their Cerakote result had started to degrade, which is exactly the kind of report the marketing language never surfaces.
So the practical answer is that the kit determines the starting point and the maintenance routine determines the endpoint. A lens sealed with a UV coating and then washed regularly with a protectant every few months will hold considerably longer than the same lens left alone.
How to Restore Truck Headlights Step by Step
Pick a dry, ventilated workspace with a drip tray and a hose or bucket of water. Truck headlights come out either behind the grille or through the wheel well, and on three-piece assemblies you will need to deal with chrome bezels and brackets that most people forget until they are halfway through.
Mask everything before sanding. Tape the painted bumper, the grille, the chrome bezel, the fender edge, and any adjacent marker lamp. Nothing ruins a finished job faster than 500 grit drifting onto body paint.
Wash the lens first with car shampoo and a clean microfiber cloth. Wet sanding dirt and grit across polycarbonate is how you grind contamination into the plastic permanently.
Work the grit progression without skipping. The community consensus sequence is 1000, 1500, 2000, then 2500 to 3000 grit, each step wet and each step finishing with a clean surface before moving finer. Skipping from coarse straight to fine leaves scratches you can still see at night.
Use a drill for the coarse and middle steps on a truck lens, and slow it down. Keep the pad moving, keep water moving, and never hold a spinning disc in one spot. Polycarbonate softens under heat, and a melted patch is unrecoverable.
Switch to a hand orbital or rotary polisher with a compound to knock down the sanding scratches. This is the step most people rush, and it is the step that decides whether you end up with clear or merely lighter.
Seal with a UV-protective coating in small sections and let each section flash off before you touch it. Spray coatings and wipe coatings both punish rushed application with streaks that will not come out.
Finally, protect the result on a schedule. A ceramic spray or traditional UV wax every few months keeps the coating layer intact and is the single biggest factor in how long the restoration lasts.
The safety part people skip
Wet sanding generates a slurry of plastic particles that you do not want to inhale. Wear a respirator and eye protection, work outside or with serious ventilation, and keep a water source on the lens the whole time.
If you are removing the assembly rather than working through the grille, support the lamp housing so you do not crack the plastic tab that clips into the bracket. That clip breaks on a lot of trucks and turns a two-hour job into a parts hunt.
How to Choose a Headlight Restoration Kit for Trucks
The single most useful question is how badly oxidized the lens actually is, because that determines whether you need a wipe system, a hand pad system, or a drill-based grit progression. Buying the wrong tier is the most common reason people conclude that headlight restoration kits do not work.
Light haze and general dullness responds to wipe systems and hand pads. Moderate yellowing that still shows a hint of projector detail needs hand sanding through 1500 to 3000 grit. Heavy oxidation where you cannot make out the reflector pattern at all needs a drill kit starting at 500 grit and a proper polisher.
Next, decide honestly whether you want to use a drill. The drill-based kits here finish faster and go deeper, and on a truck lens that is a real difference rather than a marginal one. The hand systems are genuinely no-power-tools products, not compromises.
Then check the grit range in the box rather than the marketing. A kit that supplies 500, 800, and 3000 grit like the 3M covers a wide severity range with one purchase. A kit supplying a single 2000 grit pad like the Wipe New assumes you already know how to work around its limits.
Look at the sealer, because that is what determines durability. Every kit here includes some form of UV protection, but they are not equal. A kit with a proper ceramic or polymer coating will outlast one with a thin sealant, and a kit with no coating at all means you are buying a sealant separately.
Consider lens type next. LED projector assemblies and halogen reflector assemblies both respond to the same abrasives, but LED projector lenses are more prone to showing fine scratches because the optics magnify them. That pushes you toward finer final grit and a thicker coating. Composite housings with a glass lens are a different case entirely, and the Wipe New kit is the only product here listed for glass.
Decide whether your lens is yellowed or crazed, because they are not the same problem. Yellowing is surface oxidation on the clear coat and restores beautifully. Crazing is a web of internal cracks in the plastic, and no kit will fix it. If you can see cracks radiating under the surface rather than a flat chalky film, you are looking at a lens replacement, not a restoration project.
Likewise, deep pitting in the plastic cannot be polished level. Run a fingernail across the lens. If it catches in grooves, no amount of compounding will bring optical clarity back.
For very large assemblies, check coverage quantities against what you are treating. Kits that cover two lenses per box need two boxes if you also plan to do fog lamps and bumper lamps, and community consensus strongly recommends buying extra sanding paper regardless.
On lens removal, plan for truck-specific disassembly. A truck headlight is often a two or three-piece assembly with a chrome bezel, mounting brackets, and a wiring connector tucked behind. Tow mirror lamps and bumper fog lamps are separate pieces that come out independently, and marking connector positions before you start saves guesswork on reassembly.
Compare against professional service fairly. A shop doing a wet-sand and polish restoration typically quotes a few hundred dollars per vehicle depending on how many lamps, while a DIY kit costs a fraction of that for material and gives you the ability to redo it in two years. The honest counterargument is labour: a full drill restoration on a truck pair is a multi-hour job on a weekend.
If you are considering restoration as a paid service or side income, the economics come from consumables and time rather than kit cost. Owners running this as a side gig note that a budget kit took 60 to 90 minutes per truck and the results held for six months or more, which is a repeatable, sellable outcome at a reasonable hourly rate once you have the process down.
Fleet and commercial operators should think about consistency rather than kit choice. A drill-based system with a defined grit sequence and a controlled bay environment gives you the same result on every vehicle, which matters when you are doing pre-inspection prep. If the goal is getting a truck road-ready for inspection season, our all terrain tire picks for trucks cover the other half of that readiness check.
Finally, consider maintenance as part of the purchase decision, not an afterthought. A UV wax or ceramic spray applied every few months is what separates a restoration that holds for years from one that clouds up again after a single winter. If you will not maintain it, pick the kit with the most aggressive built-in coating. If road grime and winter salt are a constant part of your truck’s life, the right mud flaps for trucks and SUVs meaningfully extend how long a freshly sealed lens stays clear.
Frequently Asked Questions
Are there any headlight restoration kits that actually work?
Yes. Kits that wet-sand the lens through a proper grit progression and then seal it with a UV-protective coating work well on yellowed polycarbonate lenses. Owners report lenses going from hazy or opaque to clear, with durability commonly reported at 18 months or longer when protection is reapplied. Kits that only wipe the lens without abrasion will not fix moderate or heavy oxidation.
What is the best headlight restorer kit overall?
For trucks, the Cerakote Ceramic Headlight Restoration Kit is the strongest all-round choice. It needs no power tools, takes about 30 minutes, and carries a 4.6 rating across more than 74,000 owner ratings. The Sylvania kit is the pick for a fully tool-free all-in-one system, and the 3M Ultra kit is the pick when the oxidation is severe enough to need a 500 grit starting point.
How long does headlight restoration last?
Realistically between 18 months and several years. Owner reports cluster around 18 months to 6 months for untreated lenses and several years for lenses sealed with a ceramic coating and maintained with regular UV wax or ceramic spray. Marketing claims of a lifetime coating should be treated skeptically because owner follow-ups show measurable degradation well before that.
Is wet sanding headlights safe?
It is safe with the right precautions. Wear a respirator and eye protection, work in a well-ventilated area, and keep the lens continuously wet so friction never generates heat. Dry sanding is the main cause of permanently hazed or melted plastic. Mask adjacent paint and chrome carefully, and remove the assembly if you can rather than working through the grille.
What is the difference between a Sylvania and a Cerakote headlight restoration kit?
The Sylvania kit is a four-stage all-in-one system with a surface activator, premium sandpaper, a clarifying compound, and a UV block clear coat, designed to treat two lenses per kit. The Cerakote kit is a wipe-based three-step system with eight oxidation remover wipes, a hand sanding kit, and two ceramic coating wipes, designed for one lens pair in about 30 minutes with no tools at all.
The Best Headlight Restoration Kit for Trucks
After working through all ten, the Cerakote Ceramic Headlight Restoration Kit is the best headlight restoration kit for trucks for most owners. It needs no power tools, finishes in about half an hour, carries the strongest rating and review base in the group, and holds up on the large, UV-exposed lenses that trucks are known for.
For heavy oxidation on an older truck, step up to the 3M Ultra kit and use a drill, or the Mothers NuLens kit if you have a rotary buffer. For fog lamps and bumper lamps across the whole truck, the Turtle Wax kit is purpose-built for that job.
Whatever you choose, plan the protection routine before you buy. Restoration is the easy part, and maintenance is what decides whether your lenses are still clear in two years or cloudy by next spring. Our broader 2026 guide to headlight restoration kits covers the same products in more depth if you want the full comparison.