
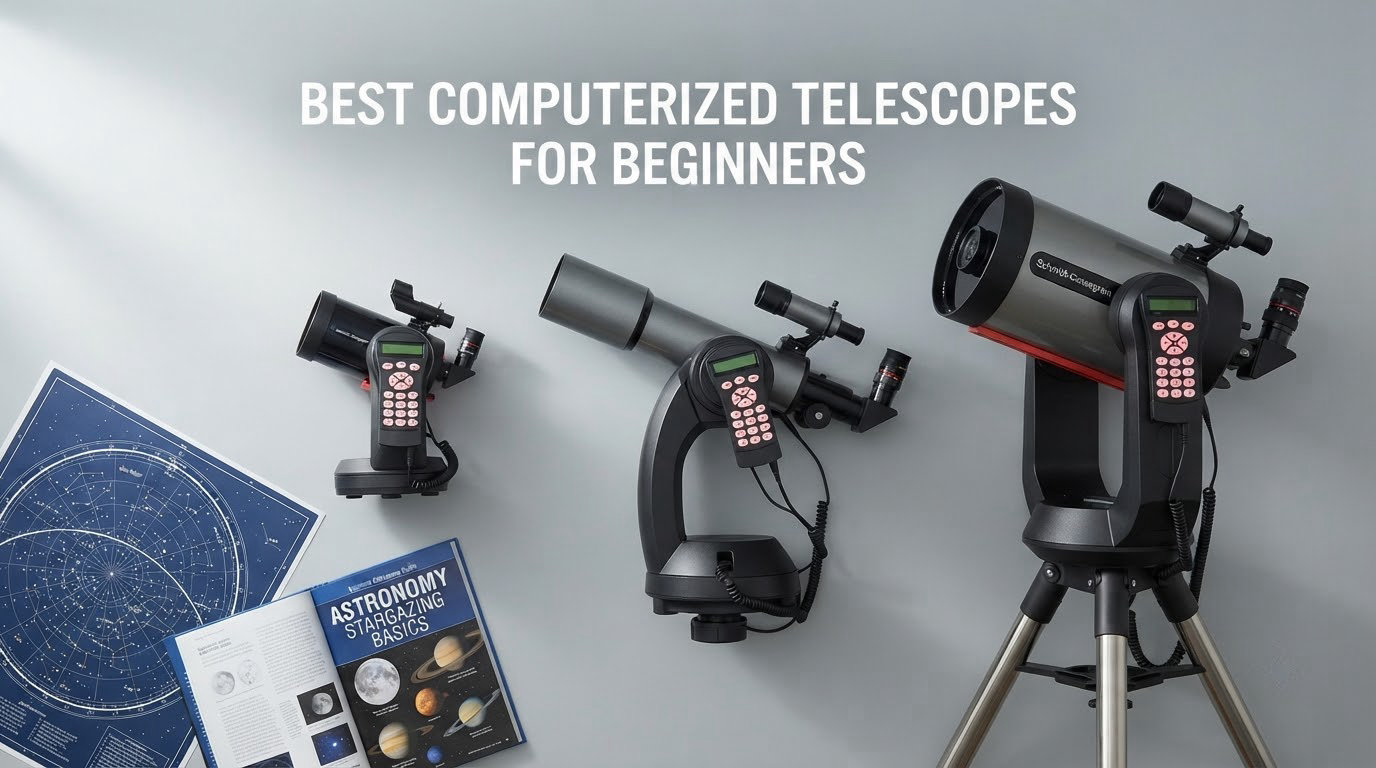
If you want the short answer: the Celestron NexStar 8SE is the best computerized telescope for most beginners in 2026, because an 8-inch Schmidt-Cassegrain paired with a fully motorized GoTo mount gives you real aperture, a 40,000-plus object database and a SkyAlign routine that settles in minutes. If your priority is astrophotography rather than looking through an eyepiece, the ZWO Seestar S30 Pro is the better buy, and if you plan to travel, the DWARFLAB Dwarf 3 fits in a backpack.
I have spent the last several months working through this category with the same question a beginner actually has: which of these things will I still be happy with in a year? A computerized telescope is not a magic upgrade. It solves one specific problem, the problem of finding things in the night sky, and it solves that problem at the cost of weight, money and setup time. The honest version of this guide tells you when that trade is worth it and when it is not.
This roundup covers six scopes that survived my screening process, spanning traditional GoTo mounts, phone-guided PushTo systems, and fully app-driven smart telescopes. I looked at aperture, mount type, alignment method, tracking, portability and what a first-time owner will realistically see on a first night. I have also leaned on owner review patterns heavily, because the failure modes in this category are well documented and consistent.
One thing to say up front: experienced observers on astronomy forums including Cloudy Nights overwhelmingly recommend a large manual Dobsonian as a first telescope, and treat computerized scopes as a deliberate second step. That is not a reason to ignore this category. It is the reason to buy the right kind of computerized scope for the way you actually observe.
Before the individual picks, here is where I landed after weighing the whole field.
Table of Contents
Top 3 Best Computerized Telescope Picks for Beginners in 2026

Celestron NexStar 8SE
- 8-inch Schmidt-Cassegrain optics
- Fully automated GoTo with 40
- 000-plus objects
- SkyAlign in minutes
- Single fork arm alt-azimuth mount

ZWO Seestar S30 Pro
- Dual-camera 4K imaging
- 160mm apochromatic optics
- One-tap stacking and mosaic stitching
- 3.64 lb battery powered body

DWARFLAB Dwarf 3
- Dual telephoto and wide-angle lenses
- 4K auto-tracking with auto GoTo
- Cloud processing with no computer
- Carrying bag in the box
Three Types of Computerized Telescope, Explained Before You Buy
Every computerized telescope on the market falls into one of three families, and the family you pick matters far more than any individual model. Buying the wrong family is the most common and most expensive mistake a first-time buyer makes, so this section comes before the reviews.
Traditional GoTo telescopes: the mount finds the target for you
A GoTo telescope has a motorized mount and a hand controller loaded with an object database. You run an alignment routine, pick an object from a list, and the mount physically swings the telescope to it and then tracks it so it stays put in the eyepiece. This is the category the Celestron NexStar 8SE belongs to, and it is the only one of the three that gives you both real aperture and genuine long-distance tracking.
The tradeoff is real. GoTo scopes are the heaviest of the three, they need a power source or batteries, and alignment is the step where most beginners get stuck. If you learn one thing from the owner reviews in this category, learn that alignment difficulty is the number one complaint across multiple independent forums.
PushTo scopes: your phone tells you where to point, the mount is manual
A PushTo scope splits the problem in half. There is no motor and no object database in the mount. Instead, your phone camera recognises the star pattern overhead, works out exactly where the telescope is pointing, and then draws on-screen arrows telling you which way to move. You still move the tube by hand, but you never have to learn a star chart.
This is the cheapest and lightest way to remove the finding barrier, and it is genuinely effective. What you give up is tracking. Objects drift out of a PushTo eyepiece within a minute or two, and long-exposure imaging is not practical on an altazimuth mount like this.
Smart telescopes: everything happens on a screen
Smart scopes have no eyepiece for you to look through. They are essentially small robotic telescopes with cameras inside, and the entire observing experience happens on a phone or tablet screen. You choose a target, the mount finds it, and the app stacks multiple exposures automatically to build an image that would be impossible for a beginner to capture by hand.
For deep-sky objects under light-polluted skies, this is a genuinely impressive capability. For planets, it is the weakest of the three categories, because there is no high magnification and no way to sit and study a moving feature. Owners consistently set the same expectation: output is excellent for sharing on social media and not suitable for large prints.
The honest objection: a bigger manual scope costs less money
Let me put the most common forum argument on the table directly, because no guide to this category should dodge it. The same money spent on a computerized telescope will often buy a noticeably larger manual telescope with better optics, and forum users argue this constantly. They are not wrong about the optics.
Here is where I land after weighing it. Aperture determines what you can resolve, and a manual scope will always win on that axis for the money. What the electronics buy is not resolution, it is the removal of the single hardest part of starting out, which is finding your target in the first place. A buyer who will genuinely learn to star-hop should buy aperture. A buyer who will give up in frustration on night two should buy pointing.
There is also a fourth, quieter group: motorized tracking mounts with no GoTo database. A single-axis right-ascension motor drive keeps an object centered so you can look at it properly or attempt simple imaging, and it costs a fraction of a full GoTo system. One pick in this roundup falls into that group, and it remains a good deal for planetary observers.
Best Computerized Telescopes for Beginners at a Glance (October 2026)
All six picks appear below with the mechanism that actually makes each one work for a first-time owner. If you read nothing else, match your observing goal to the best-for label rather than to the rank order.
| Product | Specifications | Action |
|---|---|---|
| Celestron NexStar 8SE |
|
Check Latest Price |
| ZWO Seestar S30 Pro |
|
Check Latest Price |
| DWARFLAB Dwarf 3 |
|
Check Latest Price |
 DWARFLAB Dwarf Mini DWARFLAB Dwarf Mini |
|
Check Latest Price |
 Celestron AstroMaster 130EQ-MD Celestron AstroMaster 130EQ-MD |
|
Check Latest Price |
 Celestron StarSense LT 114AZ Celestron StarSense LT 114AZ |
|
Check Latest Price |
1. Celestron NexStar 8SE – Best Overall Computerized Telescope
Celestron NexStar 8SE Computerized Telescope – Schmidt-Cassegrain
8-inch aperture
2032mm focal length
40,000+ object database
10.88 kg
Pros
- Fully automated GoTo with a 40000-plus object database removes star-chart hunting entirely
- SkyAlign alignment from just three bright stars
- 8-inch aperture resolves lunar detail and Jupiter cloud bands
- Single fork arm gives a stable platform for a large aperture
Cons
- One of the heaviest beginner-tier computerized scopes to carry and set up
- GoTo accuracy depends on careful alignment that takes practice
- Supplied 25mm eyepiece limits magnification for a scope this size
This is the scope I keep coming back to, because it is the only one in the field that refuses to compromise on either half of the equation. The optics are 8-inch Schmidt-Cassegrain with StarBright XLT coating at 2032mm focal length, a long tube that gives you high magnification on Jupiter without needing a Barlow, and the mount is a computerized alt-azimuth single fork arm with a 40,000-plus object database behind the NexStar+ hand controller.
Owners consistently describe the experience the same way: you centre three bright stars, the mount does the maths, and then it takes you to whatever you ask for. That is the whole promise of a GoTo telescope delivered properly, and across 1579 reviews at a 4.3-star average with 70 percent of ratings at five stars, the pointing reliability holds up well in practice.
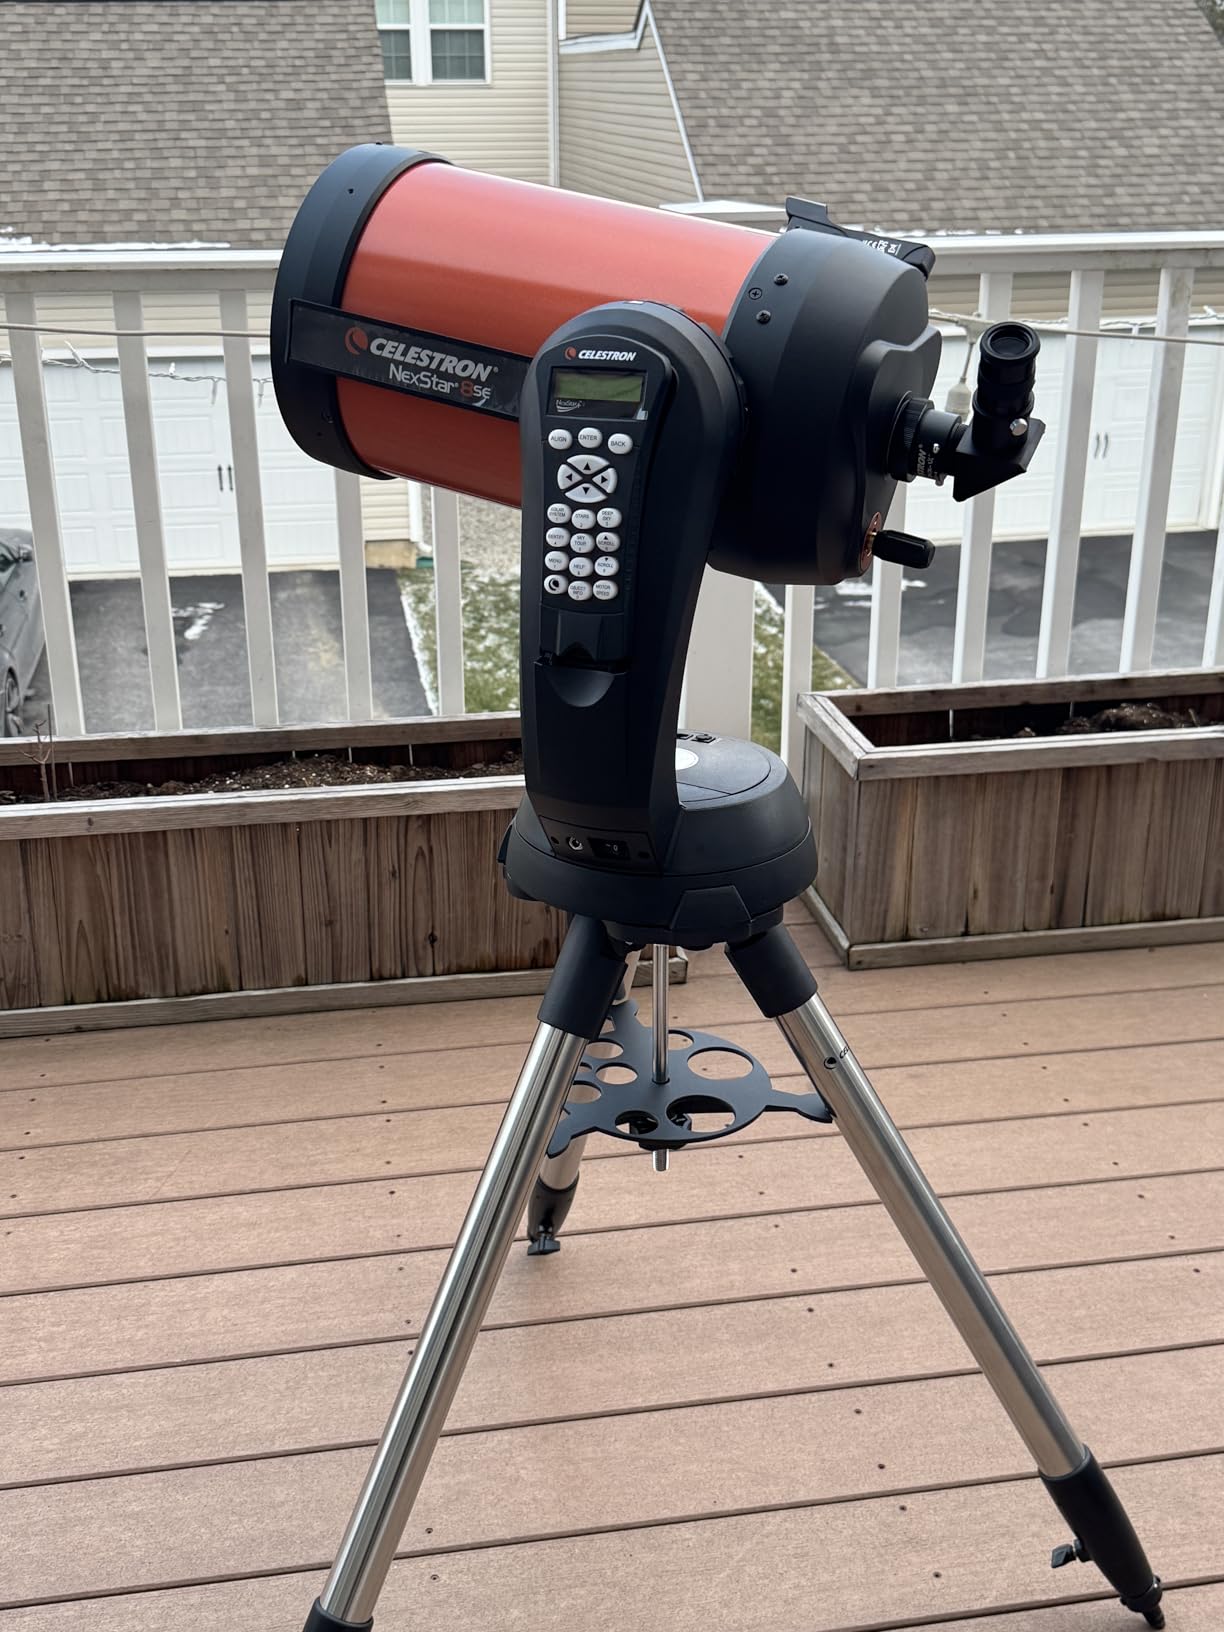
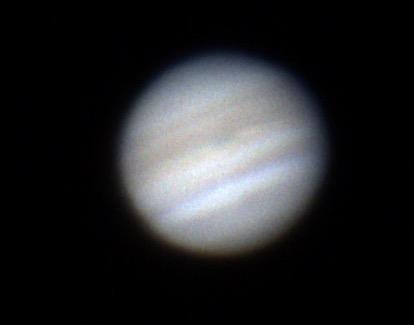
What I appreciate most as a first serious scope is that it is not a one-trick instrument. Jupiter shows cloud bands and the four Galilean moons shift position during a single session. The Moon fills the field at moderate magnification. Deep-sky objects that would be a challenge to find by hand arrive within a minute of asking. A Dawes limit of 0.57 arc seconds means the optics are not the limiting factor at any magnification a beginner will realistically use.
The honest weakness is mass. At 10.88 kg this is the heaviest pick here, and moving it to a dark-sky site is a two-person job in the dark rather than a single trip from the car. The 32 by 34 by 52 inch footprint also means a dedicated corner of a room or a garage, not a balcony. If your observing happens on a small city balcony, keep reading.
Who the NexStar 8SE suits
It suits the beginner who has decided that learning to navigate the sky is not part of the fun, and who wants a large aperture and reliable tracking from night one. It also suits anyone moving up from binoculars or a small manual scope who now wants a genuine instrument rather than a gadget.
Budget matters less here than in the rest of the roundup because this is a step up in class rather than a step in price. Expect to spend a night or two getting comfortable with the hand controller before alignment stops feeling like a chore.
Who the NexStar 8SE does not suit
It does not suit anyone without a place to store a 52-inch tall assembly, or anyone whose observing happens on a trip where carrying that weight is the deciding factor. Apartment dwellers with no storage and heavy gear are better served by one of the smart scopes below.
It also is not the right answer if your real interest is photography. A fork-mounted alt-azimuth Schmidt-Cassegrain is a demanding astrophotography rig, and the electronics will not do that work for you. If stacking images on a phone is the goal, look at the Seestar S30 Pro instead.
One compatibility note before you commit: this mount connects to a laptop, desktop, smartphone or GPS device, and Celestron sells separate wireless control and automation accessories. A user on The Sky Searchers reports that Windows 11 would not recognise the telescope through Celestron control software even after trying several USB-to-serial driver versions. Check your operating system against Celestron support before you buy, not on the first night.
2. ZWO Seestar S30 Pro – Best for Astrophotography on a Phone
ZWO Seestar S30 Pro Smart Telescope, App-Controlled Astrophotography
160mm apochromatic optics
Dual-camera 4K system
Alt-azimuth mount with EQ mode
3.64 lb
Pros
- Power on
- connect the app and it finds and tracks targets with no manual alignment
- Apochromatic optics with integrated light pollution filters for suburban skies
- Dual-camera system produces 4K wide-field and deep-sky results in one tap
- Light 3.64 lb body is genuinely portable for camping and travel
Cons
- Built for deep-sky imaging and explicitly not intended for planetary observation
- Must stay stationary during deep-sky imaging for accurate tracking
- Sensor resolution suits sharing rather than large prints
- App-only workflow offers little manual control
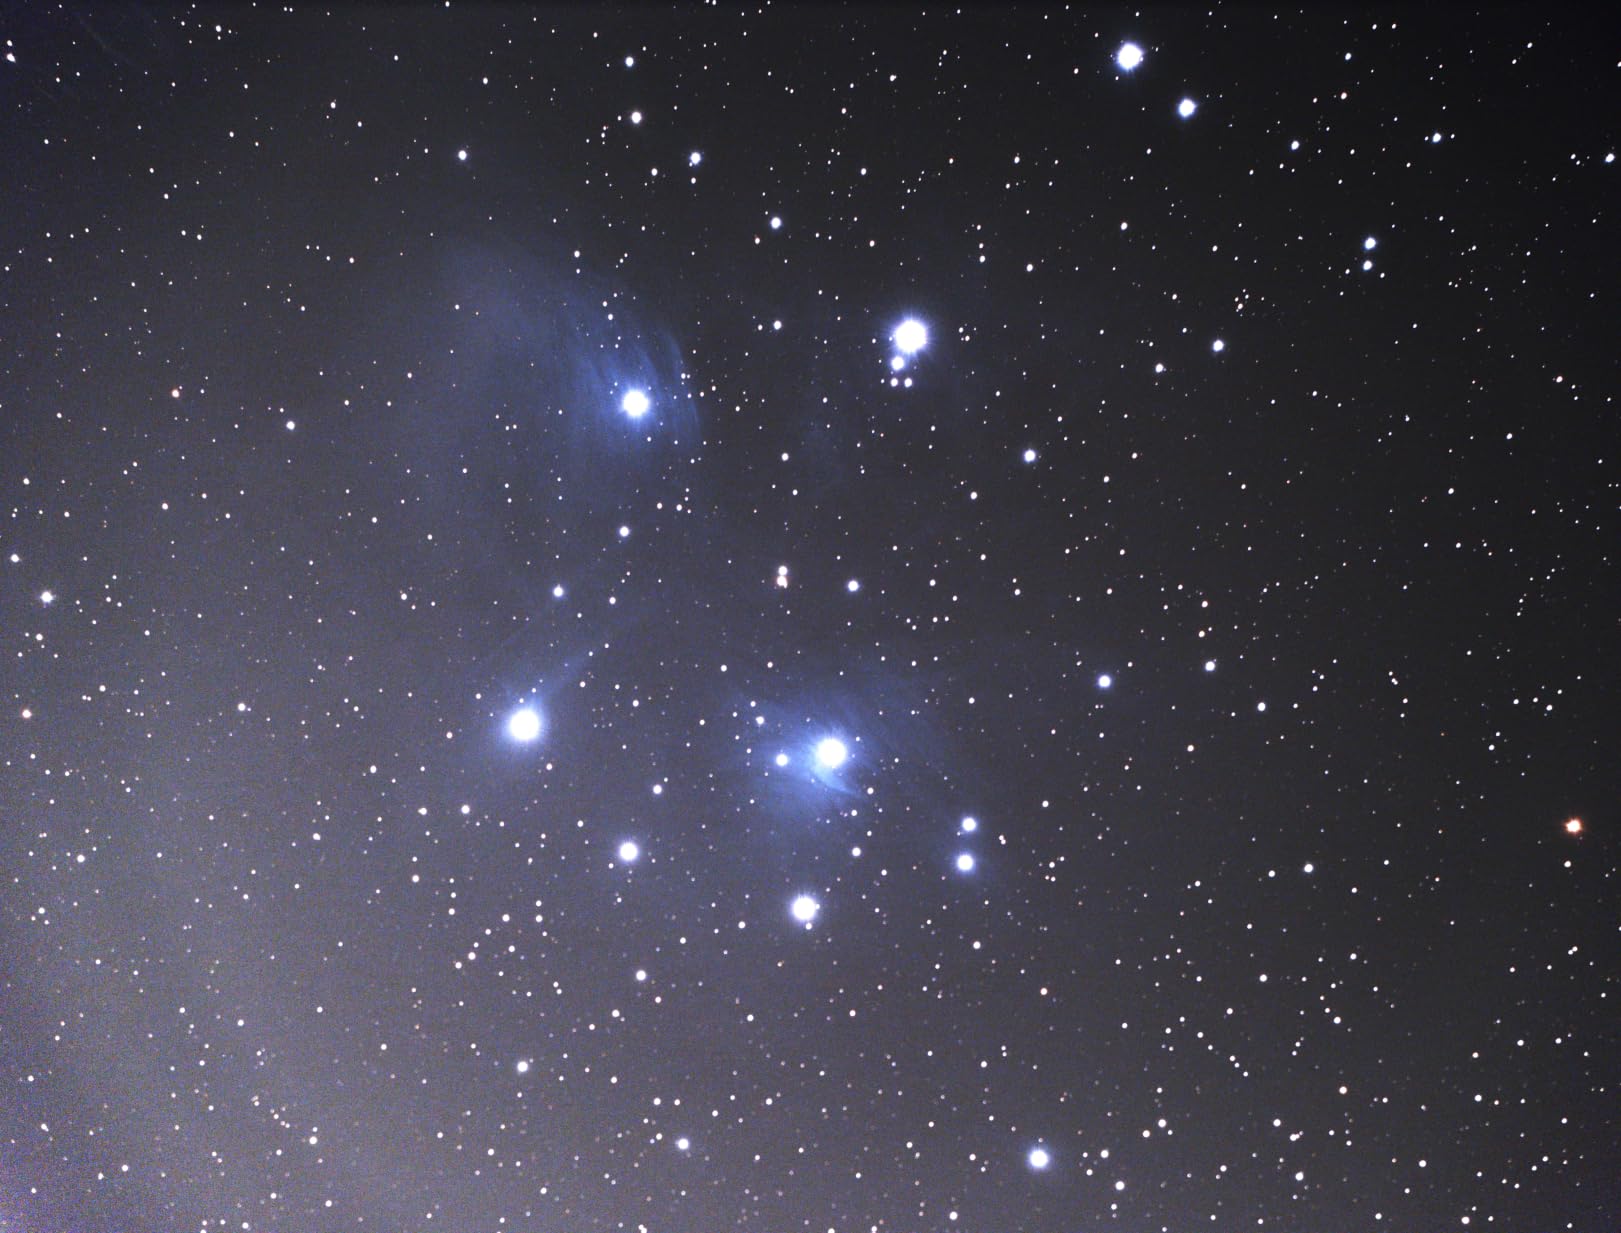
The S30 Pro is the scope I recommend to anyone who says the word photograph more than the word look. It is a 160mm apochromatic instrument with a dual-camera 4K imaging system, an alt-azimuth mount that also supports equatorial mode, and a total weight of 3.64 lb. That is a fifth of the NexStar 8SE, and the difference in what you can do with it is enormous if your goal is pictures.
The workflow is genuinely one-touch. Connect the app, choose a target, and the mount finds it, tracks it and stacks exposures for you. One-tap capture modes cover deep sky, the Milky Way, star trails, the Moon and the Sun, with automatic mosaic stitching for wide fields. AI processing handles noise reduction and sky-to-foreground separation, and there is no computer involved at any stage.
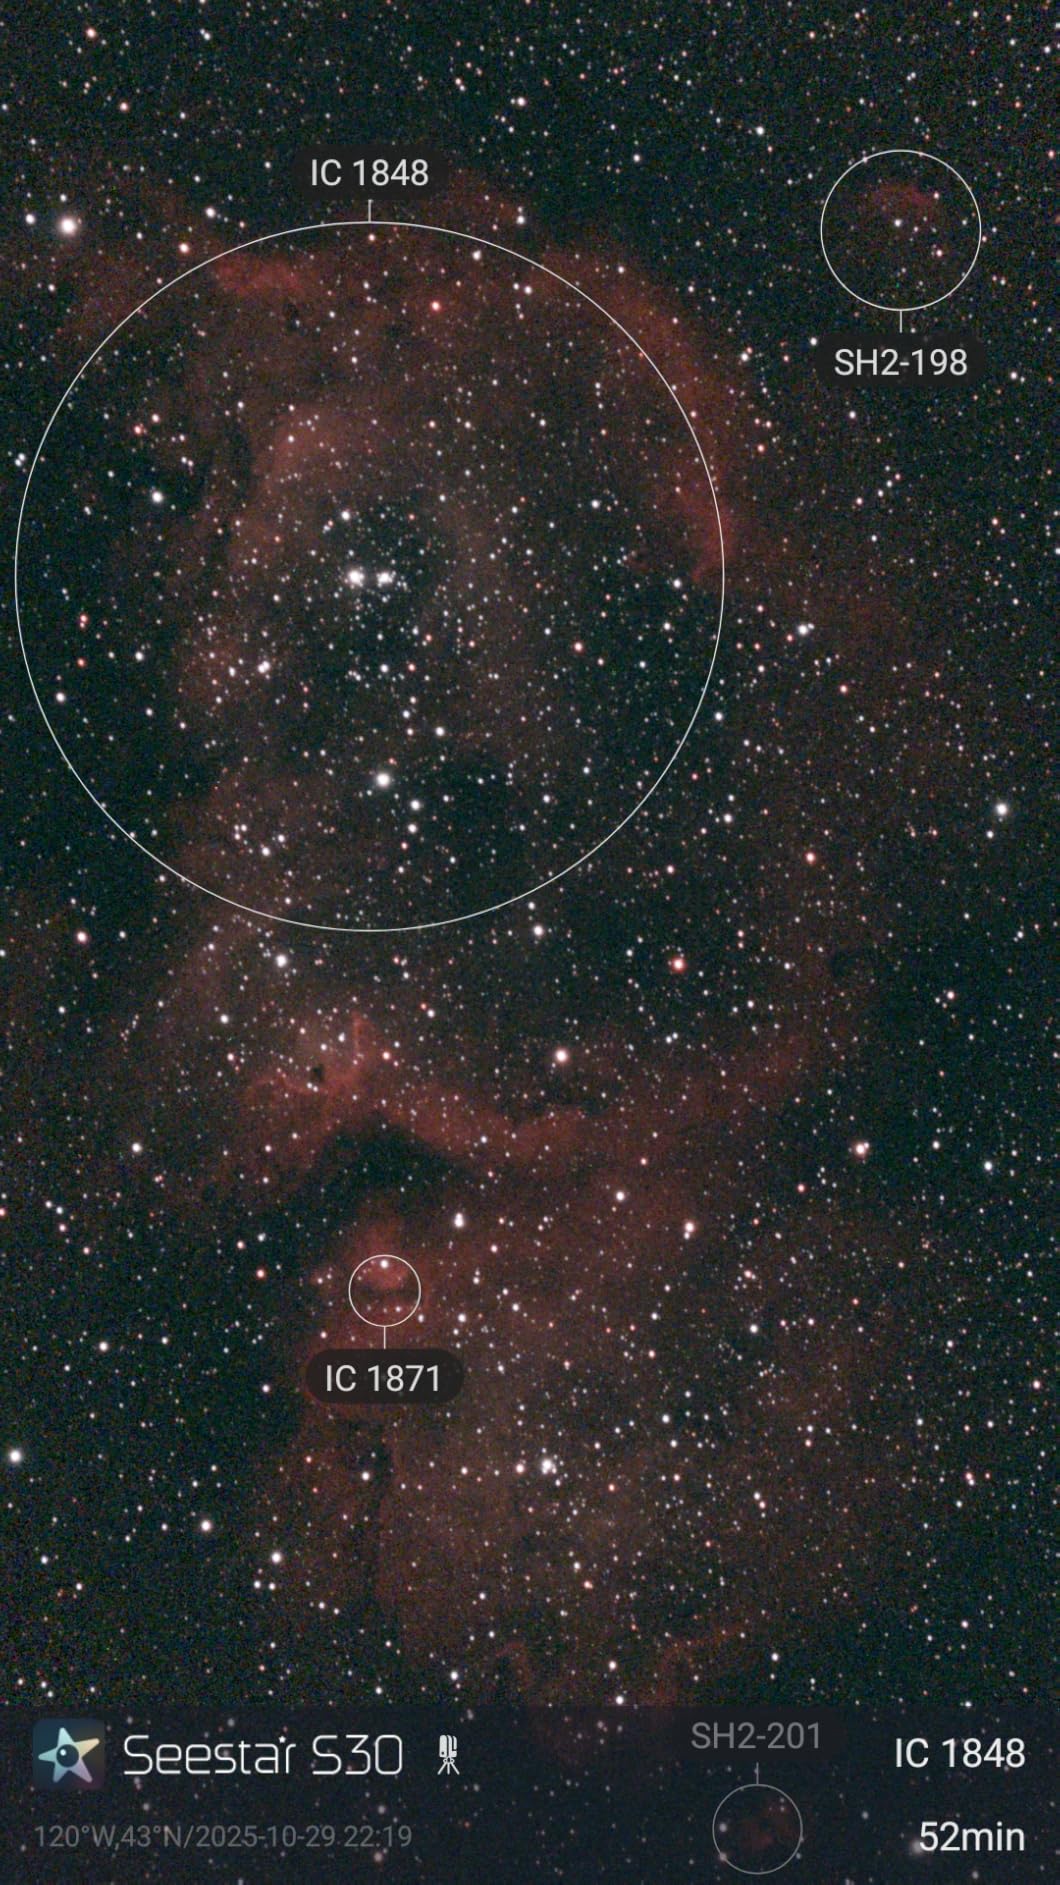
Two details separate this from the other app-driven scopes. First, the built-in light pollution filters are a real advantage for suburban and urban observing, which is where most beginners actually live. Second, equatorial mode extends focal tracking for the longer focal lengths that wide-field work requires. Across 232 reviews at 4.4 stars with 76 percent five-star ratings, the app workflow and urban-friendly optics are what owners mention most.
The limitation owners are clearest about is planetary viewing, and they are not being diplomatic about it. This scope is designed for deep-sky imaging and is not intended for planetary observation. There is no long focal length to give you a magnified, high-resolution planetary disc, so do not buy it hoping for Jupiter’s cloud belts.
Who the Seestar S30 Pro suits
It suits the beginner who wants to produce images on the first night without learning image processing, and who lives somewhere with real sky glow. Sharing results on a phone screen is exactly the use case it was designed for, and the automatic stacking removes the single most intimidating part of entry-level astrophotography.
It also suits anyone who has no room to store a large telescope. At 3.64 lb with a battery power source and an included tripod, it moves from a desk to a garden to a campsite without ceremony.
Who the Seestar S30 Pro does not suit
It does not suit a beginner whose main interest is planets, lunar craters or anything that rewards a long look through an eyepiece. The output is optimised for social sharing rather than large prints, and experienced imagers generally want manual control that an app-only workflow does not offer.
Be realistic about the first session. You must leave the scope stationary during deep-sky imaging for tracking to be accurate, which means setting up, walking away and waiting. Plan for that, and it is a pleasant way to spend an evening. Expect it to be fiddly if you planned to point it at something and watch it move.
3. DWARFLAB Dwarf 3 – Best for Travel and Daytime Use
DWARFLAB Dwarf 3 Smart Telescope, App-Controlled Astrophotography Camera
Dual telephoto and wide-angle lenses
4K auto-tracking with auto GoTo
Cloud processing
2.28 kg
Pros
- Three-pound all-in-one body that fits in a backpack for spontaneous trips
- Dual-camera system covers both daytime wildlife and landscape work and night deep sky
- 4K auto-tracking produces sharp results on stars
- planets and wildlife
- Cloud processing delivers finished images in minutes with no computer
- Intuitive app with a roughly two-minute learning curve
Cons
- Small aperture means limited light gathering compared with a traditional telescope tube
- Planetary detail is limited compared with longer-focal-length optics
- Image resolution suits social sharing rather than large prints
- Magnetic filters must be swapped manually for different targets
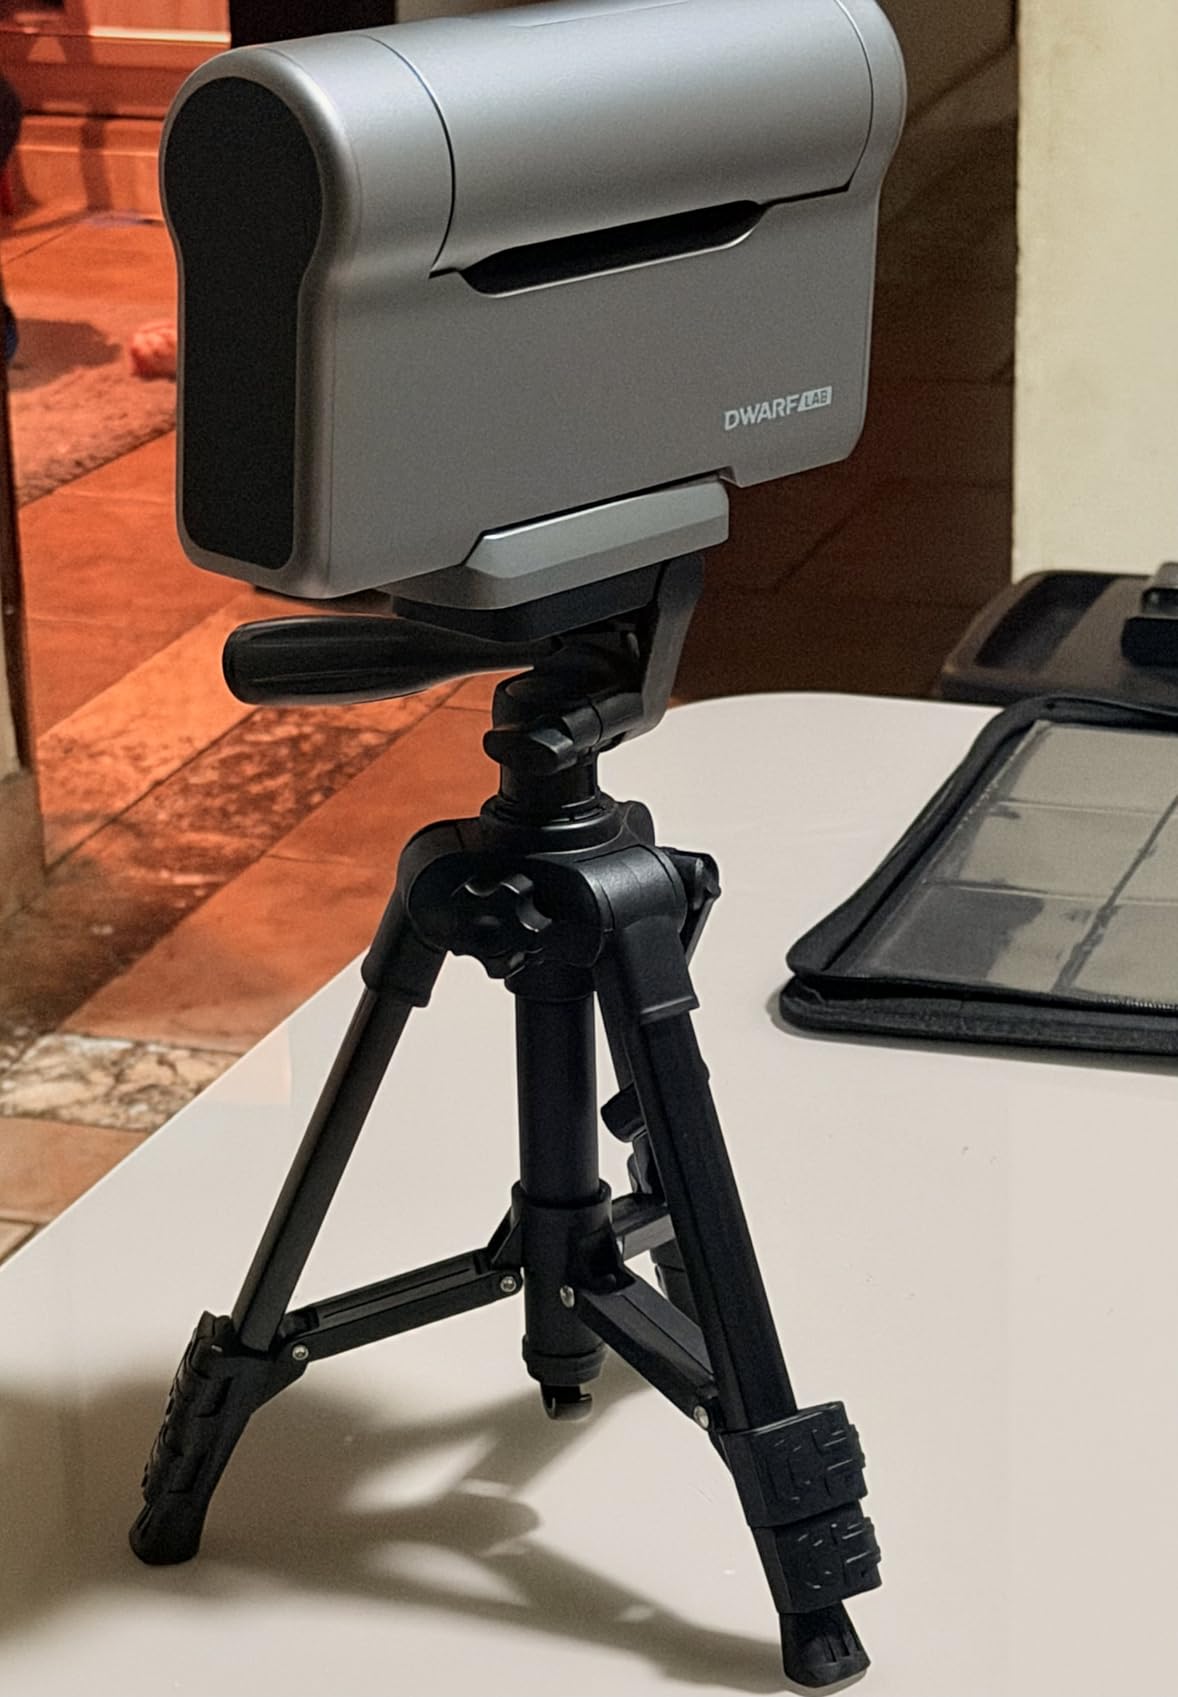
The Dwarf 3 is the one I would hand to a beginner who travels. It weighs about 3 lb, it fits in a standard backpack, and the box includes a carrying bag, a USB-C cable, magnetic filters in a pouch and a wipe cloth. There is no separate mount, no separate tripod to assemble, and no alignment procedure at all.
What makes it different from the other smart scopes is the dual-lens arrangement. One camera is a telephoto for wildlife, landscapes and deep space, and the other is a wide-angle for the Milky Way and star trails. That means the same device works at 3pm on a bird and at 11pm on a nebula, which no other scope in this roundup can claim.
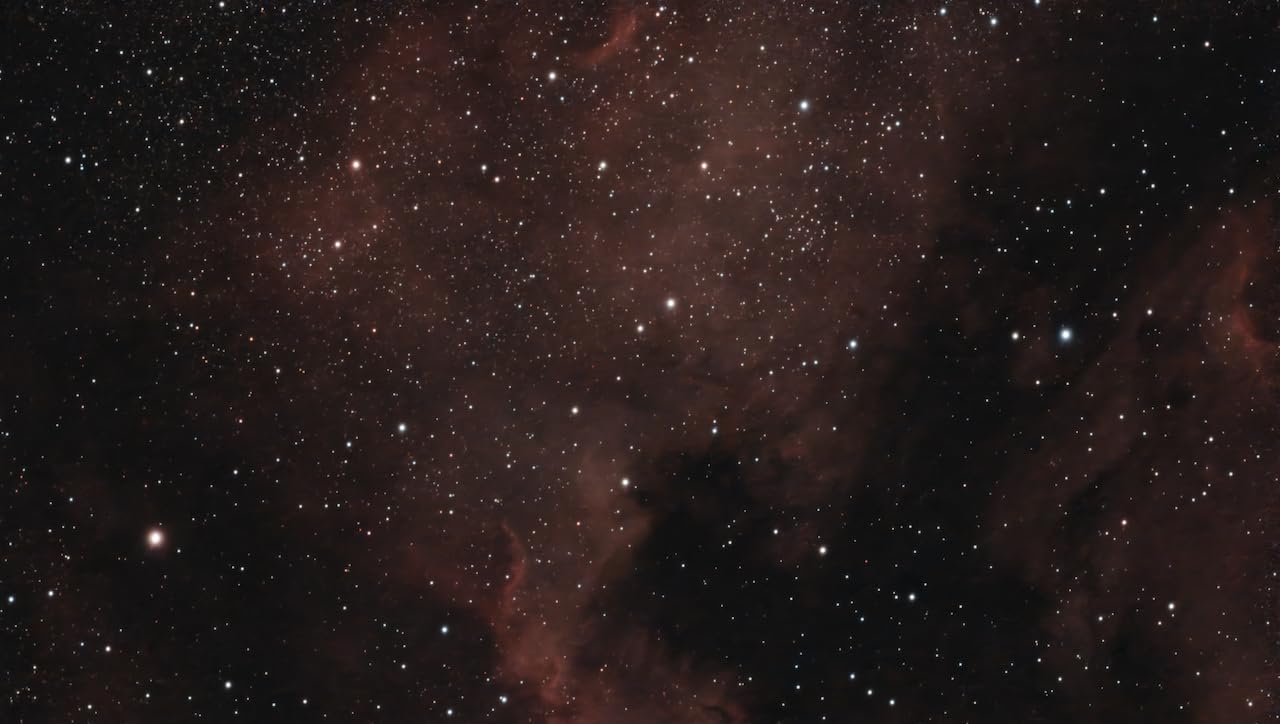
Cloud-powered processing through the DWARFLAB app is the other differentiator. You point, you capture, and finished images arrive in minutes with no PC and no software stack. For a beginner, removing the editing workflow is worth a great deal. Across 234 reviews at 4.4 stars with 76 percent five-star ratings, portability, the day-night lens pair and the cloud stacking are what owners single out.
Be clear-eyed about the optics, though. A 35mm objective with a small sensor gathers far less light than a real telescope tube, and reviewers are consistent that planetary detail is limited. If Jupiter’s cloud bands are the goal, this is the wrong instrument no matter how convenient it is.
Who the Dwarf 3 suits
It suits the beginner who wants a spontaneous observing tool, the family with mixed-age kids who will lose interest during a setup process, and anyone who wants to photograph the landscape by day and the sky by night with one device. The reported learning curve is about two minutes, rated for ages six upward.
It also suits a beginner who wants to stay entirely inside an app. There is no eyepiece to fiddle with and no menu tree to learn, which removes every point of friction that this category is normally criticised for.
Who the Dwarf 3 does not suit
It does not suit anyone who wants a true visual observing session through an eyepiece, because this scope has no eyepiece. It does not suit someone whose ambition is high-resolution planetary work or large printed images, and the small sensor caps what you can extract.
Filters are magnetic and swapped by hand depending on target, which is a small friction point that matters more on a long night than it sounds. Budget a few minutes at the start of each session for it, or accept some frames you will not use.
4. DWARFLAB Dwarf Mini – Best for Backpacking and Smallest Setup
DWARFLAB Dwarf Mini Smart Telescope – 1.85lb Portable Astronomy Telescope
1.85 lb all-in-one body
90-second EQ mode exposures
Plate solving from built-in atlas
Smartphone controlled
Pros
- Plate solving and a built-in sky atlas mean you can set it on a picnic table and it works out where it is pointing
- 1.85 lb is the smallest and lightest option in this roundup
- EQ mode with up to 90-second exposures and light pollution filters cuts through city glow
- Automatic dark frames and internal stacking across sessions remove the manual workflow
- App guides polar alignment by telling you exactly how many degrees and which direction to move
Cons
- Sensor resolution is too low for large prints and small deep-sky objects stay small in frame
- Planetary viewing shows round discs with little detail
- Initial WiFi connection to the scope can be finicky
- Needs a fluid-head tripod and a power bank for EQ mode and all-night sessions
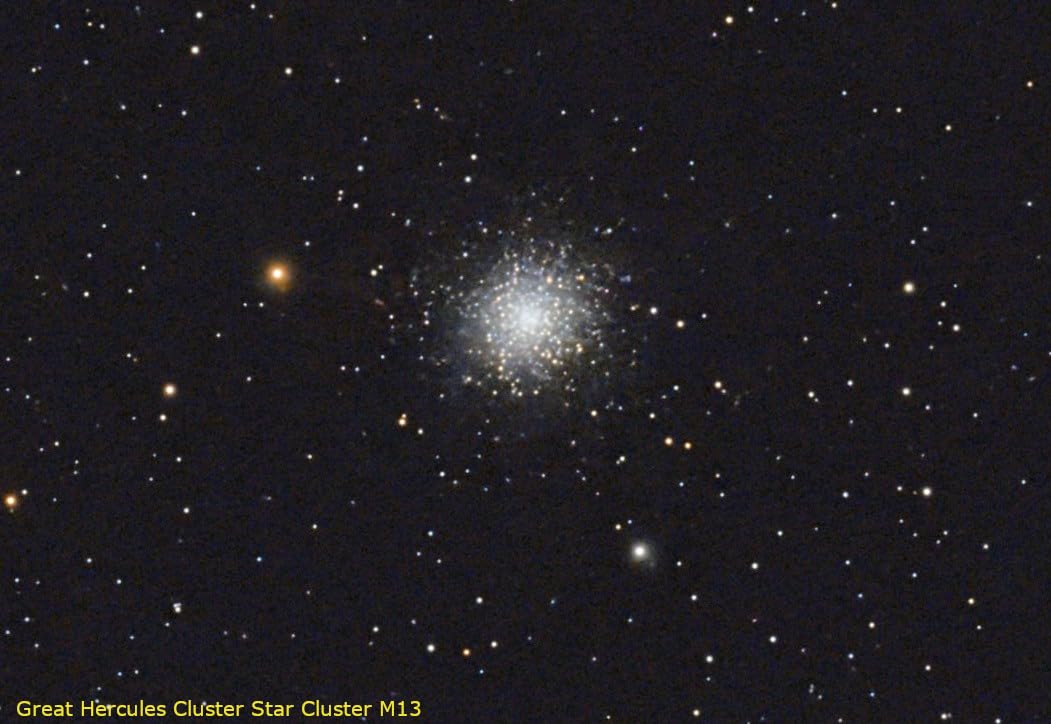
At 1.85 lb, the Dwarf Mini is the smallest instrument in the roundup, and the most capable per gram. It uses a high-sensitivity Sony IMX662 sensor, an alt-azimuth and equatorial mount with a full 360-degree pivot, and an app with a built-in interactive sky atlas. The first usable shot takes roughly three minutes from taking it out of the bag.
Its EQ mode is the technical headline. Single-frame exposures up to 90 seconds is a real step up from fixed-duration captures, and combined with the built-in light pollution filters selectable in the app, it punches through urban glow that stops other smart scopes. Automatic dark frame capture, internal sub-frame stacking and mega-stacking across sessions mean you can build up an image over several nights without touching editing software.
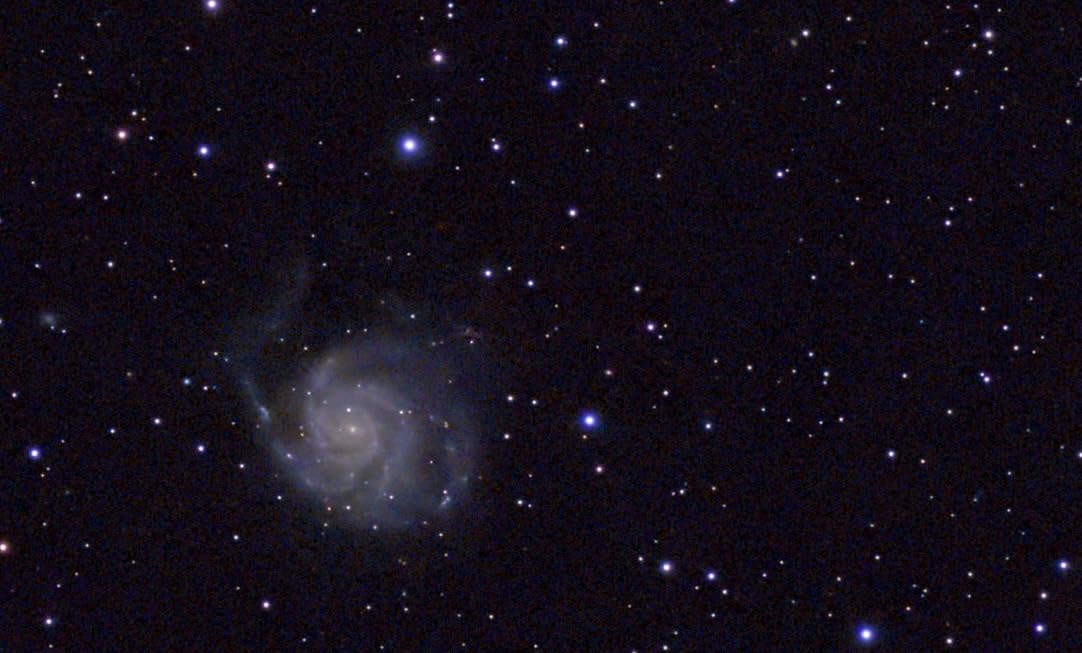
Where I would steer you to this one over the Dwarf 3 is polar alignment guidance. The app tells you exactly how many degrees and in which direction to move, which is the difference between a beginner succeeding on a first attempt and a beginner giving up. Plate solving from the built-in star atlas means you can set the scope on a picnic table and it works out where it is aimed. Across 305 reviews at 4.4 stars, this is repeatedly called the best value entry into astrophotography.
The expectations owners set are worth repeating: output is excellent for social media and not for large prints, and planetary detail is minimal. A 30mm objective with a 1/2.8-inch sensor is not competing with a real optical tube, and the app will not pretend otherwise.
Who the Dwarf Mini suits
It suits the beginner who wants the smallest possible commitment, the camper or hiker who will actually carry a telescope, and the urban observer fighting a heavily light-polluted sky where built-in filters and long exposures matter more than aperture. If you have a car boot, the Dwarf 3 is the better buy.
It also suits anyone nervous about alignment. This is the simplest setup in the roundup by a wide margin, and the alignment guidance is unusually explicit.
Who the Dwarf Mini does not suit
It does not suit someone who wants to look through an eyepiece, or anyone chasing planets, because disc images come out round with little internal detail. Jupiter moons are visible as dots, nothing more.
Two practical notes from owners. Initial WiFi pairing with the scope can be finicky, and connecting through your home network in the app settings is the common fix. And a fluid-head tripod plus a power bank are effectively required for EQ mode and all-night sessions, so plan for those as additions rather than optional extras.
5. Celestron AstroMaster 130EQ-MD – Best for Planets with Motorized Tracking
Celestron AstroMaster 130EQ-MD Telescope with Motorized Tracking
130mm aperture
650mm focal length
CG-3 German equatorial mount
Motor drive tracking
Pros
- Motor drive keeps objects centred automatically for longer-exposure entry-level astrophotography
- 130mm aperture shows the full Moon in frame with good planetary and deep-sky views
- No-tool assembly with a preassembled tripod gets you observing quickly
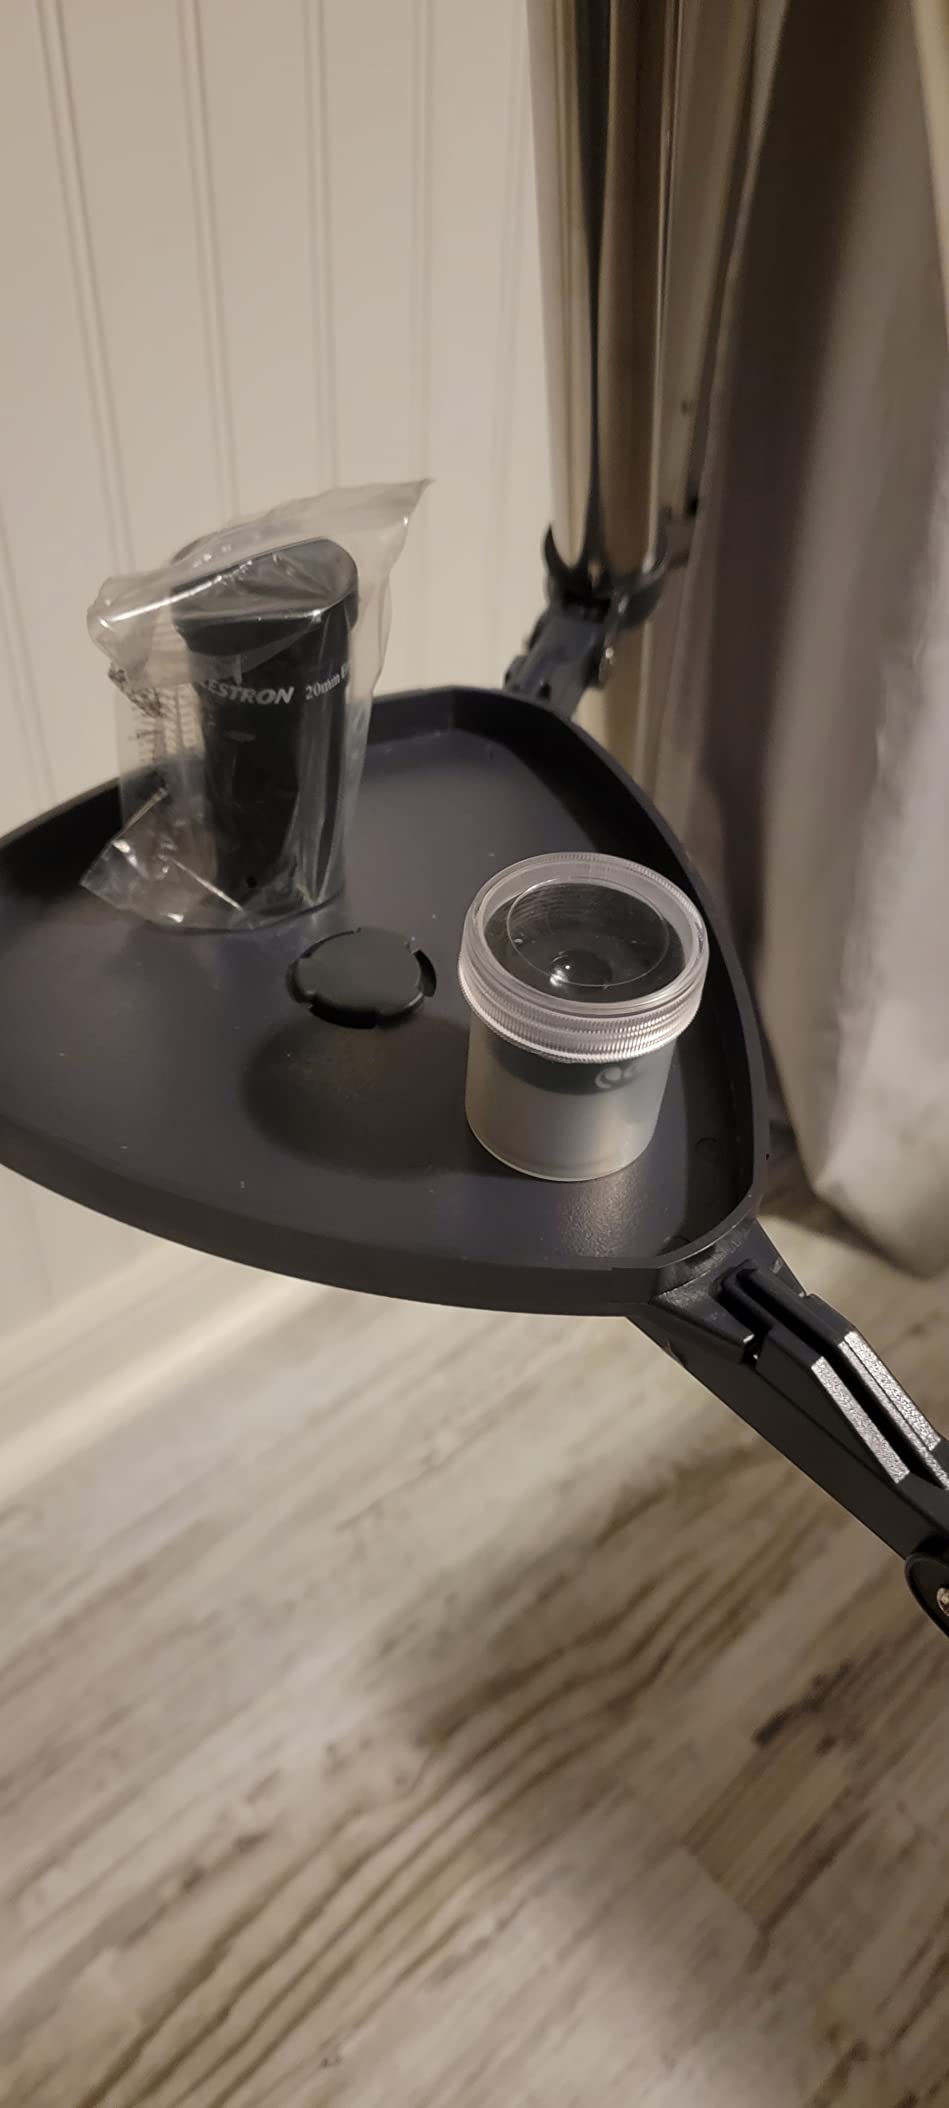
- Includes 20mm and 10mm eyepieces plus a red-dot finder and astronomy software
Cons
- Spherical primary mirror produces spherical aberration and bloated stars
- especially in images
- Motor drive blocks manual use of the fine-adjustment knob
- CG-3 mount hardware is cheaply made with worm gears that grind and drift
- Not balanced for a DSLR and needs a lightweight camera for imaging
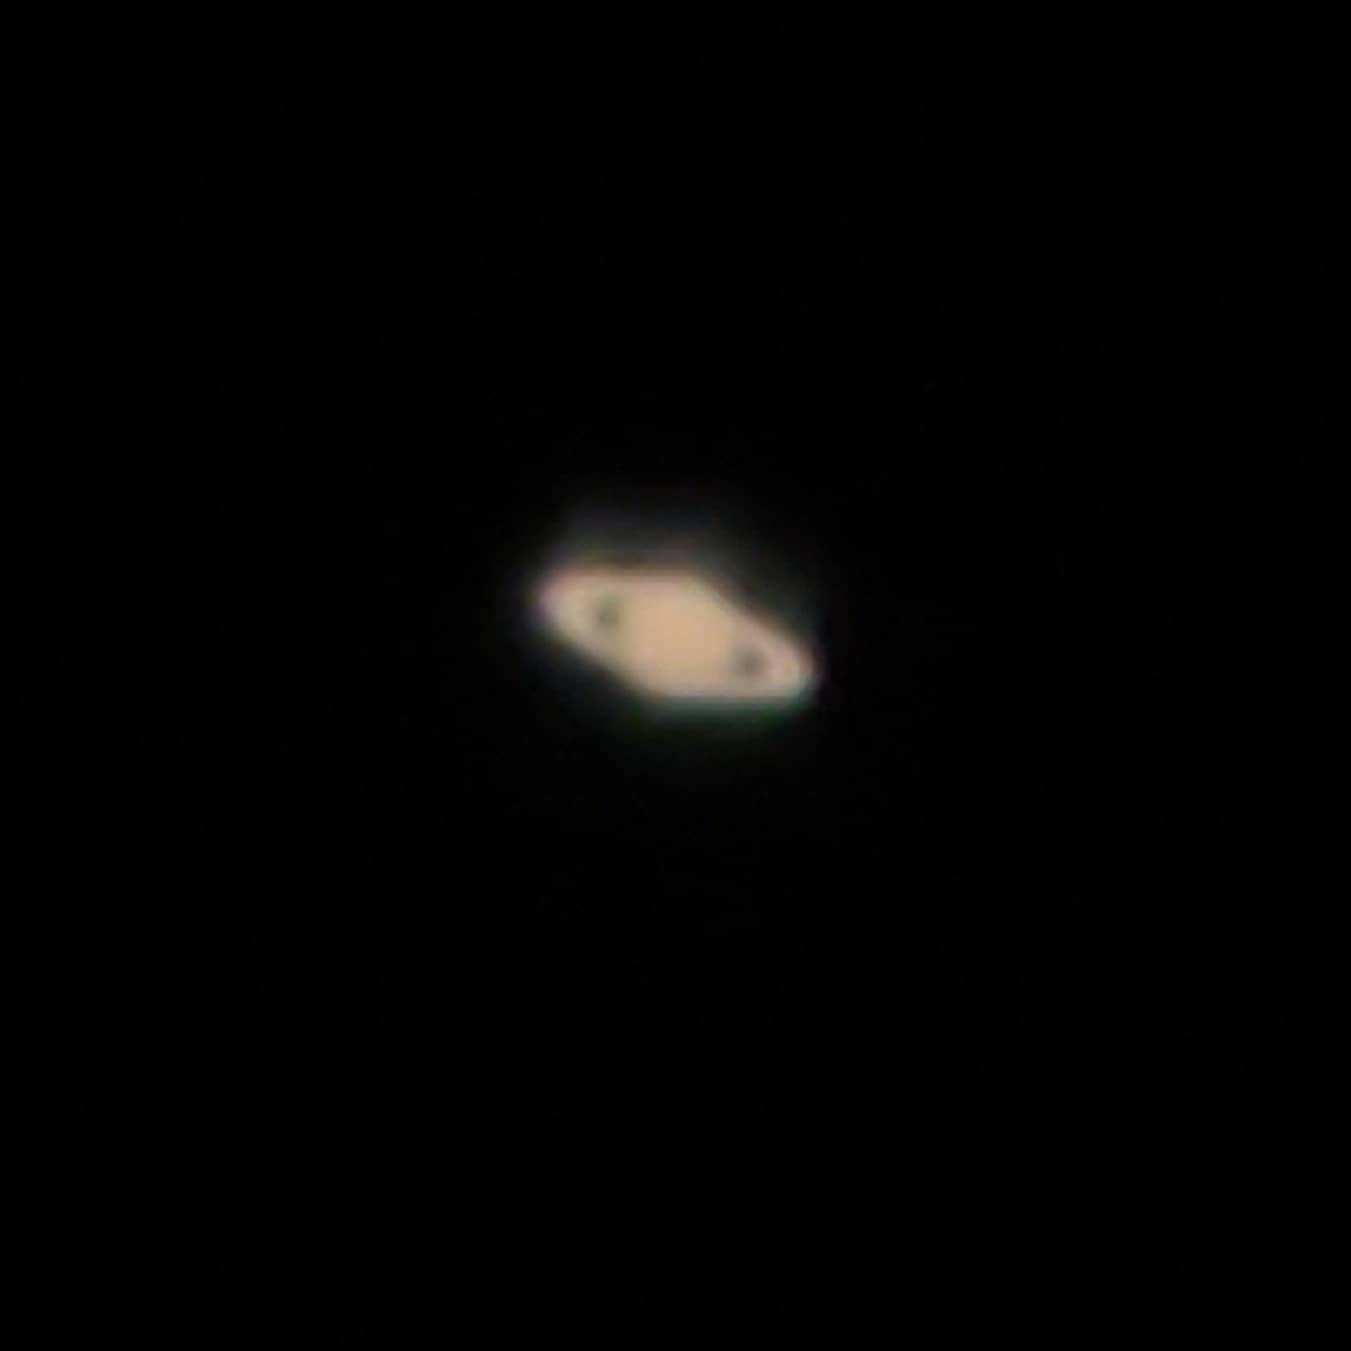
This is the only pick in the roundup with an equatorial mount and a single-axis motor drive, and that combination makes it a genuinely different tool. A 130mm Newtonian reflector at 650mm focal length on a CG-3 German equatorial mount tracks an object across the sky automatically, which means you can sit and study Jupiter’s cloud bands for twenty minutes instead of two.
It is also the only pick that gives you a real aperture in the traditional optical sense for entry-level money. The full Moon fits in the field, planetary detail is respectable, and deep-sky objects are visible. At 1937 reviews it has the largest owner base in the roundup, which is a genuine advantage in terms of how much collective knowledge exists about fixing it.
Now the part that matters, because this scope has real engineering complaints. The spherical primary mirror produces noticeable spherical aberration and bloats stars, particularly in images. More awkwardly for a beginner, the motor drive physically blocks the fine-adjustment knob, so you cannot re-centre an object manually while tracking without disengaging the drive first. The motor drive position also restricts how far the tube can swing, which limits zenith pointing.
The CG-3 mount itself is the most criticised component. Reviewers report worm gears that grind, a mount that bounces and drifts, and short-travel fine adjustment. The rating distribution tells its own story, with 55 percent five-star but 11 percent one-star, the widest spread in this roundup. Several buyers also report factory issues including the RA indicator, finder alignment and focuser centring.
Who the AstroMaster 130EQ-MD suits
It suits the beginner who already understands how to find objects and wants to add tracking, or who is buying as a stepping stone toward an equatorial imaging rig later. It suits planetary observers who value a steady, magnified view over photographs.
It also suits anyone who wants to see how a German equatorial mount works, because the learning transfer to a real imaging setup is direct. The two slow-motion control knobs for RA and declination teach you something a single-axis motor never will.
Who the AstroMaster 130EQ-MD does not suit
It does not suit a true beginner who needs help finding things, because there is no object database and no guided pointing. It does not suit anyone expecting sharp astrophotography, because the spherical mirror and the unbalanced mount both work against you.
Watch the eyepieces too. The factory 20mm and 10mm combination is widely considered of low usefulness, and 10mm is small for planets. Plan on buying a better eyepiece regardless. And if you take photos, plan on a lightweight camera rather than a DSLR, because the mount is not balanced for one.
6. Celestron StarSense Explorer LT 114AZ – Best Value Guided Scope
Celestron StarSense Explorer LT 114AZ Newtonian Smartphone Guided Telescope
114mm aperture
1000mm focal length
StarSense phone guidance
10.4 lb
Pros
- Phone-based sky recognition lets a total beginner find targets with no star chart knowledge
- App curates the best objects for the current date
- time and location
- including city observing
- Generous bundle includes 25mm and 10mm eyepieces plus a 2x Barlow for up to 150x magnification
- 1000mm focal length gives strong lunar and planetary views for the aperture
Cons
- No motorized tracking
- so objects drift out of the eyepiece and you adjust by hand
- Altazimuth mount means long-exposure astrophotography is not practical
- App guidance only points the scope
- so fine positioning still takes patience
- Requires docking a smartphone
- which blocks part of the viewing setup
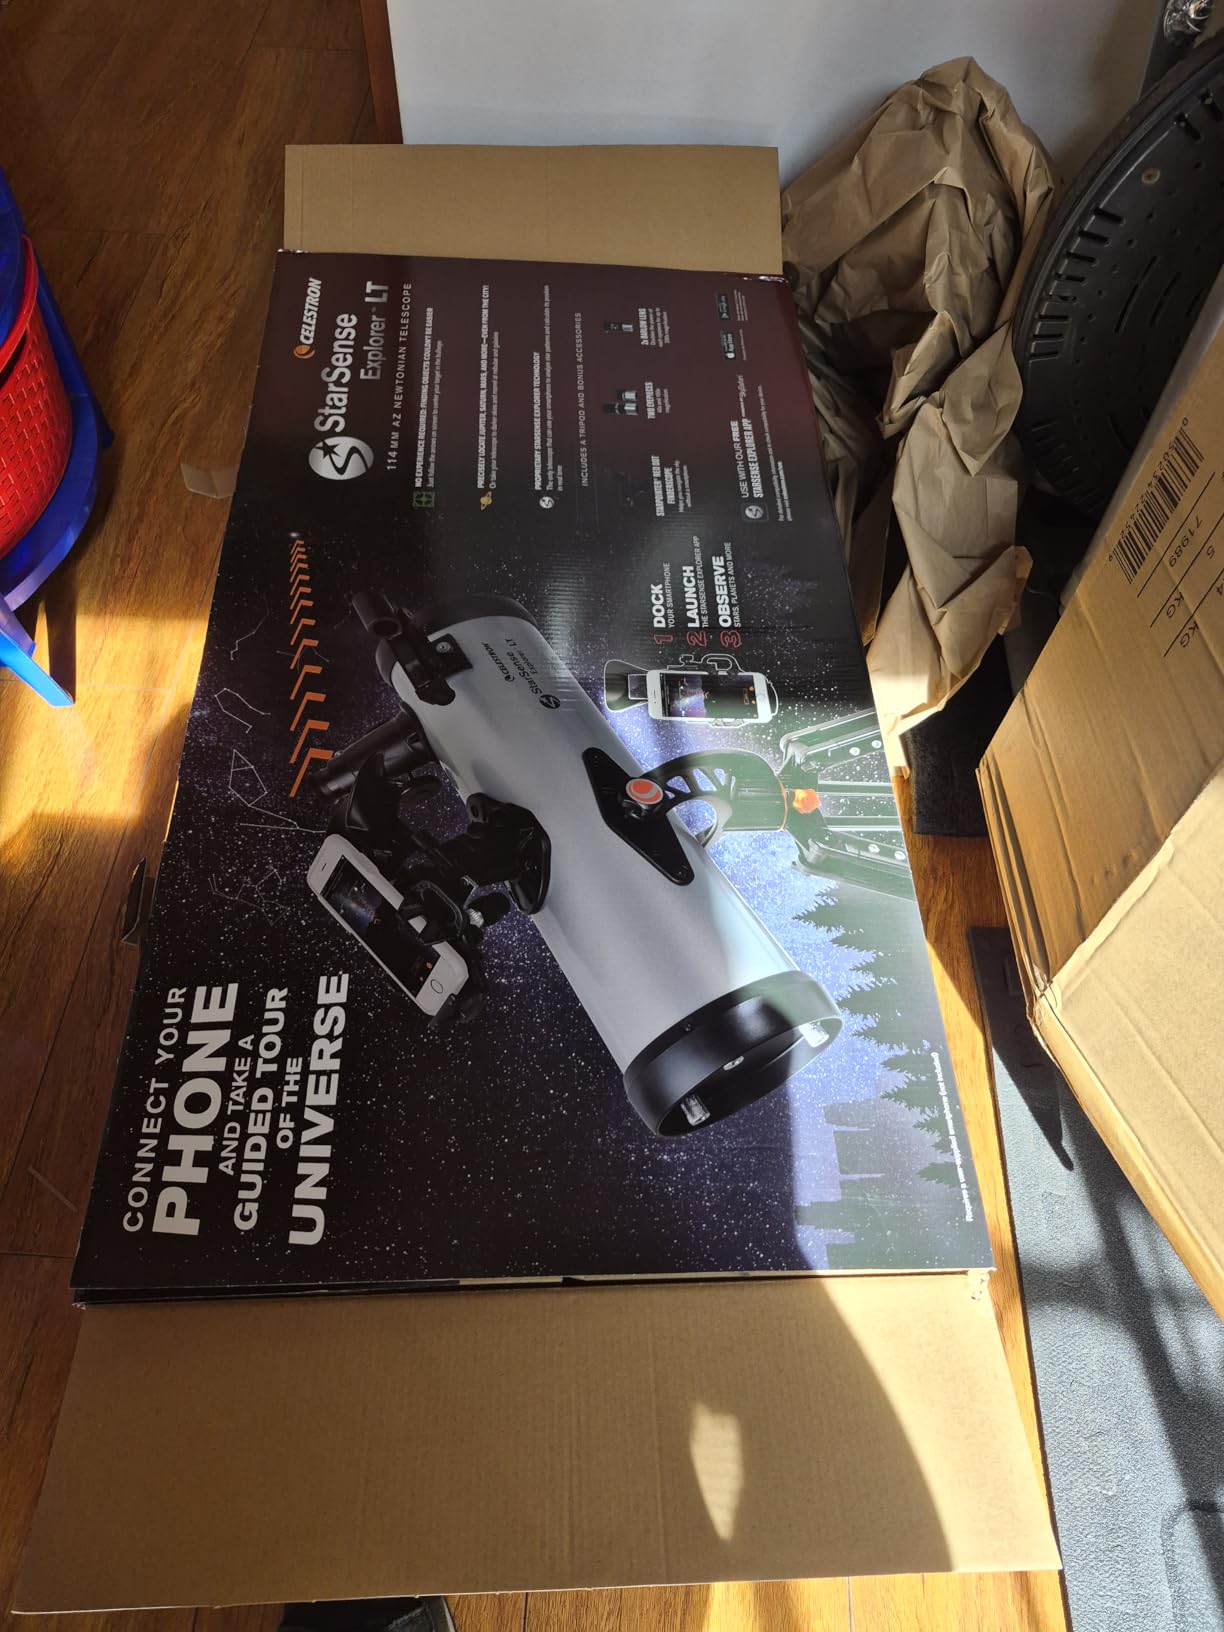
The StarSense Explorer LT 114AZ solves the finding problem for less money than anything else here, and it does it with a different mechanism to the smart scopes. There is no motor and no object database in the mount. Instead, patented StarSense technology points your phone camera at the sky, analyses the star pattern, works out the telescope’s position, and then displays on-screen arrows with a bullseye indicator telling you exactly which way to push the tube.
Underneath is a 114mm Newtonian reflector with aluminium and silicon dioxide coatings at 1000mm focal length on a manual altazimuth mount with an altitude slow-motion sliding rod. The whole package weighs 10.4 lb with a preassembled mount and tripod. Across 1571 reviews at 4.1 stars, the dominant theme is that StarSense removes the biggest beginner barrier there is, and the most common caveat is the lack of tracking.
What I like most here for a first-time buyer is the curated target list. The app builds an automatic list of the best objects for tonight based on your date, time and location, which is a quietly powerful feature for a city observer who would otherwise have no idea what is above them. The accessory bundle is genuinely generous: 25mm and 10mm eyepieces plus a 2x Barlow, giving three eyepieces and up to 150x total magnification out of the box.
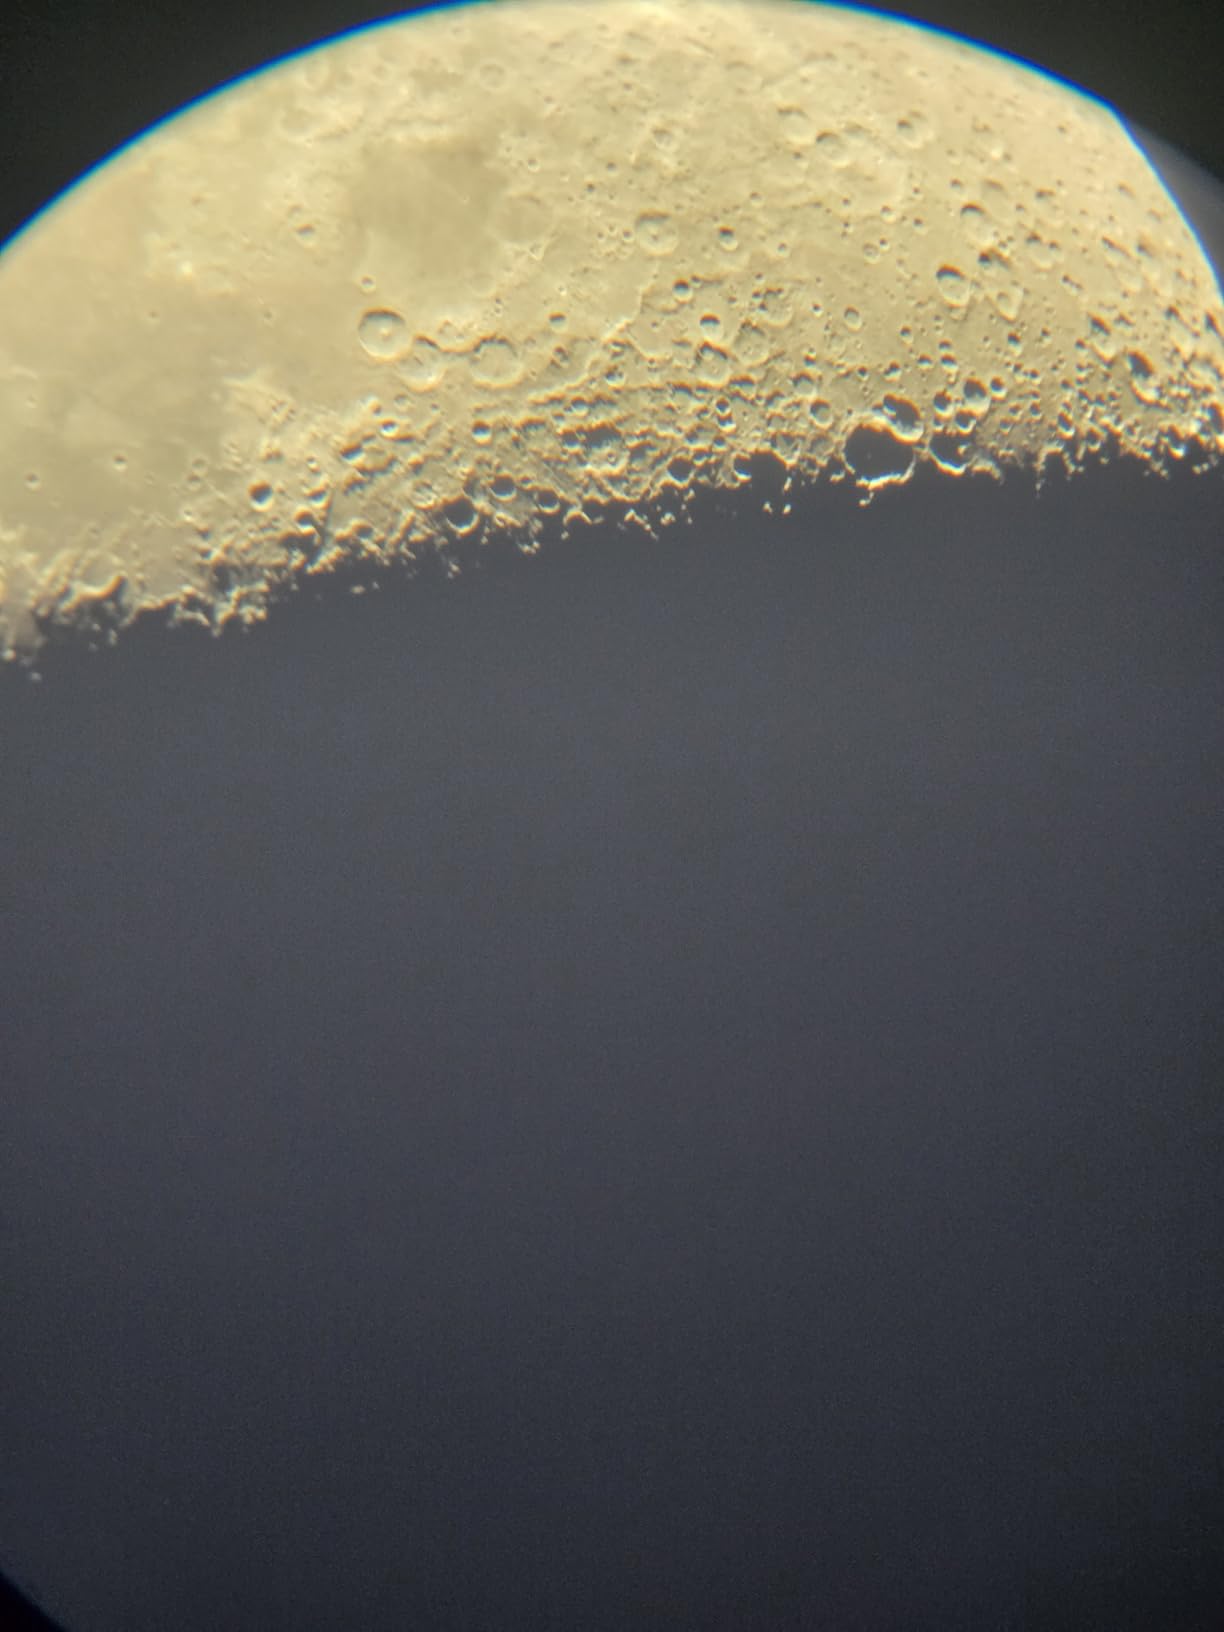
The 1000mm focal length is doing real work here. On a 114mm aperture that is enough to show meaningful lunar and planetary detail, which is more than most of the smart scopes in this roundup can claim.
Who the StarSense Explorer LT 114AZ suits
It suits the beginner who wants a real optical telescope with a real eyepiece and does not want to pay for motors. It suits anyone on a modest budget who will actually look through the glass, and city observers who will use the curated nightly list rather than navigating a star chart.
It also suits families. Manual guiding with arrows is intuitive for younger or less technical users, and there is no app-only workflow to learn.
Who the StarSense Explorer LT 114AZ does not suit
It does not suit anyone who wants to photograph anything. On an altazimuth mount with no tracking, long-exposure astrophotography is not practical, and this scope should not be bought with camera ambitions.
It also does not suit anyone who gets frustrated by manual repositioning. Because there is no motorized tracking, objects drift out of the eyepiece and you nudge them back with the slow-motion rod, repeatedly, for as long as you observe. Some people find that meditative. Others find it to be exactly the problem they were trying to escape. The phone dock also blocks part of the setup, which is a small irritation that comes up repeatedly.
For a broader look at manual options, our guide to the best telescopes for beginners covers the aperture-first route that many forum regulars recommend, and best tabletop telescopes is worth reading if a small balcony setup is your reality.
How to Align a Computerized Telescope on Your First Night
Alignment is where most beginners give up, and it is the single most repeated complaint across astronomy forums. It is also the most fixable. The recurring phrase in owner posts is that they could not get the alignment set up right, usually followed by the discovery that the problem was one of three simple things.
The first cause is pointing accuracy. On a GoTo mount like the NexStar 8SE, SkyAlign asks you to centre three bright stars or planets in the eyepiece. Centring means putting the star exactly in the middle of the field, not near the edge and not slightly off. The mount is measuring where the star actually is against its database, so an approximation at the start produces an error at the end. Use the highest magnification eyepiece for alignment, because it makes centring far more precise.
The second cause is a poor tripod setup. A level tripod and a firm surface matter more than anything else. On uneven ground the altitude axis is tilted, the mount’s internal model of where it is pointing is wrong, and every object it selects will be slightly off from where you look. Take two minutes to level the legs properly and you remove the most common cause of persistent pointing error.
The third cause is not aligning in the first place. If you carry the scope outside and the mount has not been aligned since it was last set up, it has no idea where it is. On the smart scopes this entire step is absent because the app plate-solves against a built-in star atlas every time, which is a genuine argument for that category. On GoTo scopes, re-aligning takes minutes.
To check whether your alignment worked before you start hunting targets, slew to a bright object you can already identify, centre it, and then ask the controller to go to another target of similar brightness. If the second object lands within a few arc minutes of the crosshairs, your alignment is good. If it drifts off, re-level the tripod and repeat with a higher-power eyepiece.
One honest expectation to set. Motorised mounts develop backlash, which is a small amount of lost motion in the gears. After a slew, the mount may need a short settling period before it is truly on target, and images taken immediately can shift. A long-running ZWO Seestar thread in the forum archive reports that backlash persisted even after a firmware update fixed polar alignment and star drift, and required at least sixty seconds of settling before the mount was usable. For visual observing this is invisible. For photography, wait before you capture.
If you want a wider primer before committing, our picks for the best telescopes overall and for stargazing beginners cover the cases where you decide electronics are not the answer.
What to Look For When Buying Your First Computerized Telescope
Aperture is the number that determines what you can actually see, and it is the one specification that does not lie. Every other feature on the list is about convenience. A larger aperture resolves finer planetary detail, shows more lunar cratering, and reaches fainter deep-sky objects. No database and no motor compensates for a small aperture. If you can only check one spec, check this one.
Second, decide honestly whether you want to look or photograph. These are different products. Looking wants a long focal length, a real eyepiece and magnification you control. Photographing wants a sensor, stacking software and stability. The smart scopes in this roundup are built for the second and the traditional GoTo scopes for the first, and no single device does both well.
Third, think about where you will actually observe. Suburban and city observers should prioritise light pollution filters and longer exposure capability, which is where the Seestar S30 Pro and the Dwarf Mini genuinely pull ahead. Dark-sky observers with a car should prioritise aperture and ignore filters entirely. If you only have a balcony, aperture matters less because the limiting factor is the sky above you.
Fourth, be honest about storage and transport. Weight is the most common reason a GoTo scope ends up unused in a corner. The NexStar 8SE at 10.88 kg is a serious instrument that needs a permanent home and two people to move. The StarSense Explorer at 10.4 lb is a one-person carry. The smart scopes at 1.85 to 3.64 lb go in a bag. If you will not move it, it will not get used.
Fifth, understand what you are giving up in each category. A PushTo scope has no tracking, so objects drift. A single-axis motor drive has no database, so you find things yourself. A smart scope has no eyepiece, so there is no magnified view. None of these is a flaw, but choosing the wrong one feels like one.
What to buy alongside your telescope
Budget for a few accessories, because the included ones are rarely enough. A decent 25mm and a 10mm eyepiece as a matched pair will improve almost any scope more than the electronics do. A red flashlight preserves night vision and is the cheapest useful accessory on this list.
A star chart or a planisphere helps even with a GoTo mount, because being able to recognise what you are looking at is what turns a session into learning. For the smart scopes, a fluid-head tripod and a power bank are effectively required for equatorial mode and all-night sessions. For the Celestron GoTo mounts, a spare power source avoids the most common reason a session ends early.
When to skip a computerized telescope entirely
Skip this category if you have a modest budget, a clear view of the sky and the patience to learn star-hopping. In that case a larger manual scope will show you more, and the experience of finding your first object by hand is genuinely rewarding. Cloudy Nights posters recommend a 6-inch Dobsonian as a first scope for exactly this reason.
Skip it if you are buying for a child who will lose interest in any setup process at all. In that case a smart scope that works in two minutes will keep them engaged, and you can move up to a traditional mount later.
Do not skip it if you live under heavy light pollution, if you have mobility or strength limits that rule out large tubes, or if you know you will not learn a star chart. Those are the cases where pointing is worth more than aperture.
Frequently Asked Questions
Are computerized telescopes good?
Yes, for the problem they are built to solve, which is finding objects in the night sky. A computerized mount with an object database removes the single hardest part of starting out, so a beginner can see a planet or a nebula on a first night instead of a tenth. The cost is weight, cost and a setup step called alignment that most beginners find fiddly. For observers who will genuinely learn to star-hop, a larger manual telescope shows more for the same money.
What is the best computerized telescope for beginners?
The Celestron NexStar 8SE is the best overall choice because it pairs an 8-inch Schmidt-Cassegrain aperture with a fully motorized GoTo mount, a 40,000-plus object database and a SkyAlign routine that works from three bright stars. If astrophotography is the goal rather than visual observing, the ZWO Seestar S30 Pro is the better choice. If you travel, the DWARFLAB Dwarf 3 fits in a backpack.
What is the best smart telescope for the money?
The DWARFLAB Dwarf Mini offers the strongest combination of capability and size in the smart category, with plate solving, equatorial mode supporting exposures up to 90 seconds and built-in light pollution filters in a 1.85 lb body. The ZWO Seestar S30 Pro is the step up for wider fields and higher resolution output. Both produce images suited to sharing online rather than large printed displays.
Which telescope is best to see planets for beginners?
The Celestron NexStar 8SE and the Celestron AstroMaster 130EQ-MD are the two strongest options here, because both offer a real optical tube with enough focal length for high magnification. The NexStar 8SE finds planets for you through its GoTo database, while the AstroMaster keeps them centred with a motor drive but requires you to find them yourself. Smart scopes are the weakest option, since there is no eyepiece magnification.
What type of telescope is best for a beginner?
For most beginners, a large manual Dobsonian reflector offers the most aperture and the simplest operation. A computerized or smart scope is the better choice when you will not learn star-hopping, when you observe under heavy light pollution, or when you want astrophotography without a steep learning curve. The right answer depends on your patience and your sky more than on any brand or model name.
Which Computerized Telescope Should You Buy First?
The best computerized telescopes for beginners in 2026 are not one telescope, they are four different answers to four different questions. If you want the widest range of targets and the ability to find them without learning a star chart, buy the Celestron NexStar 8SE. If you want photographs on your phone from a light-polluted backyard, buy the ZWO Seestar S30 Pro. If you will carry it, buy the DWARFLAB Dwarf 3 or the even lighter Dwarf Mini. If you want real planets through an eyepiece on a modest budget, buy the Celestron StarSense Explorer LT 114AZ.
Whatever you choose, give the alignment step a real attempt before judging the scope. Almost every frustrated owner in this category traces back to a tripod that was not level, an eyepiece too low-powered for accurate centring, or a night where the scope was set up without aligning it first. Fix those three things and the rest of the experience changes completely.
And be honest about the alternative once more. If your budget is fixed, your sky is clear, and you are willing to learn where things are, a larger manual telescope will show you more than any of these. The electronics are not better optics. They are a shortcut to finding things, and for a lot of beginners that shortcut is exactly what makes the hobby stick.